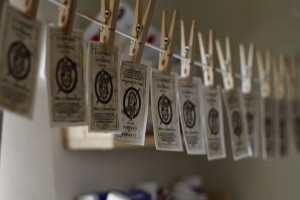
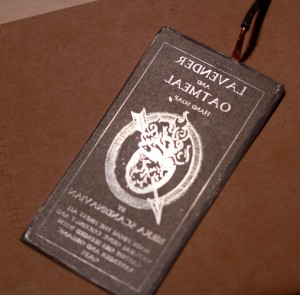
We are working hard on lots of new ideas. One of them involves a line of soaps which require appropriate packaging (more on that later). An old fashioned engraving effect seemed to be appropriate for this item, so I decided to try an actual intaglio print as opposed to faking it in photoshop. It has been a while since I did any printing, so I had to dig up all the materials and get everything organized in order to succeed. The following is a little step-by-step of the process.
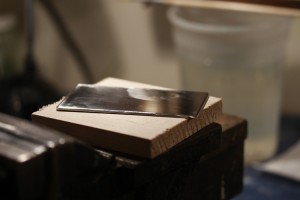
I began by cutting a zinc printer’s plate to size, polishing it up and beveling the edges. This step is always really tedious, but attention to detail is really important.
As soon as everything is all nice and smooth a wire is soldered the back of the piece. This is where the current will be hooked up when the plate is electrolytically etched. A super-neat job is not necessary here, just a way to make contact.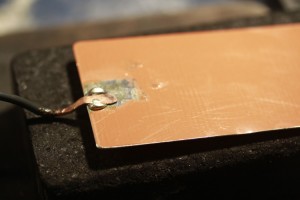
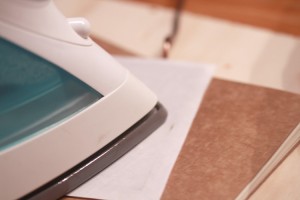
Next the design is printed onto slippery label-backing paper with a laser printer. Once the graphic is transferred onto the plate, the plastic toner will protect the desired areas from the etching action. The toner is pressed onto the plate for two or three minutes with an iron on the highest setting. I have read that magazine paper works well for this, but I have not tried it. I tried glossy photo paper but it was next to impossible to remove without damaging the toner layer. Label backing paper worked well. The trick was to quench the plate under cold running water so the toner would not readhere to the paper as it cooled. It took about five tries to get it right. Next time I will attempt magazine paper.
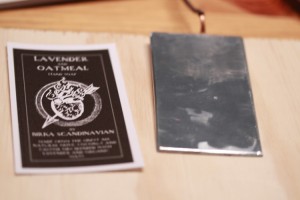
The sides of the plate are then masked with etcher’s retouch varnish. Nail polish works well too, but it stinks more, takes longer to dry and is more difficult to remove.
Next comes the fun part. A plain zinc plate (the anode) is soldered onto a terminal exactly like the one to be etched (the cathode). The metal is scrubbed clean and hooked up to the positive terminal of a little 4.5V transformer. The plate with the transferred design is hooked up to the negative. (There is a great how-to on electrolytic etching here.)
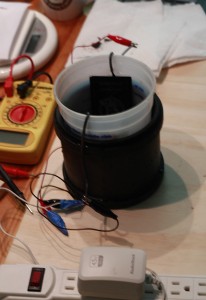
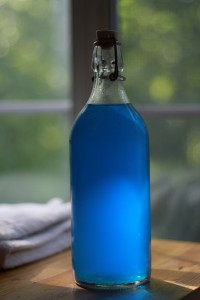
The bath in which the etching of the metal will take place is made up of water and copper sulfate. This used to be called blue vitriol because it is one of the byproducts of etching copper in sulfuric acid (vitriol). It is one of the most beautiful shades of blue imaginable!
The etching begins immediately once the plate is in the bath. I takes a few minutes to achieve the correct depth. The etching bite with this method is very gentle and controlled as compared to heated nitric acid on copper which, in my experience, is just horrible.
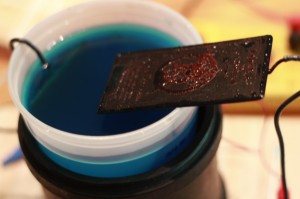
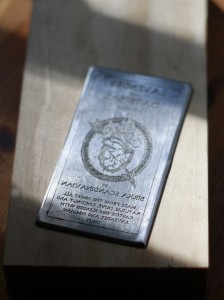
Once the etching is complete the wire is removed and the plate is washed clean:
Now the actual printing can begin. First the required number of printing paper sheets are cut to size and soaked for some time in water. Then the plate is rubbed all over with printing ink and carefully wiped clean across the surface. This leaves ink only in the areas which were etched.
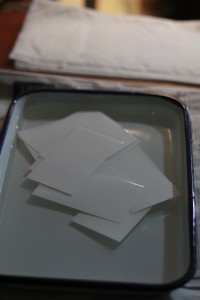
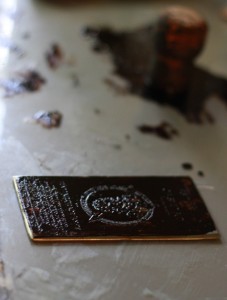
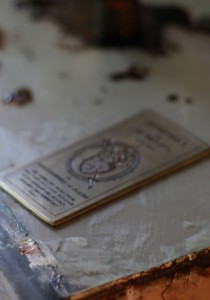
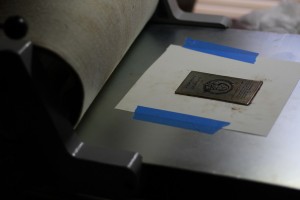
Now it is ready to pass through the press. A moist sheet of paper is placed on top of the inked plate and it is rolled through the printing press. This presses the paper into the areas of the metal plate which are still holding ink. Once pressed, the paper is pulled off the plate and hung up to dry.
These little prints are going to have to dry for a few days, as the ink is oil based and takes forever to stop smudging. An update will follow soon with the finished bars of soap.

