I’ve been getting back into making stop motion films and the results show I’m a little rusty. It’s been at least 15 years! The audio was accidentally recorded in a car while I was playing with my camera so that’s why it’s noisy. I am trying here to develop a decent lip-sych method. Even though this doesn’t really work, I have learned a lot and the next effort will be much better. The set was built for a big project I’m envisioning: a 7 or so minute movie taking place in a bar with a whole assortment of characters. I’m going to need help coming up with a working plot– so if anyone has suggestions or ideas, please let me know!
|
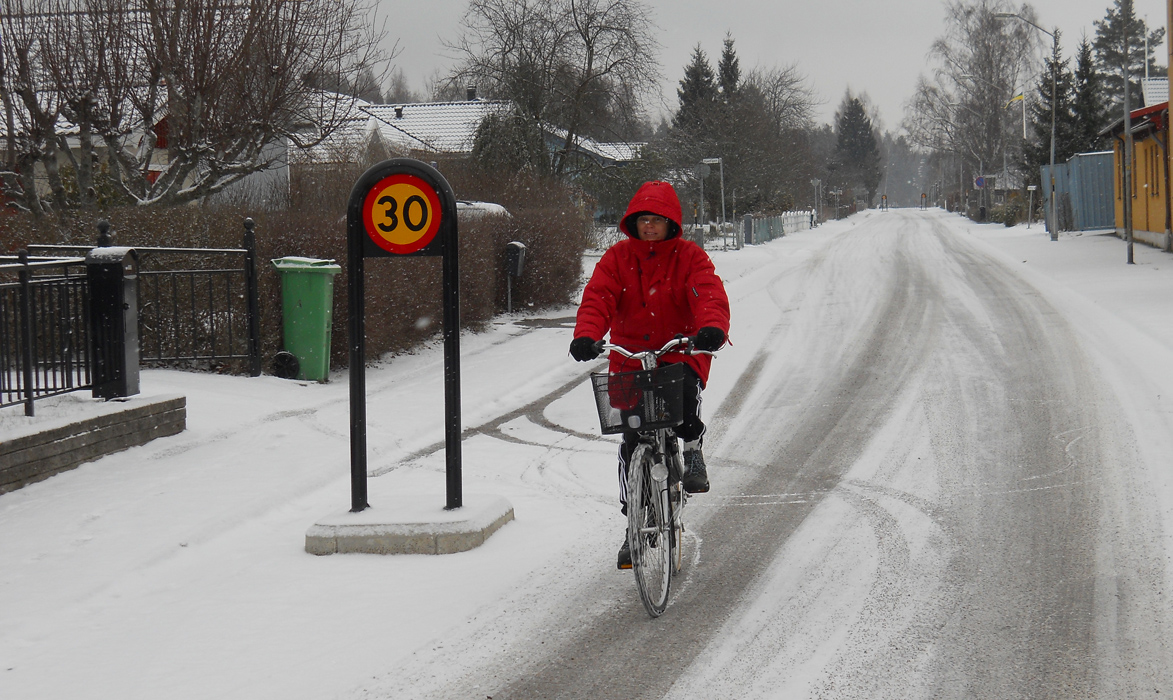
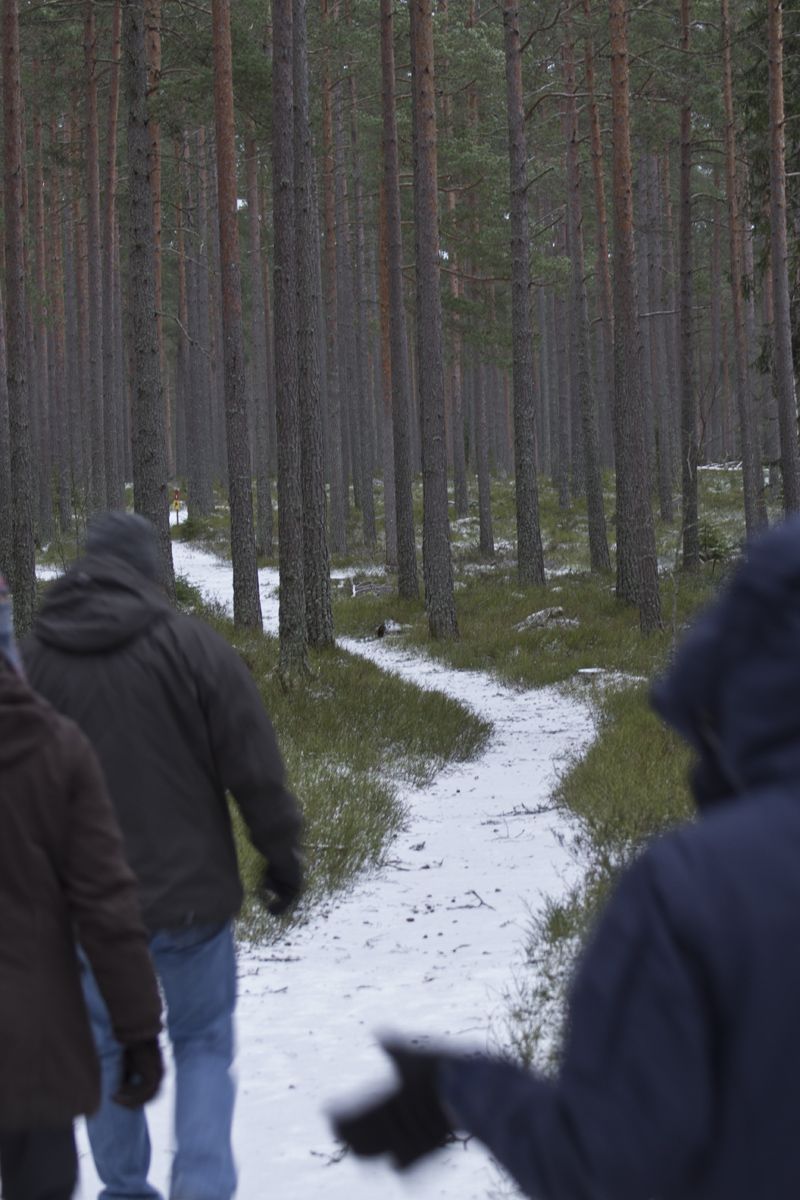
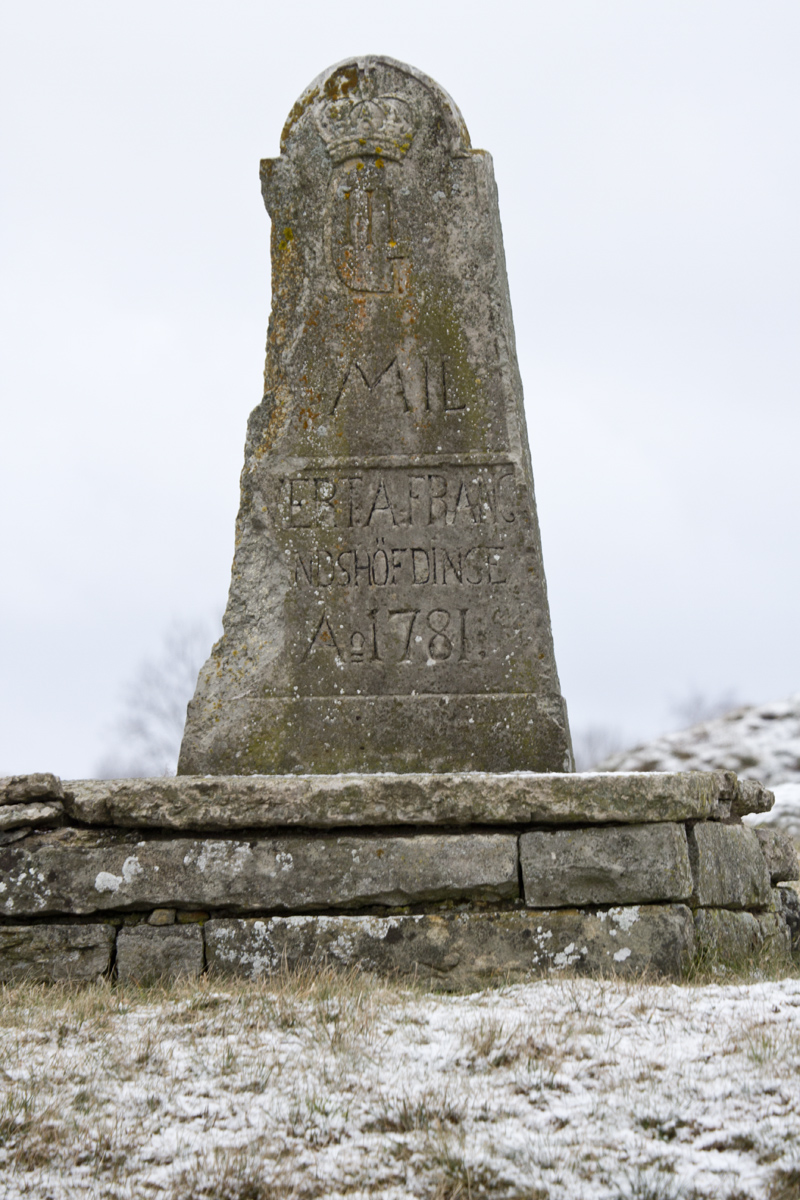
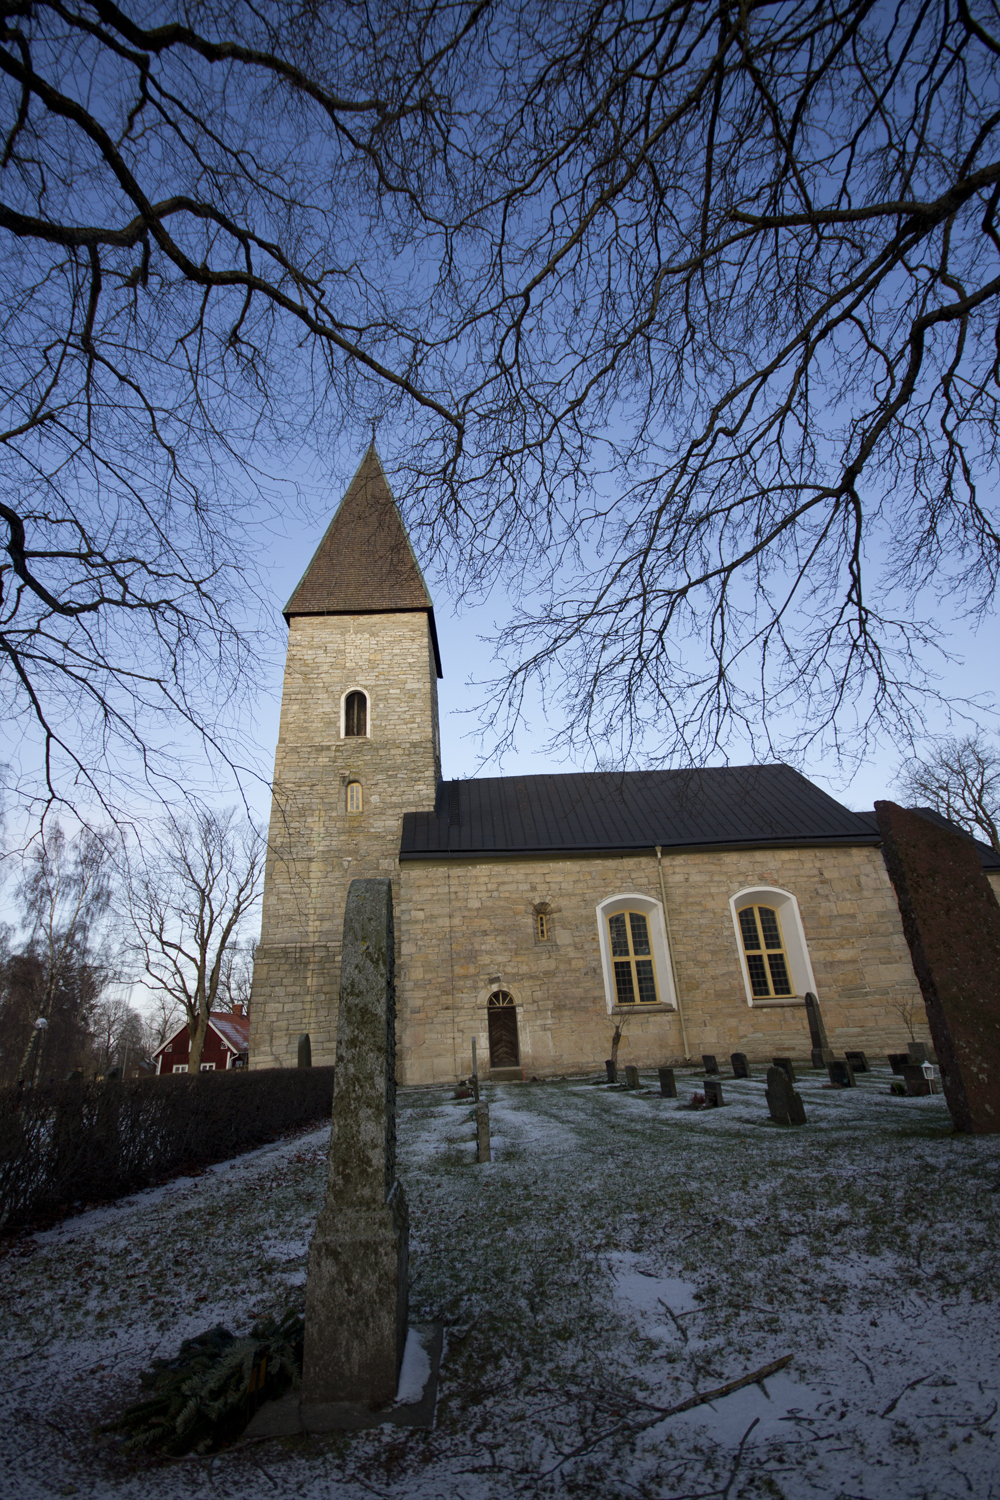
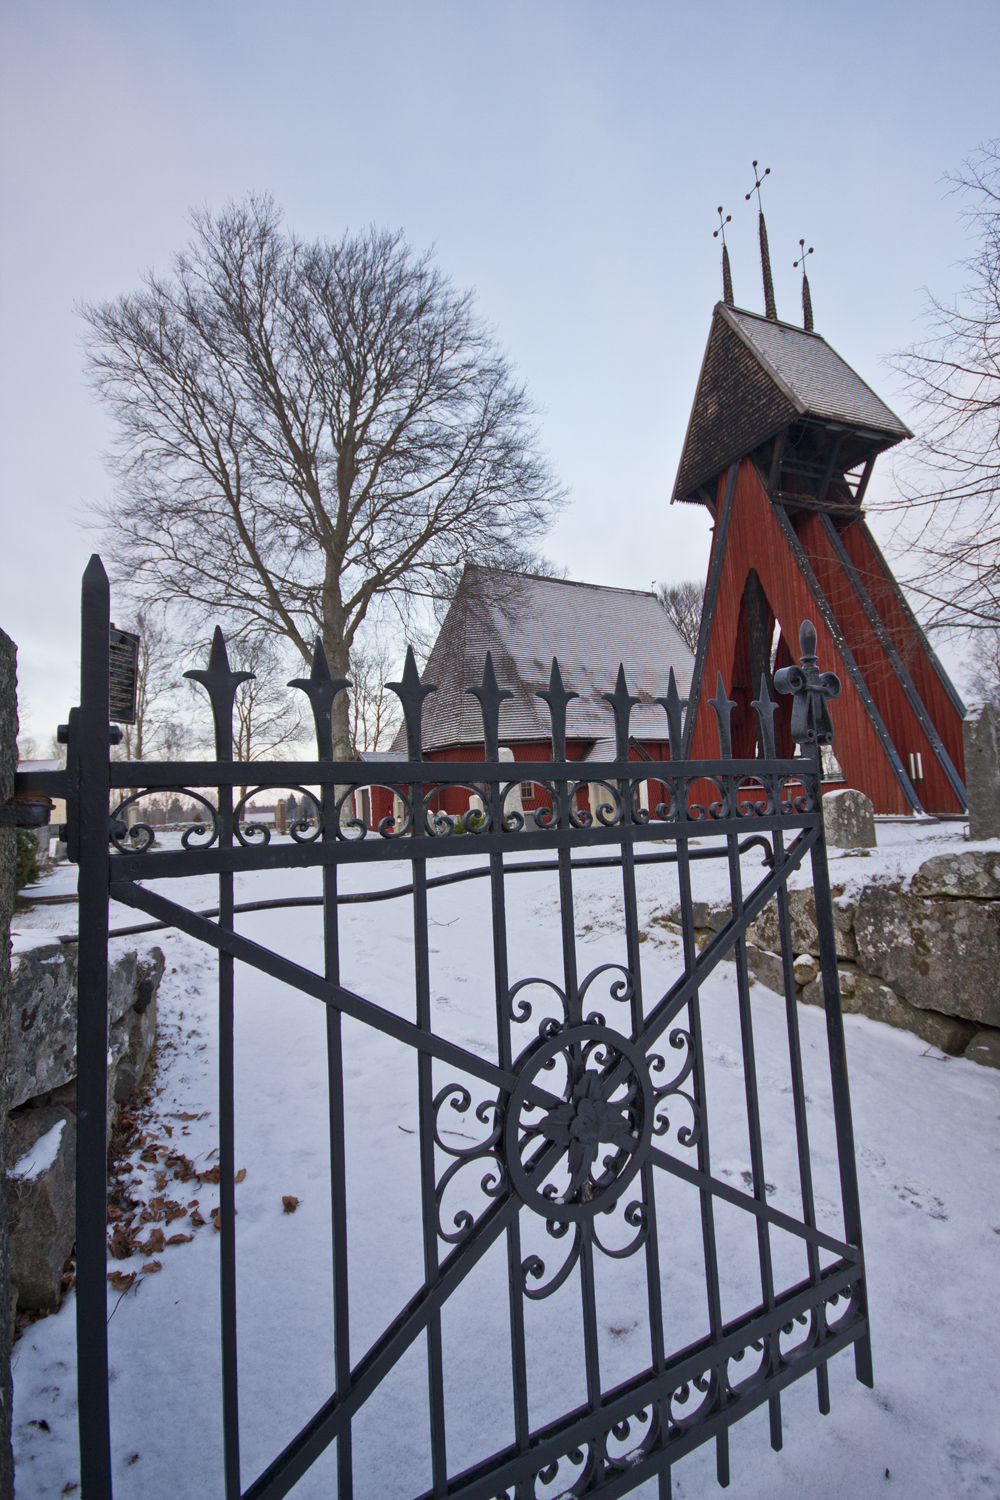
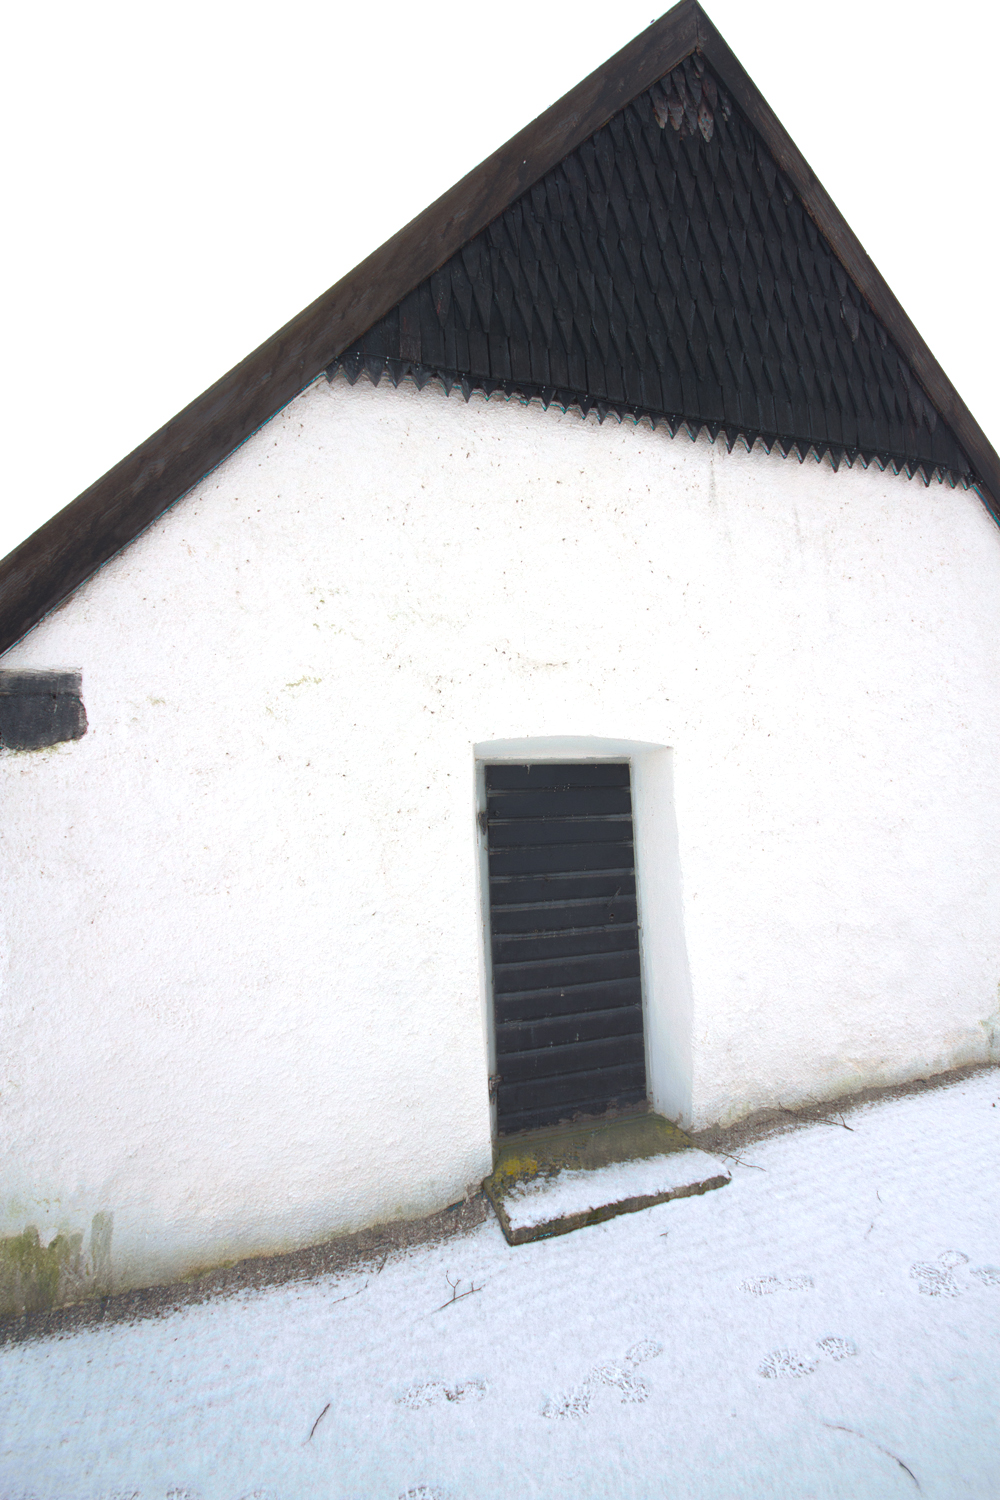
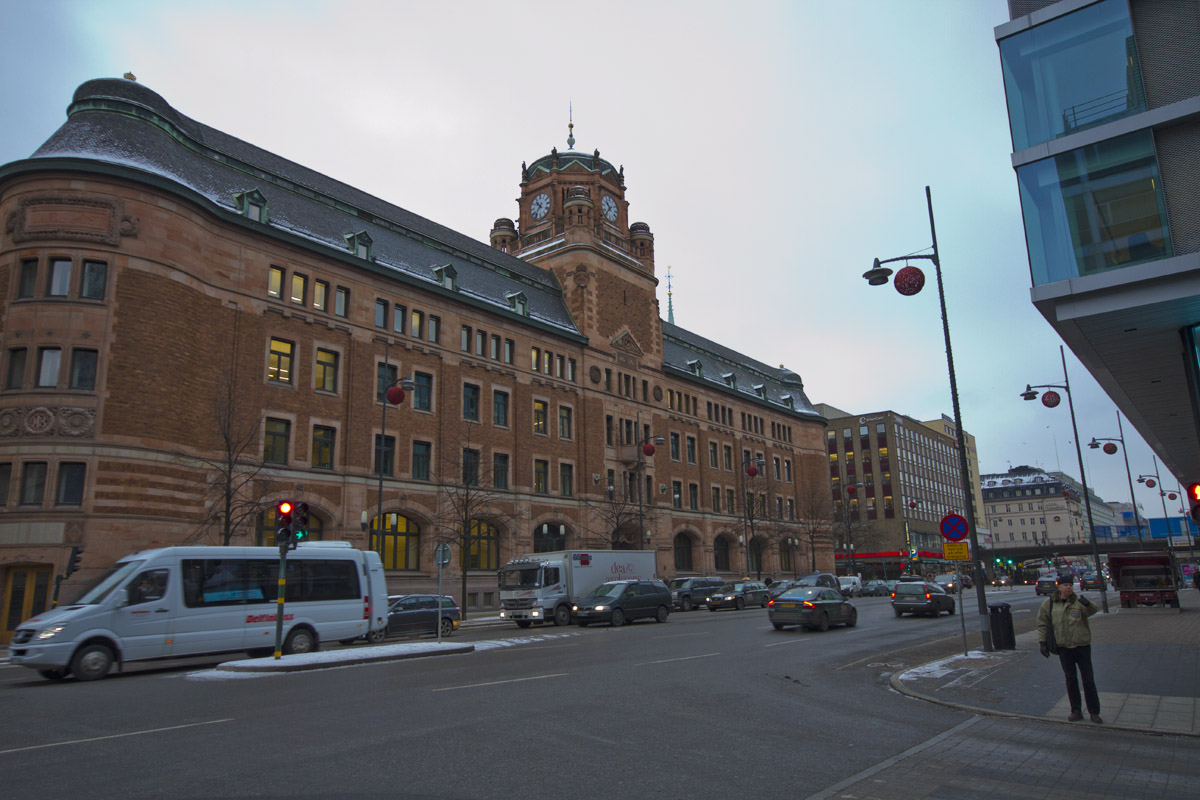
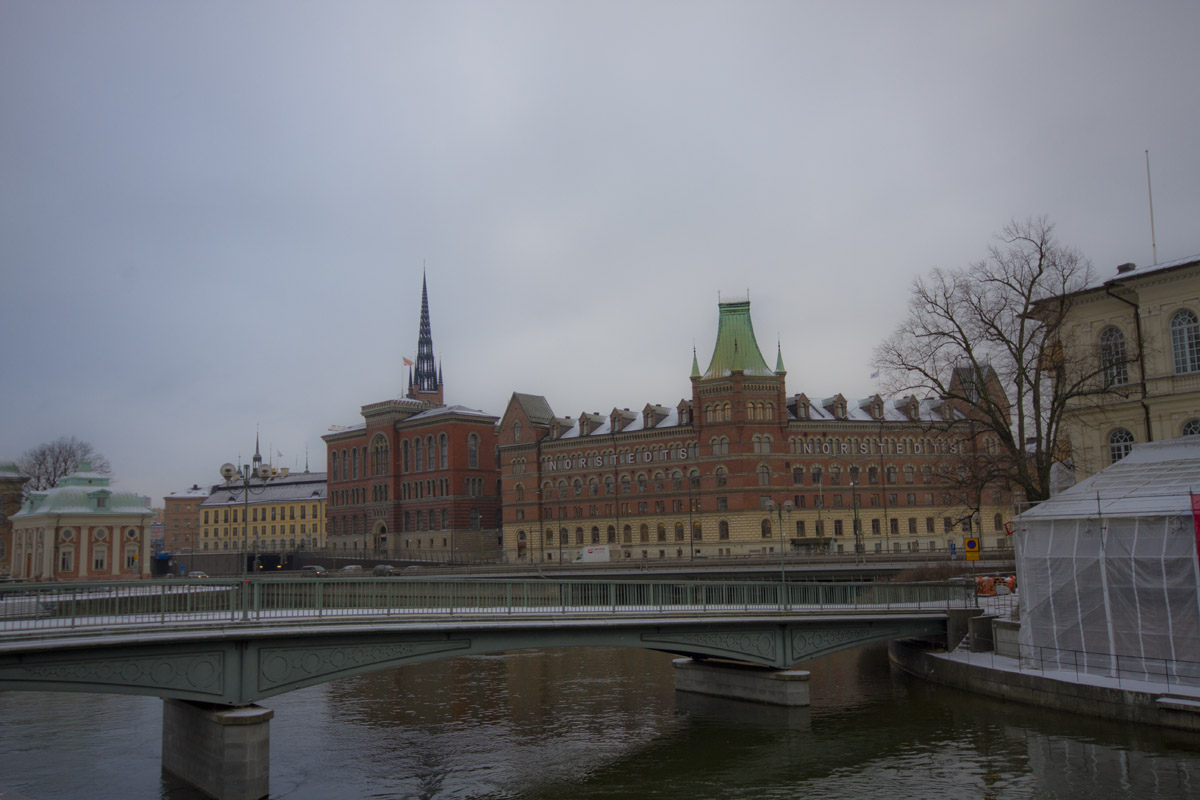
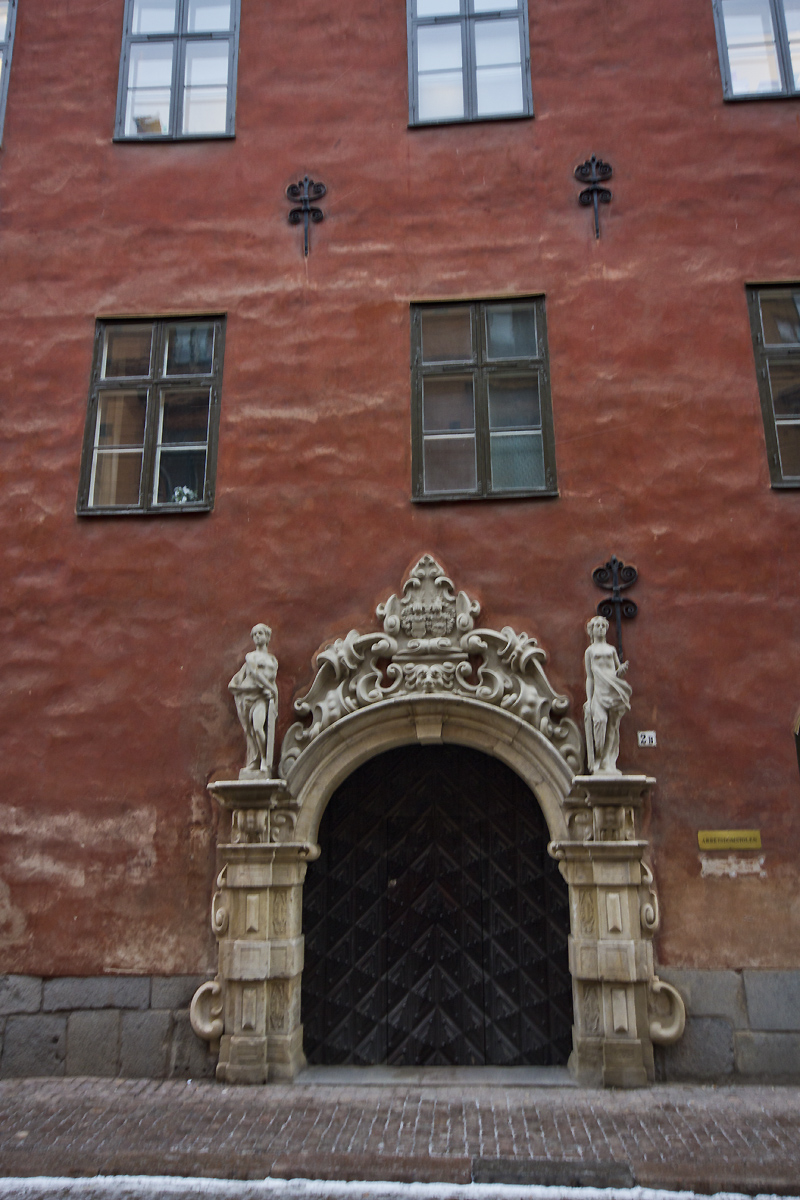
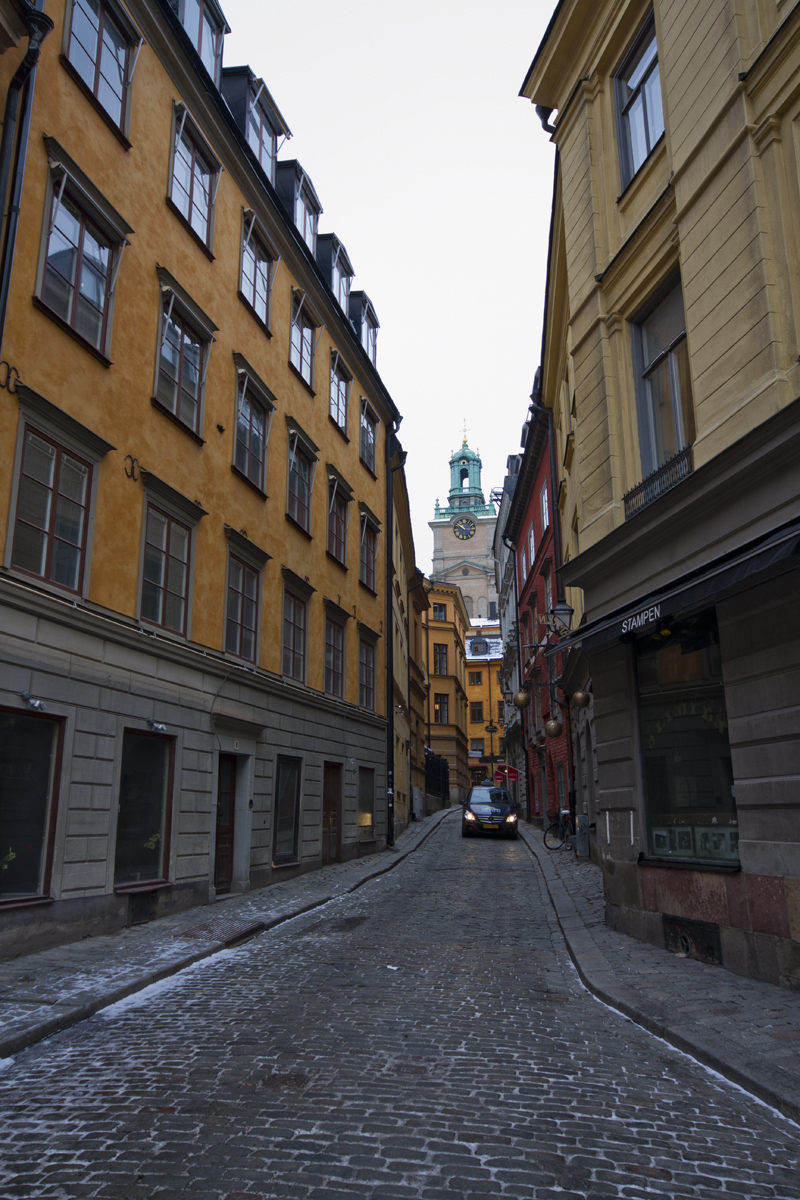
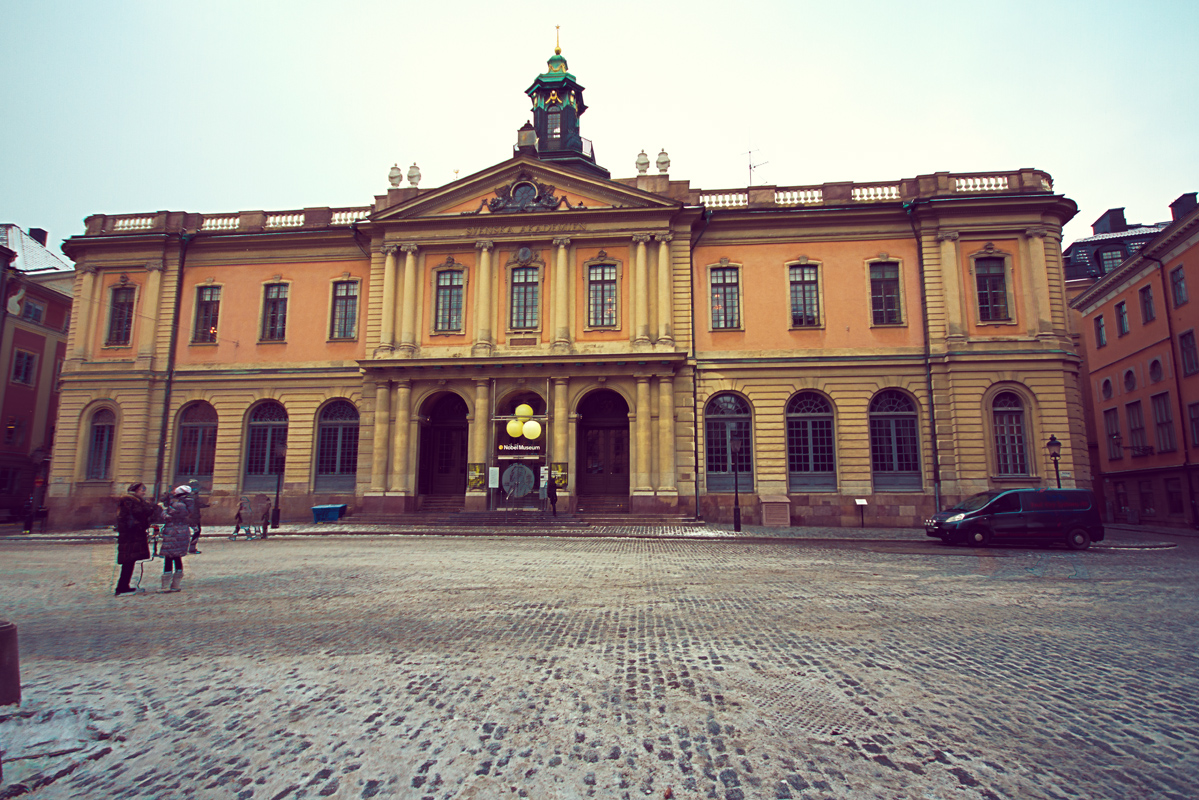
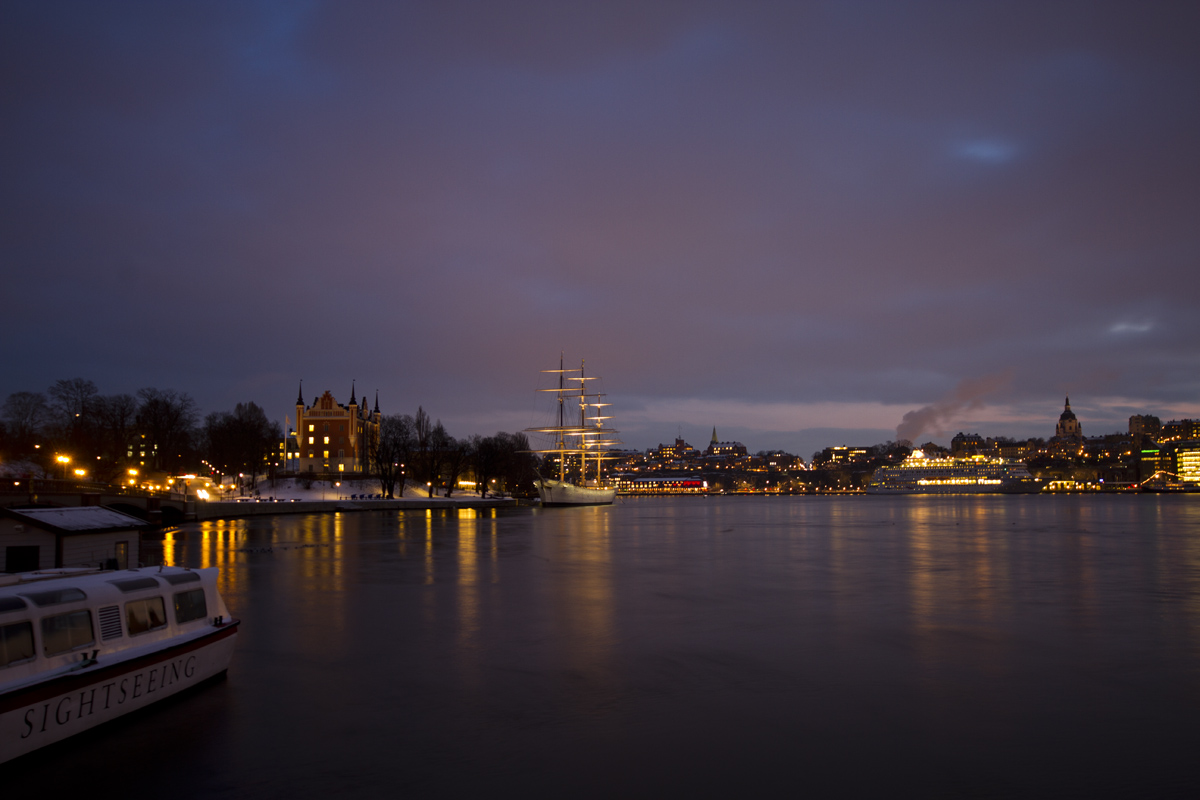
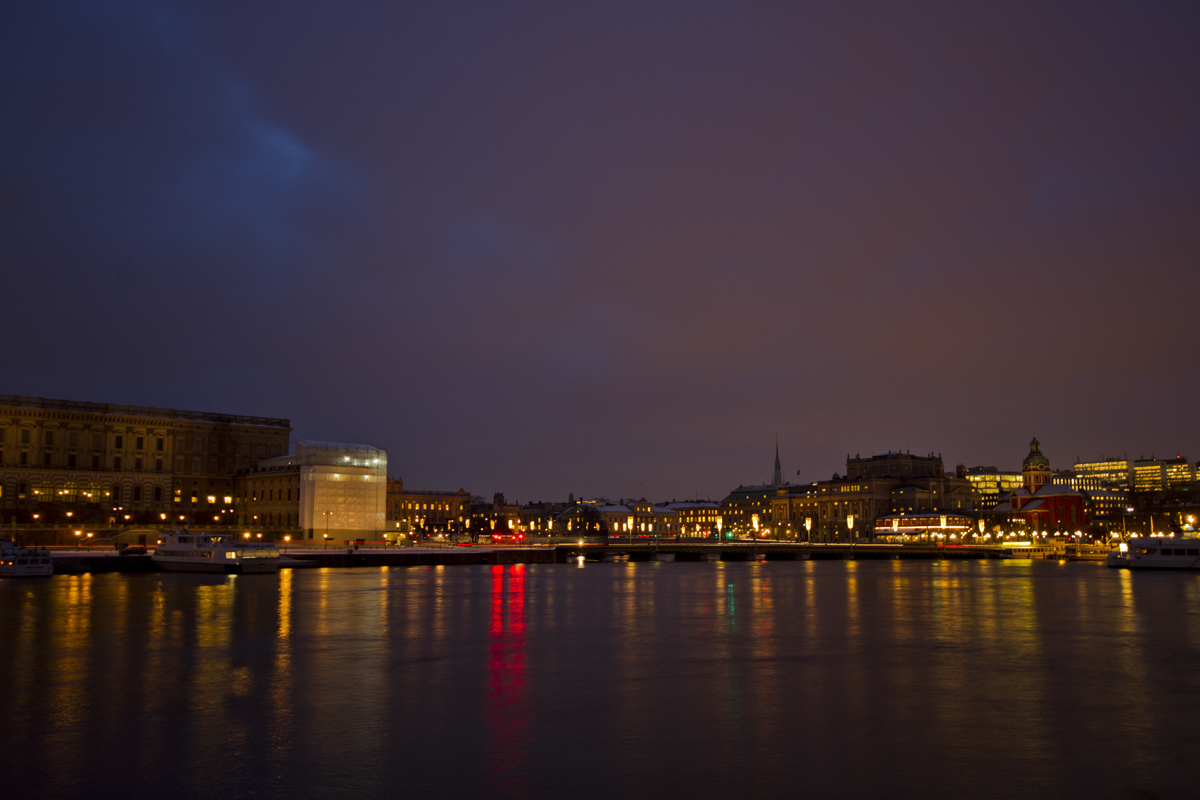
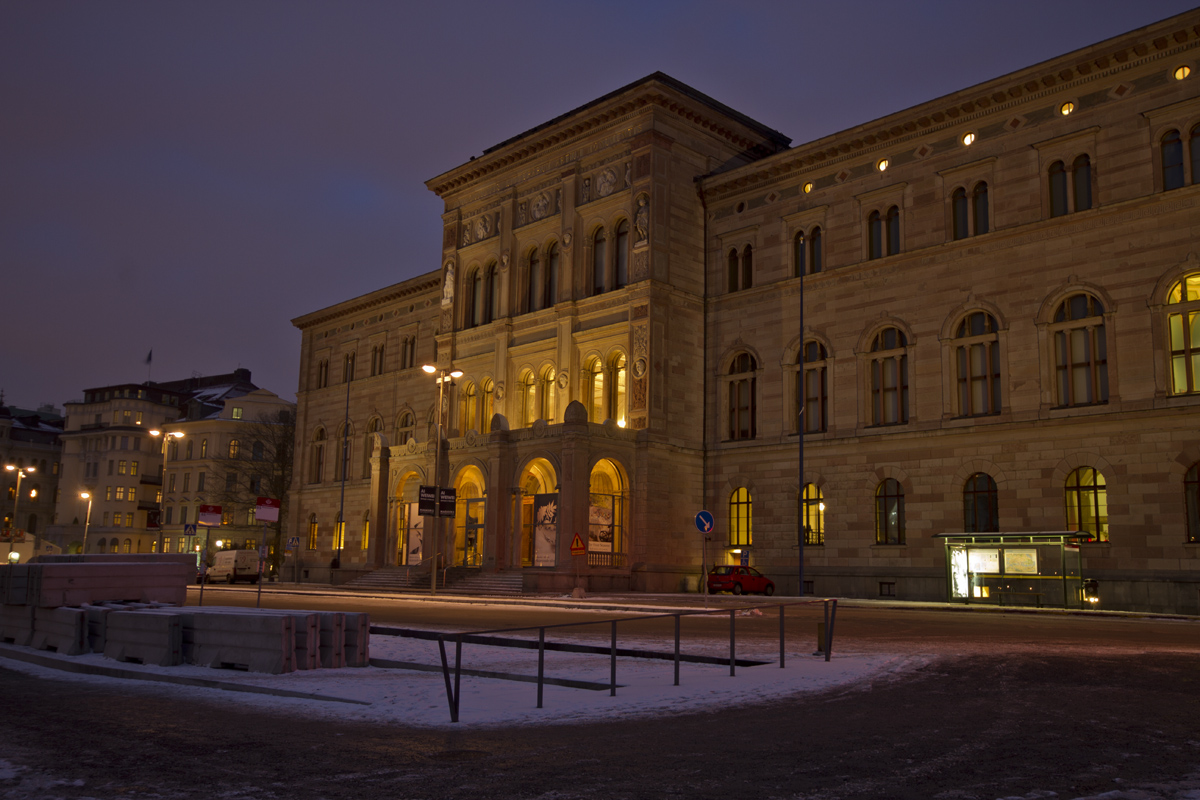
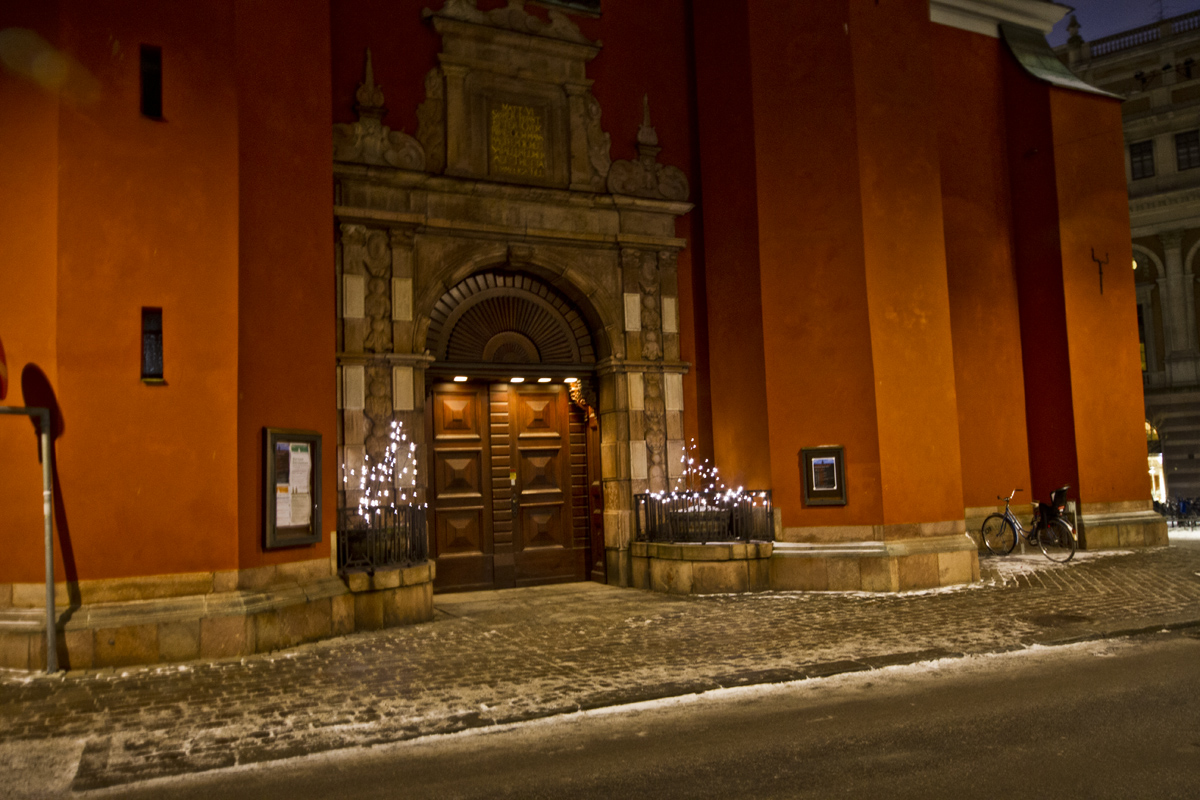
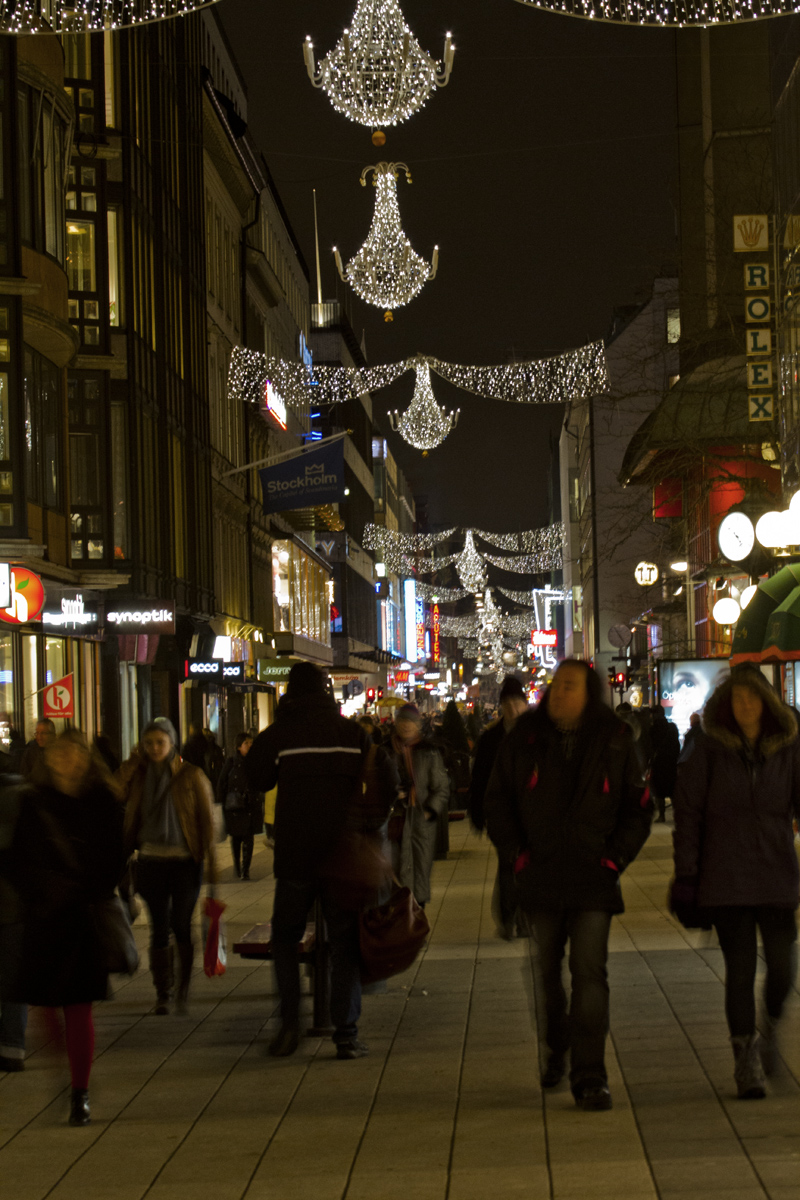
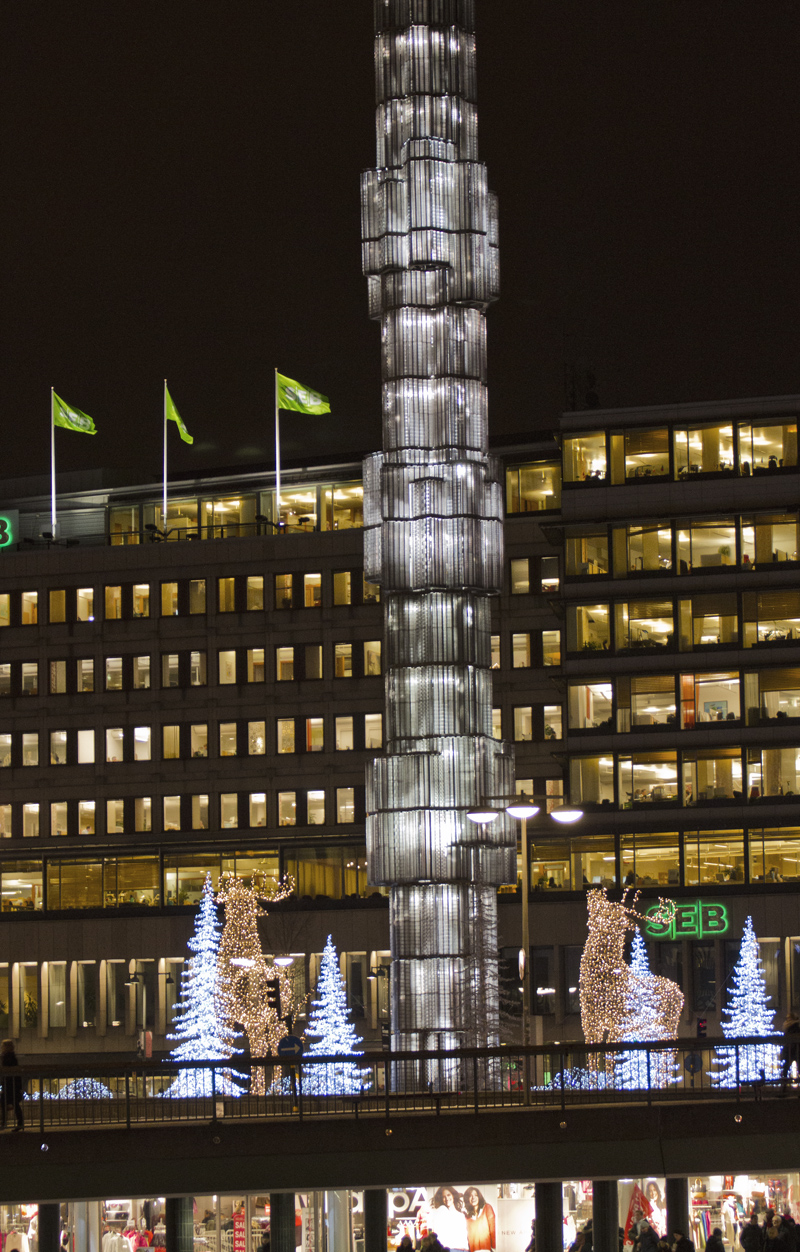
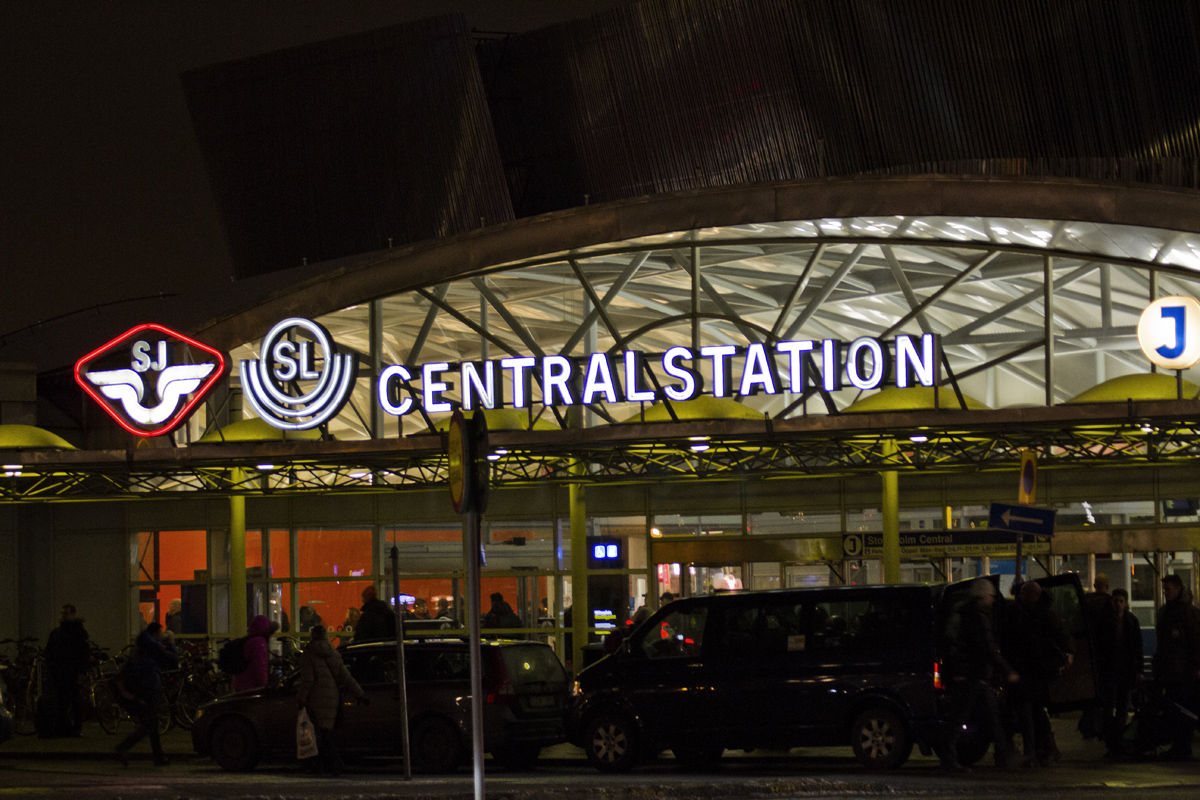
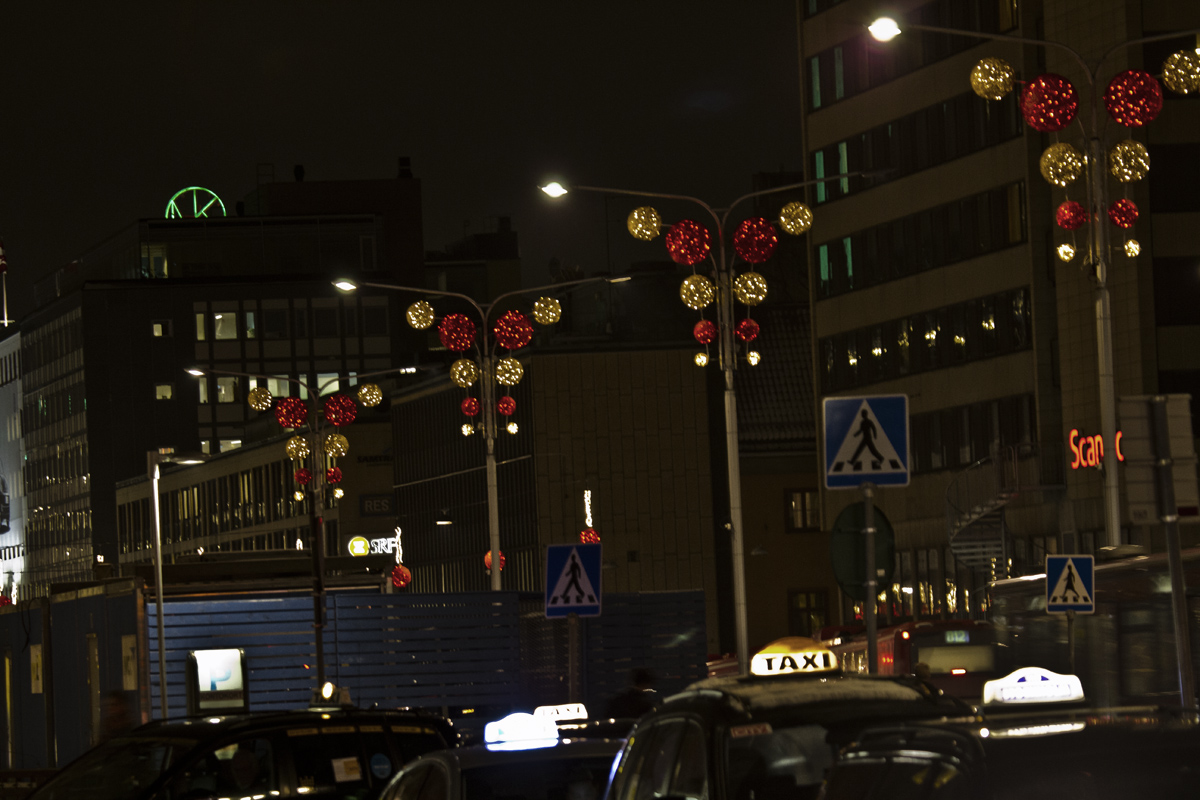
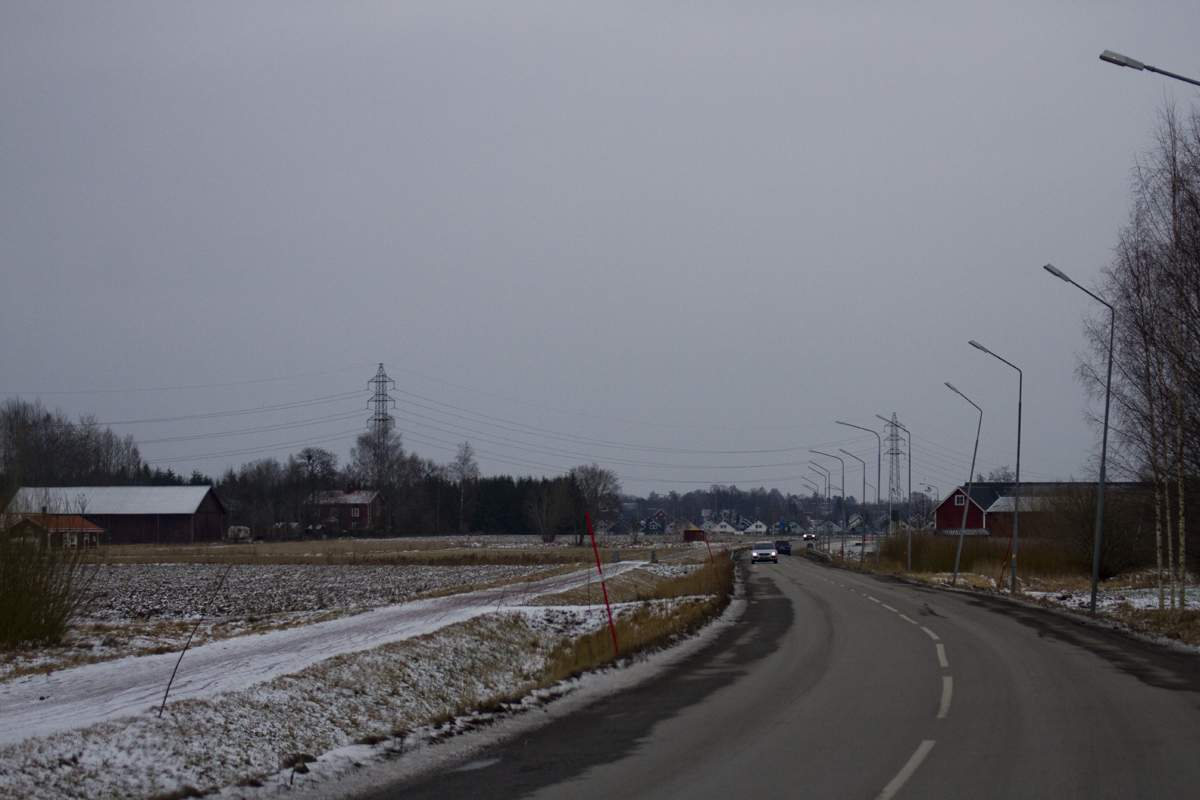
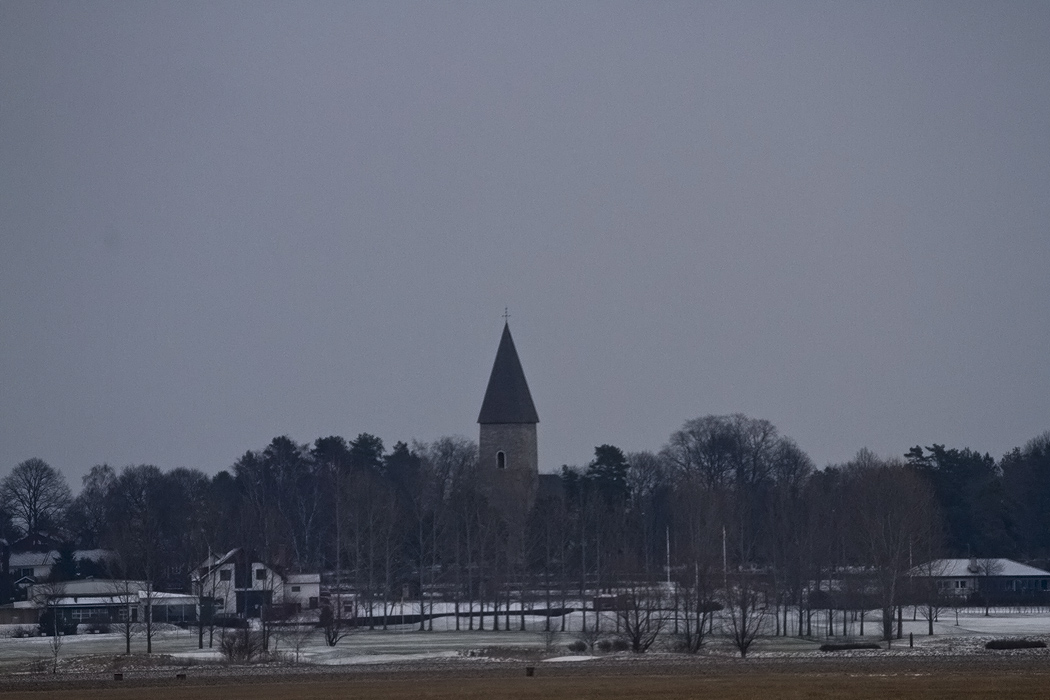
I’m still suffering from the jet lag. It usually takes a few days before everything is back to normal. Check out the following picture gallery where you will see amongst other things:
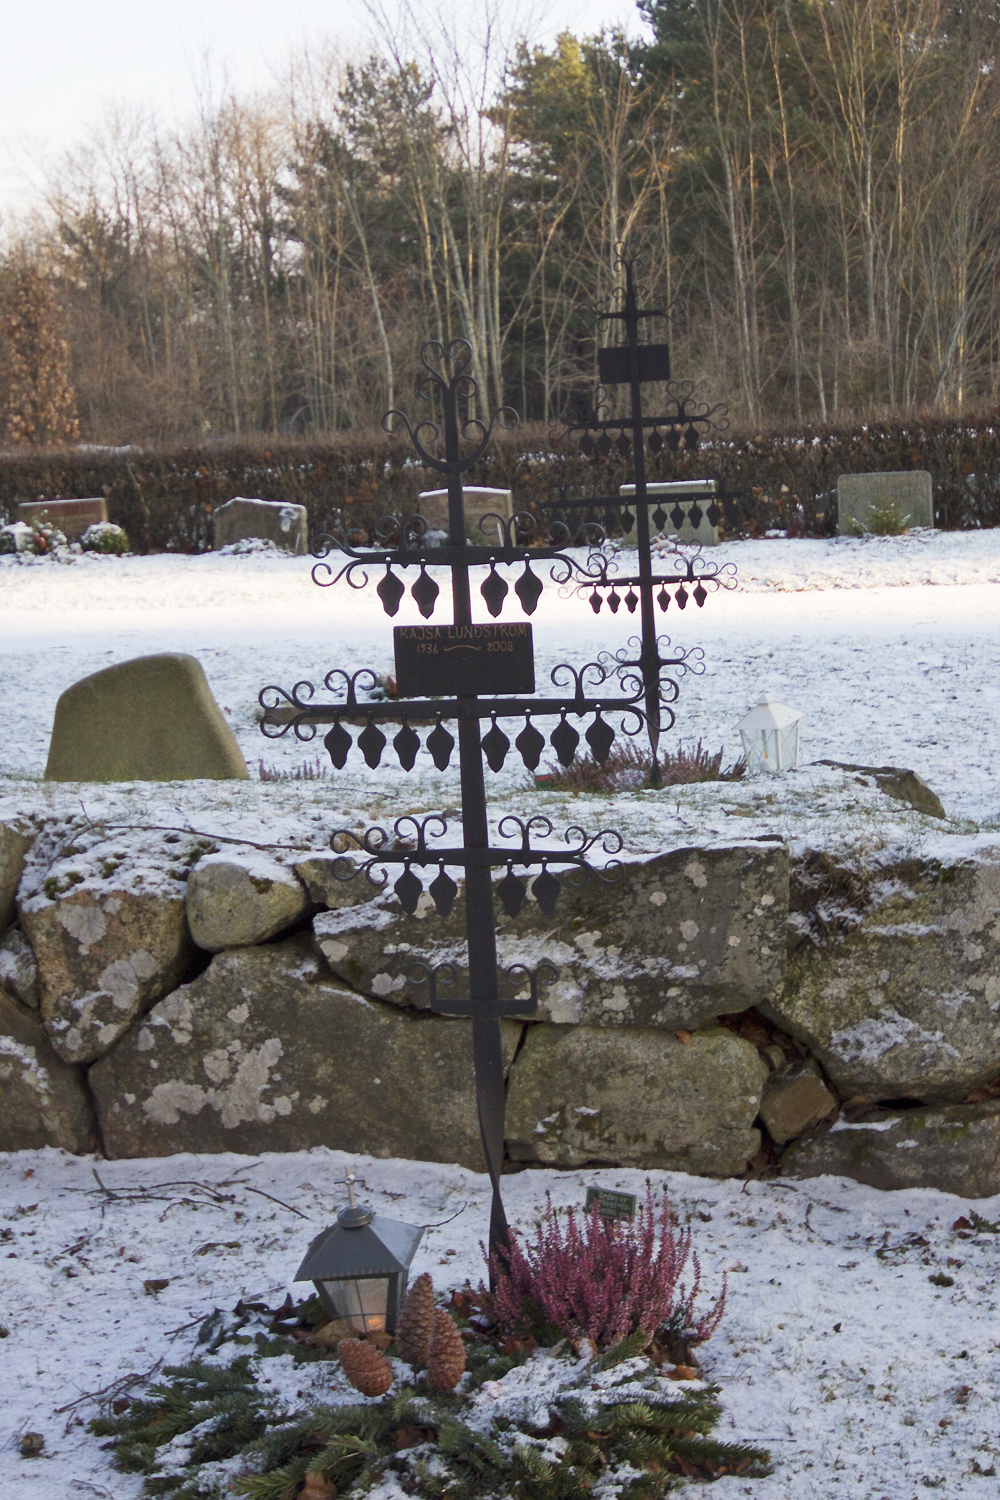
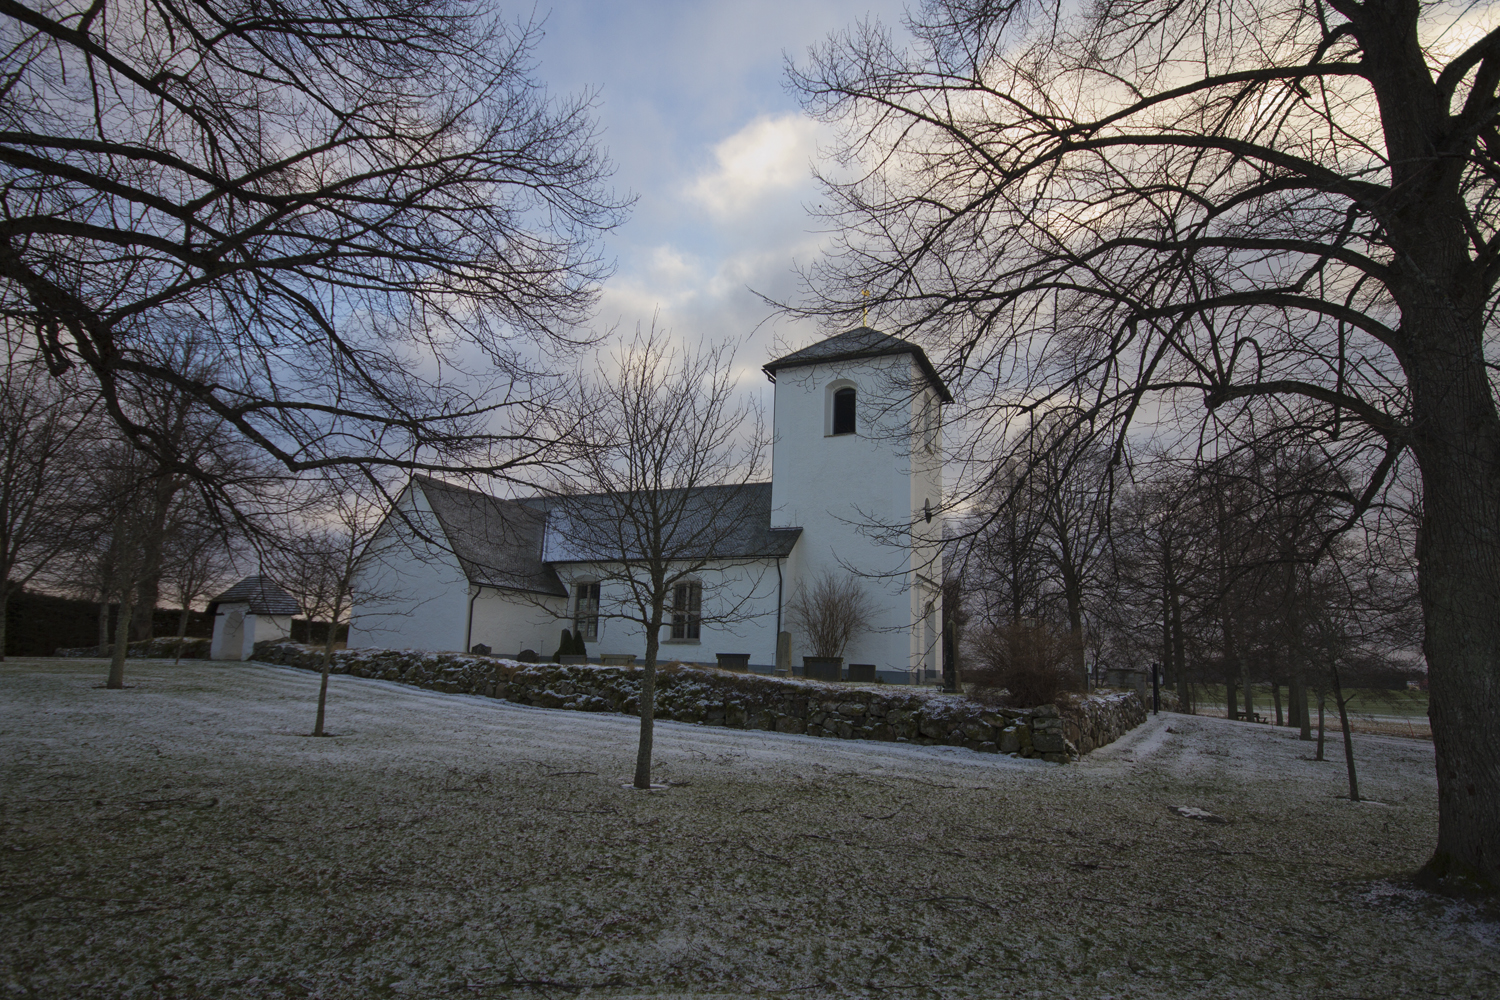
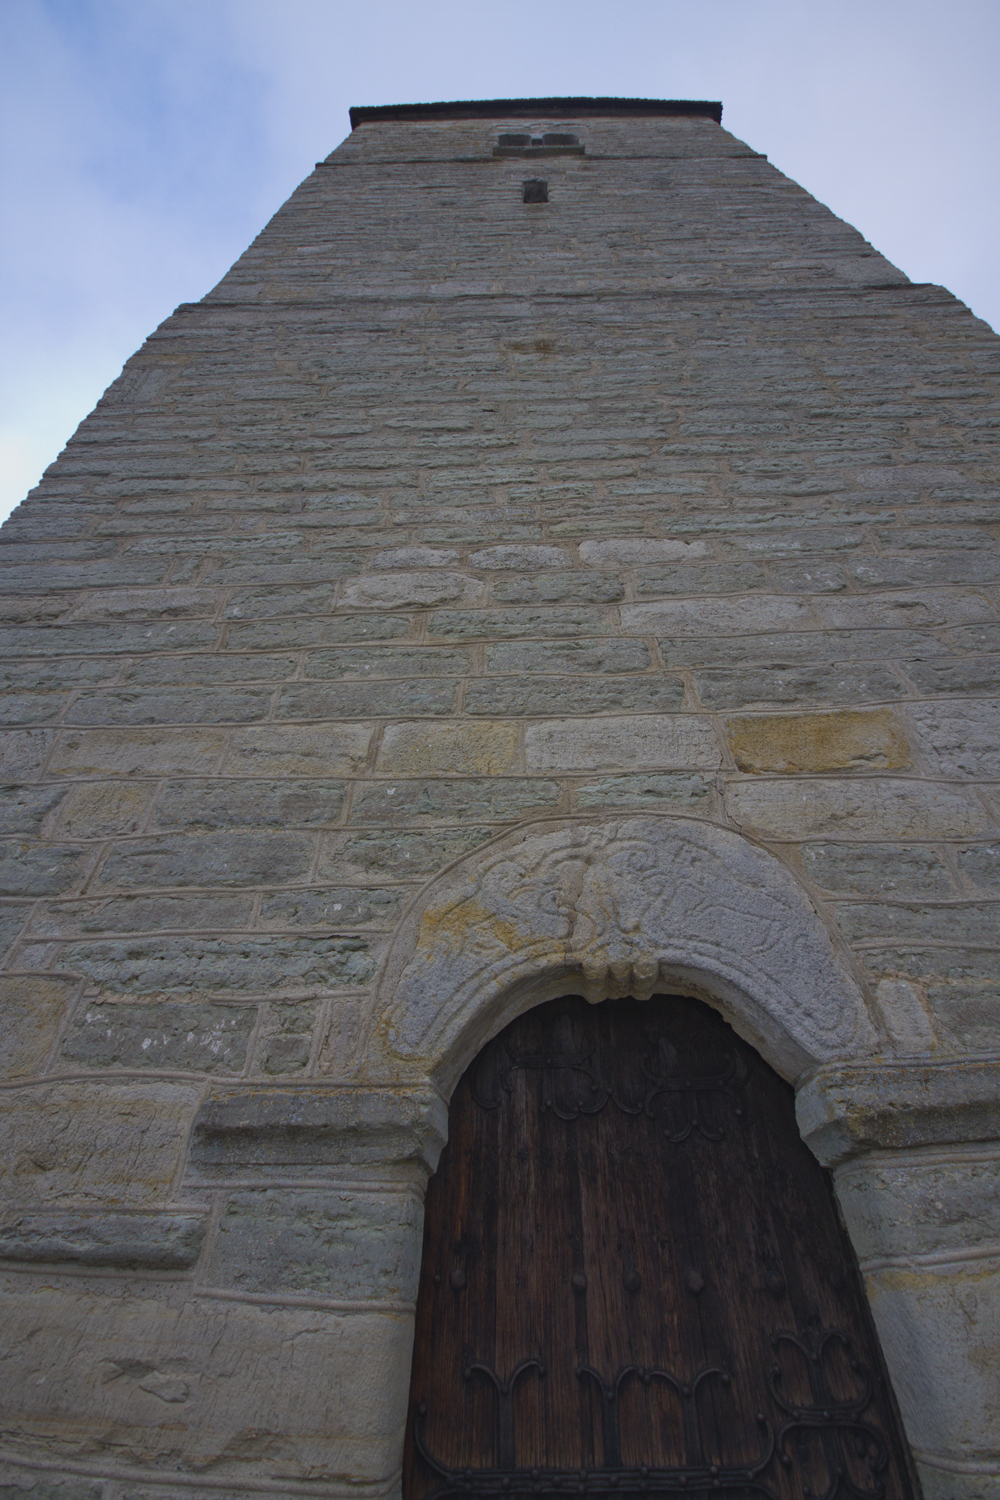
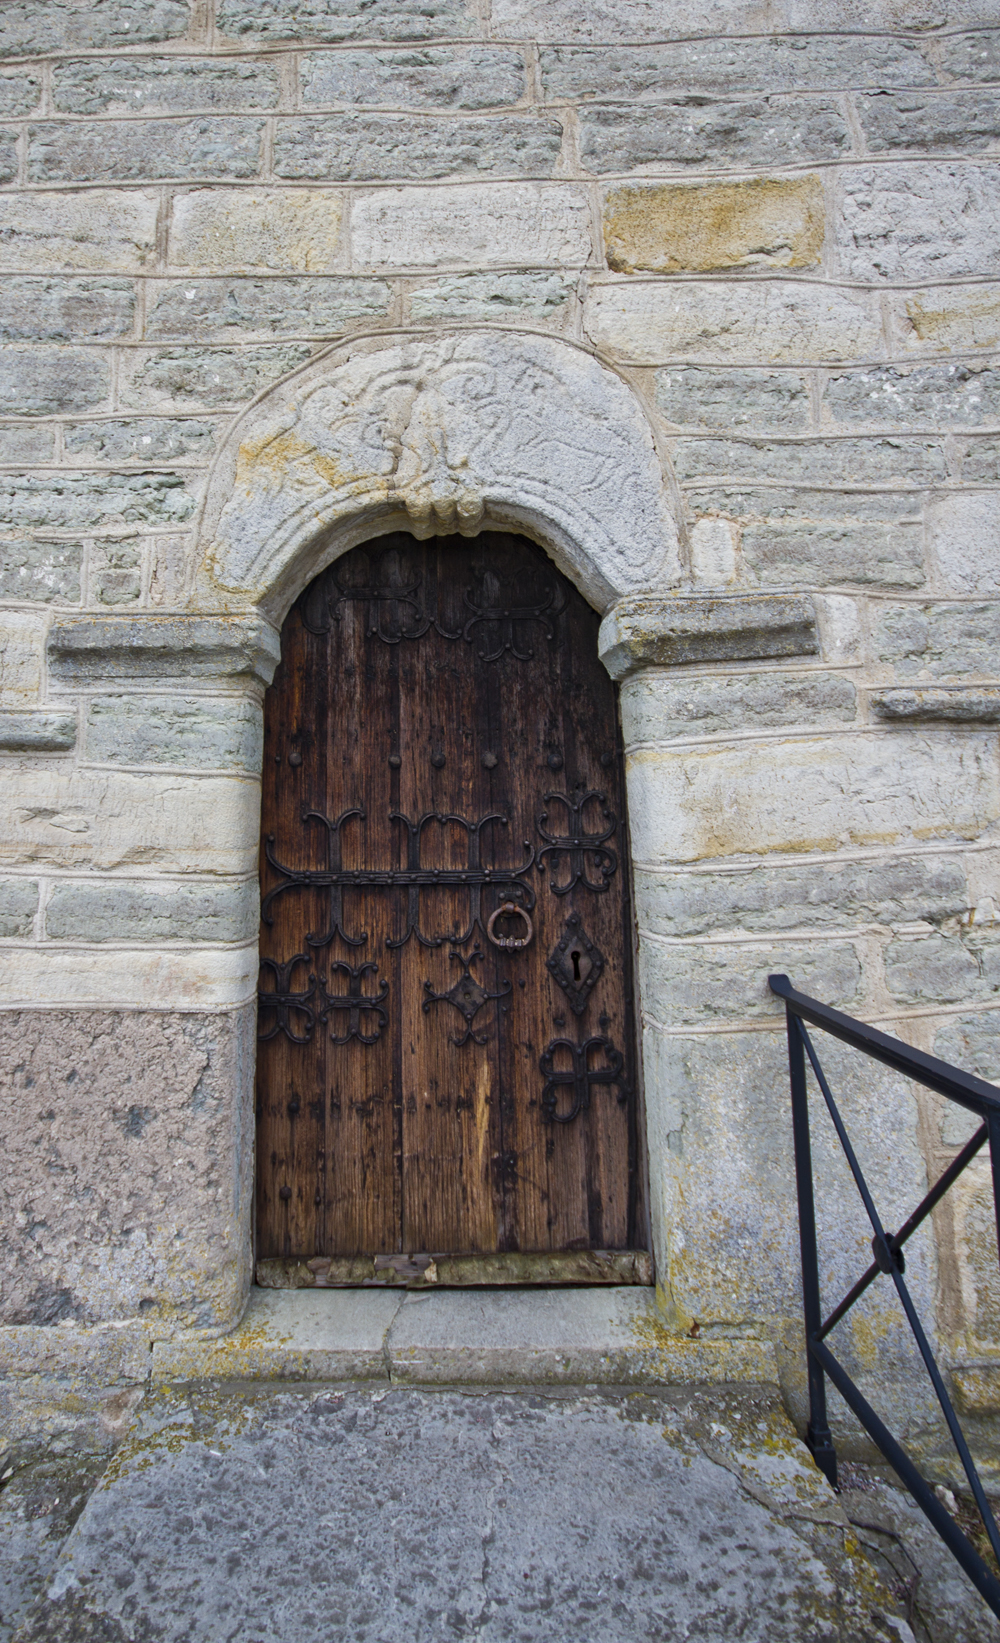
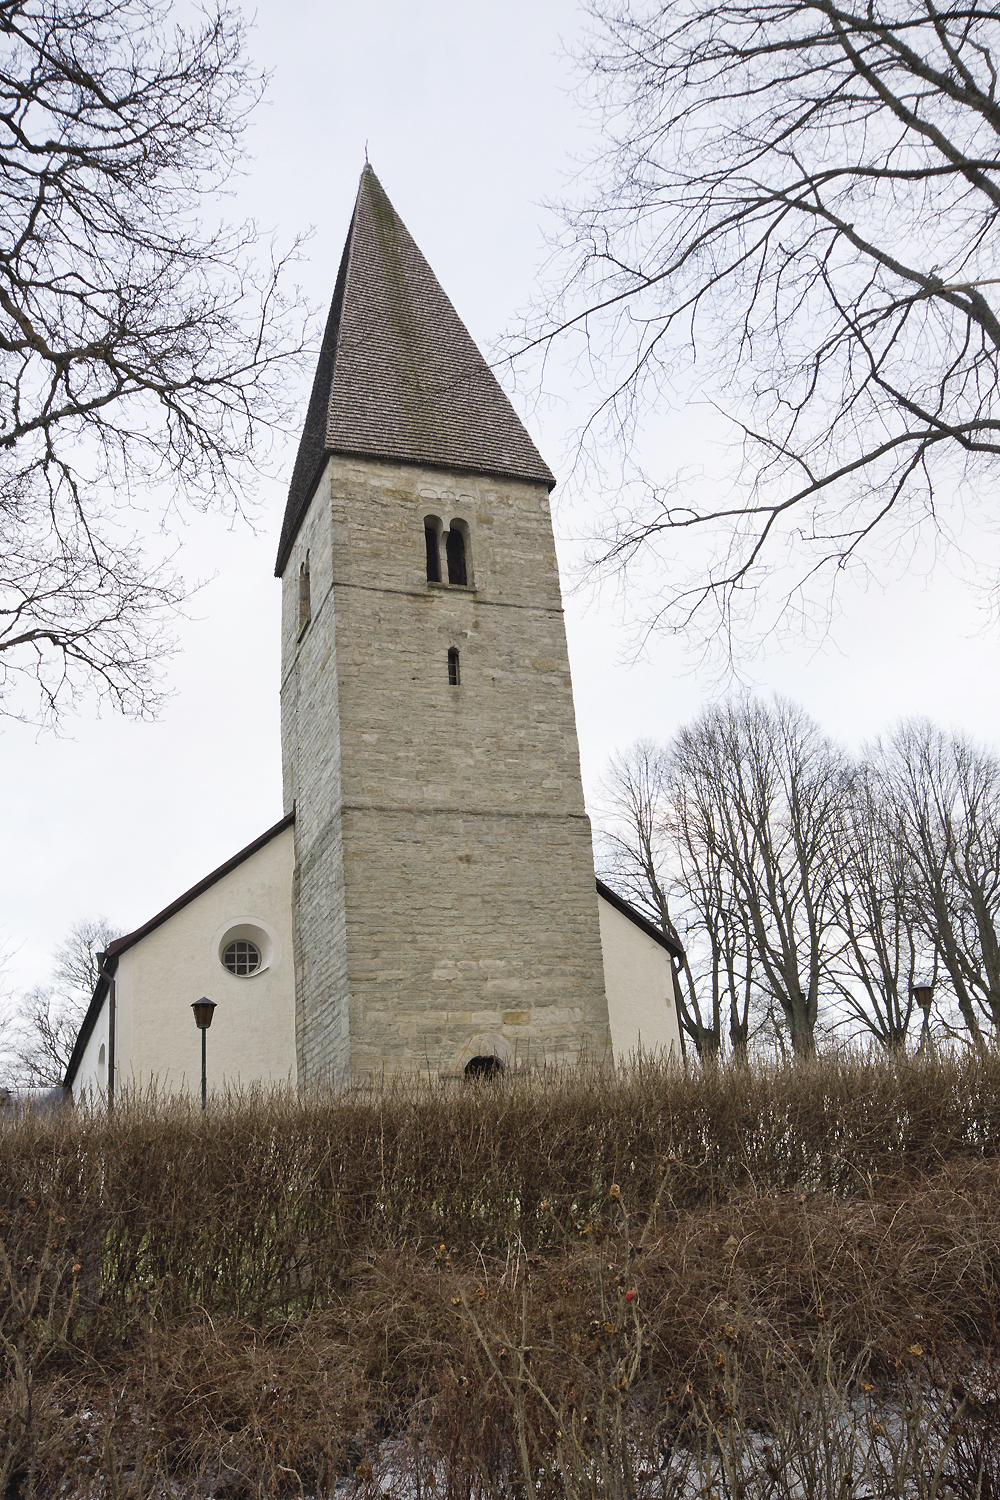
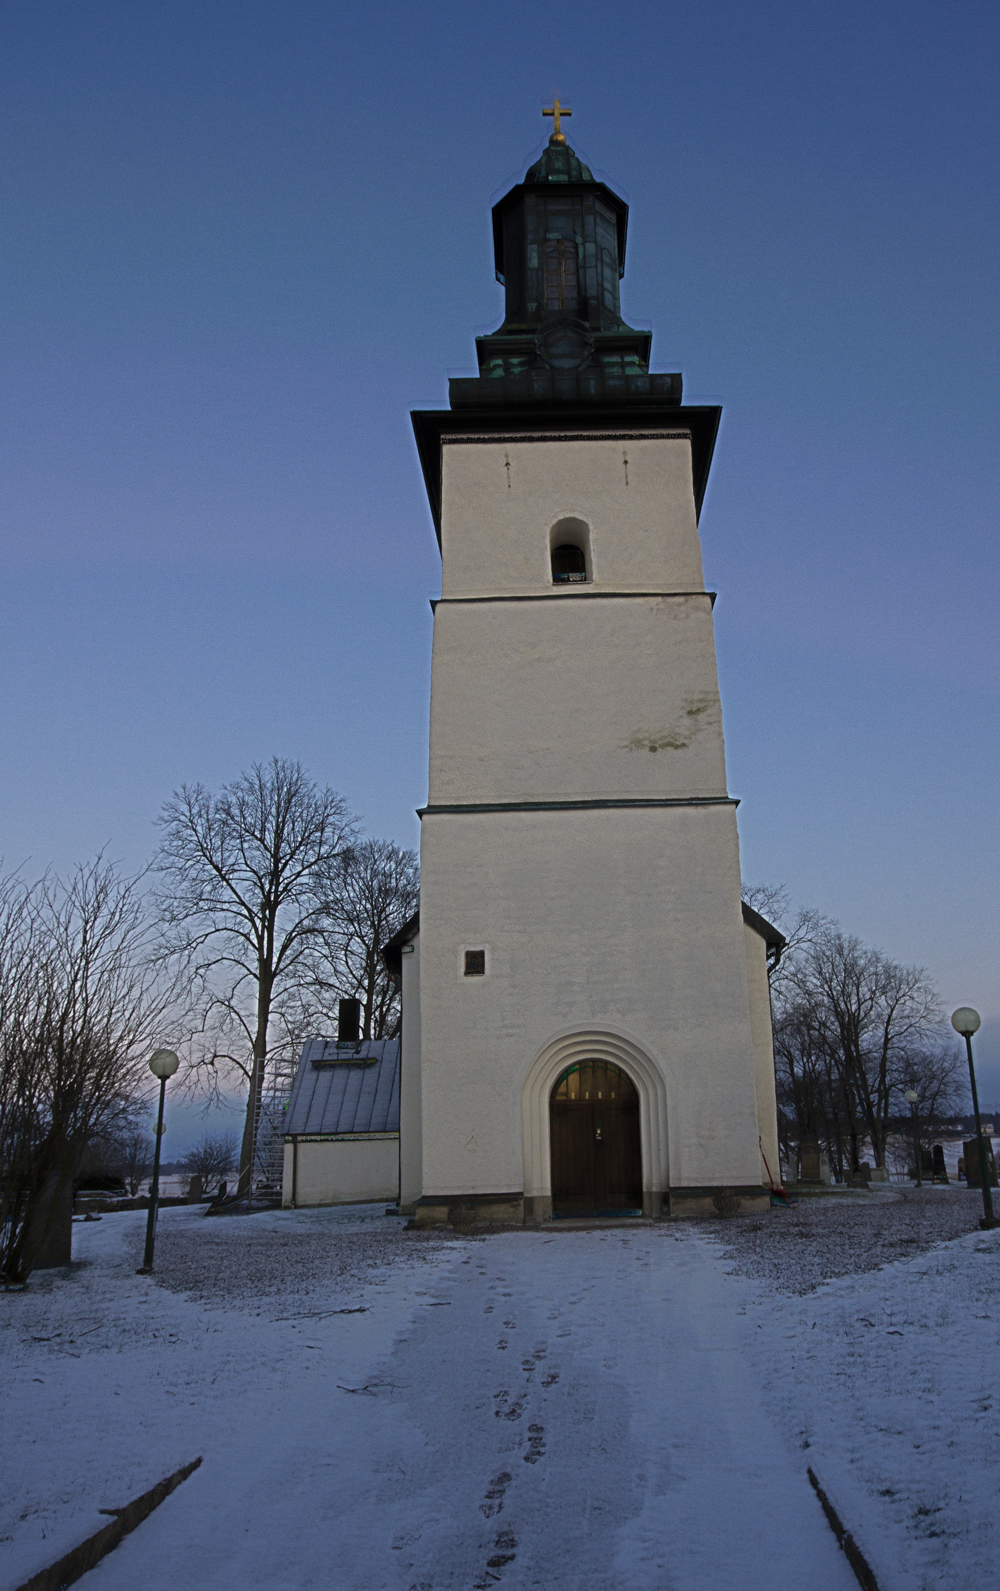
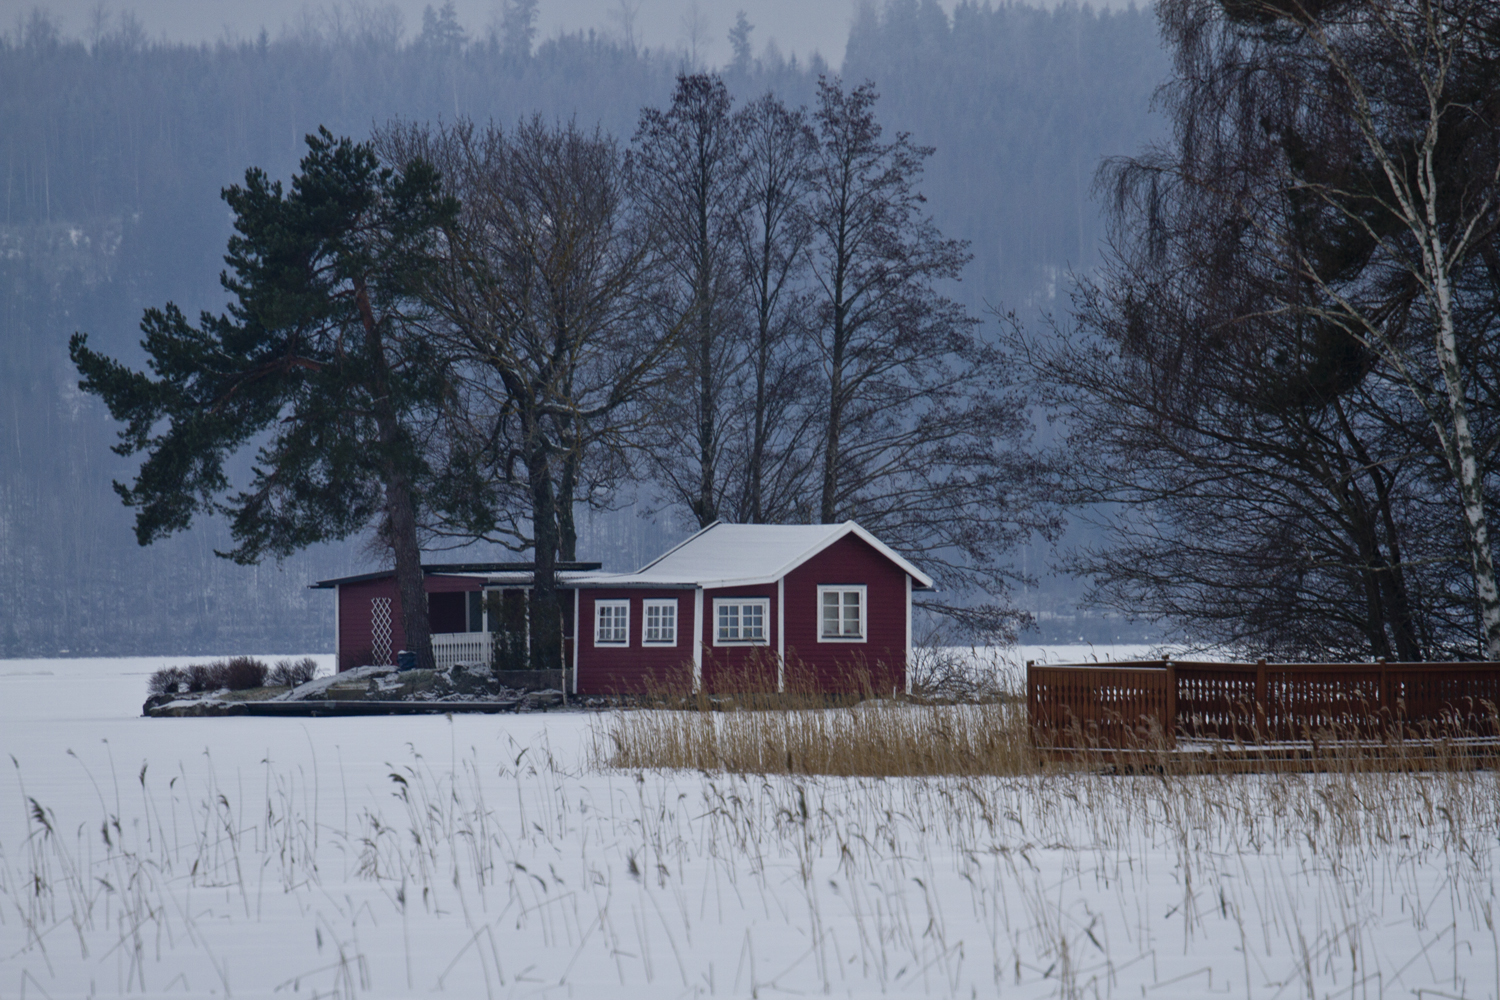
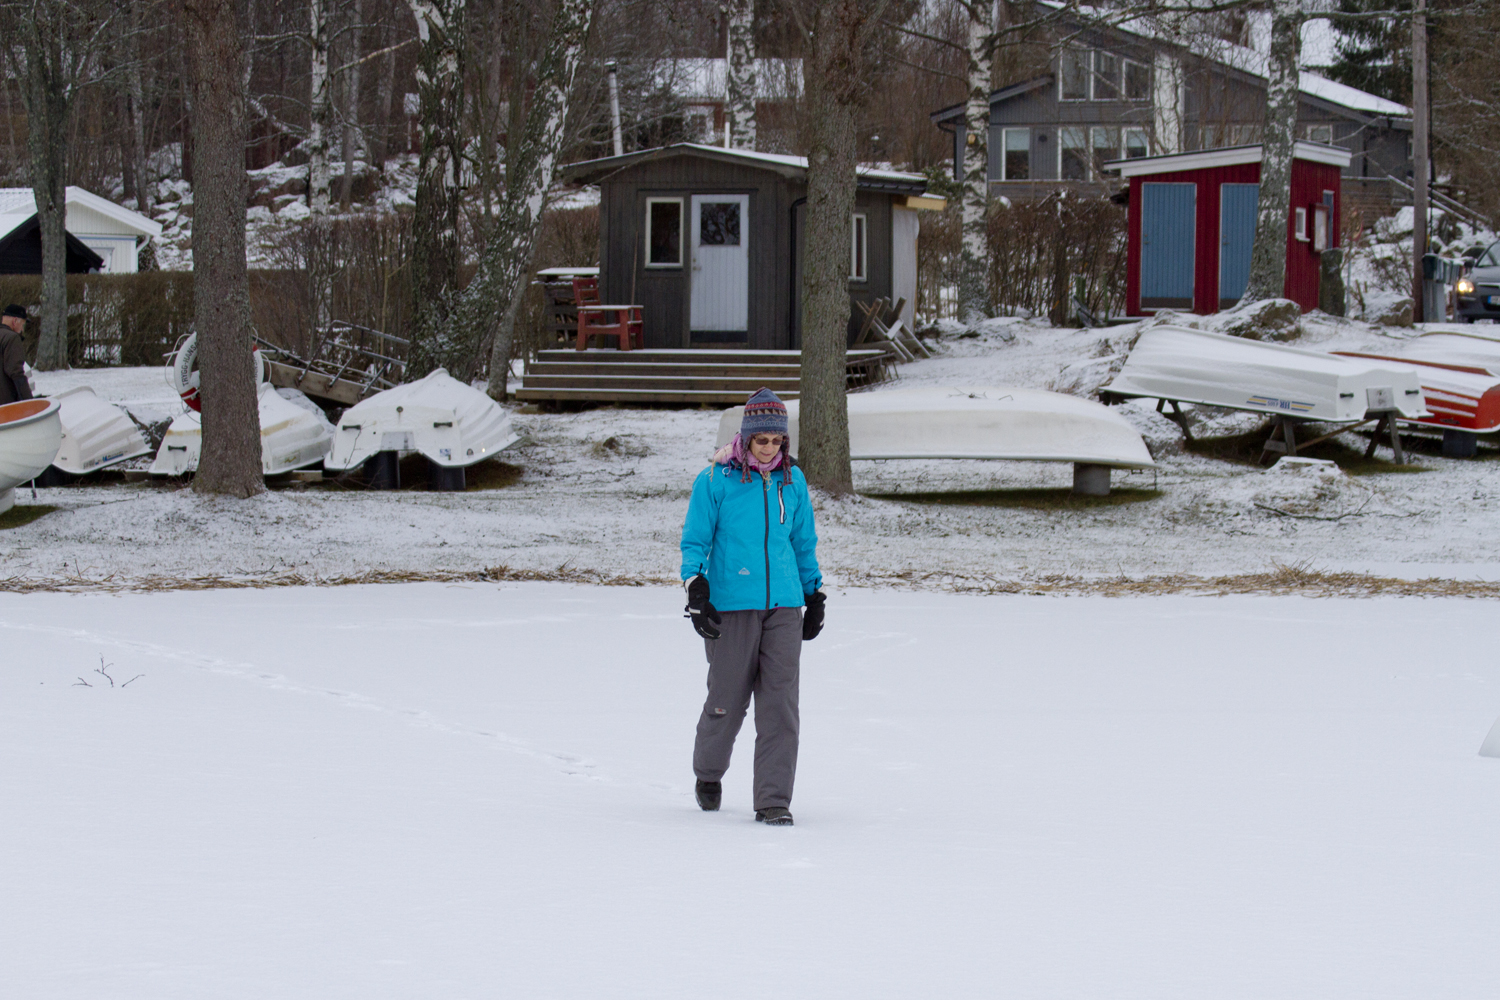
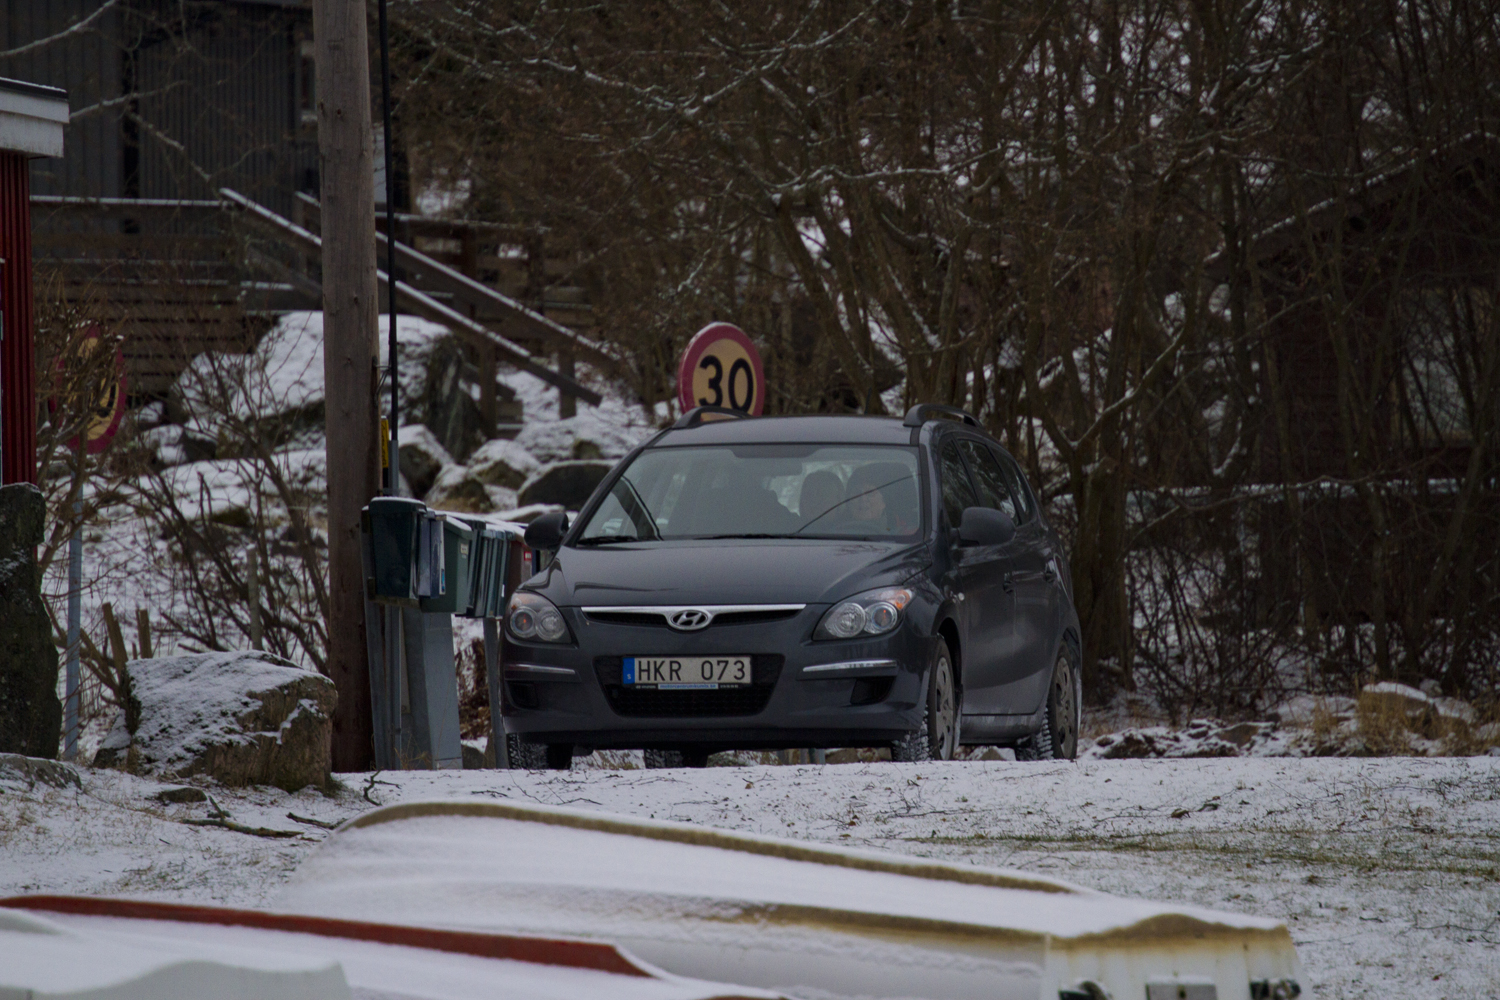
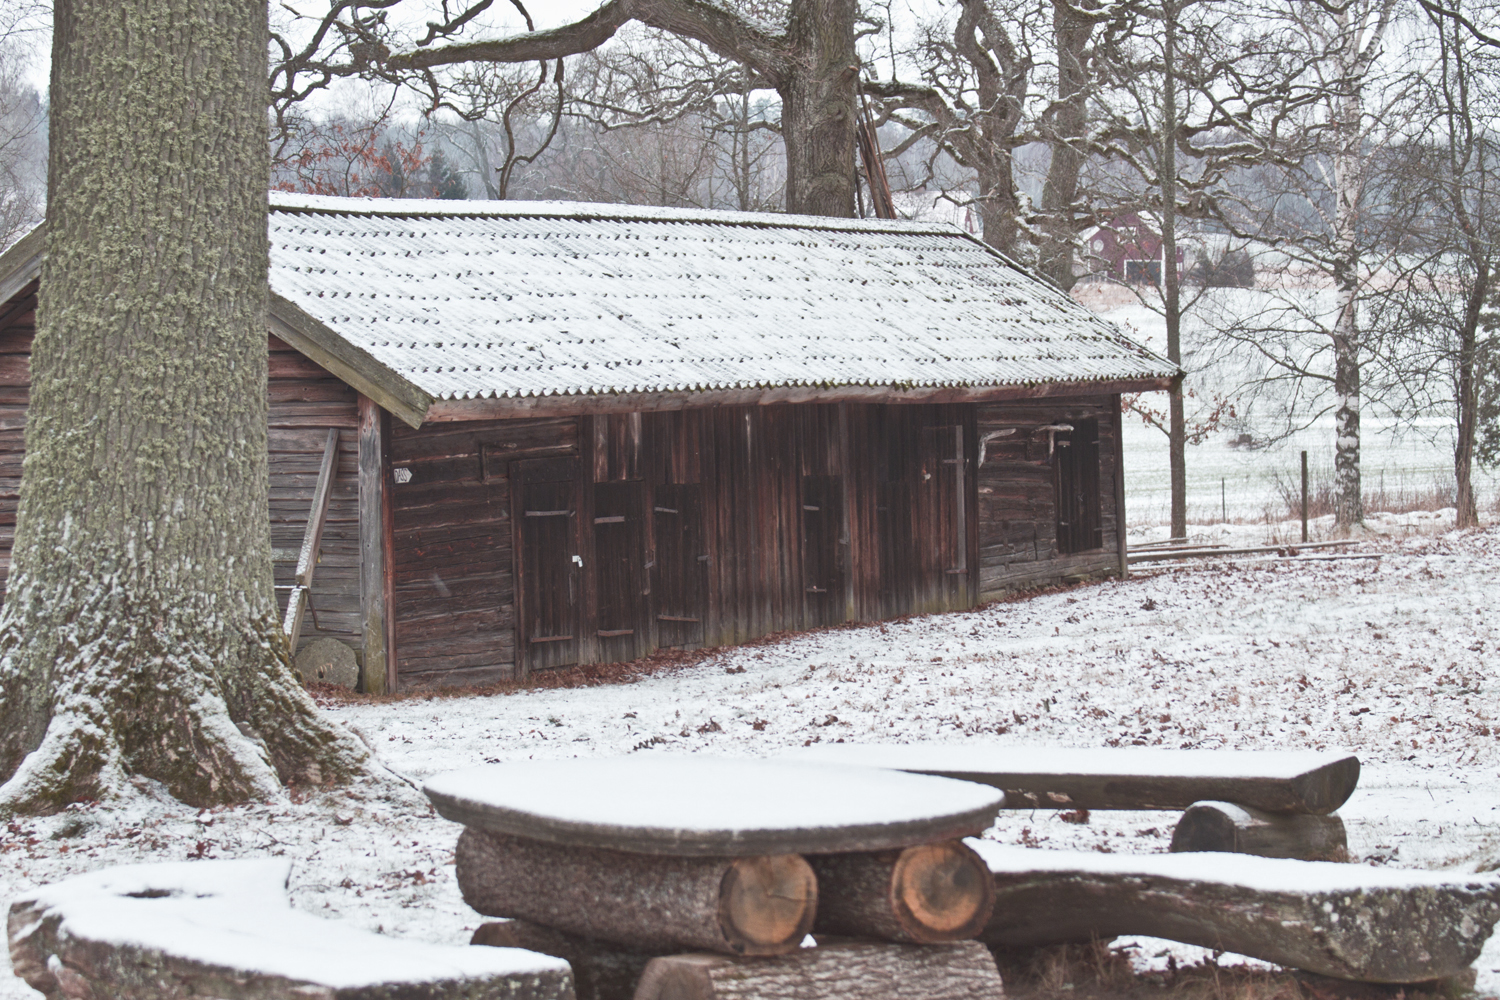
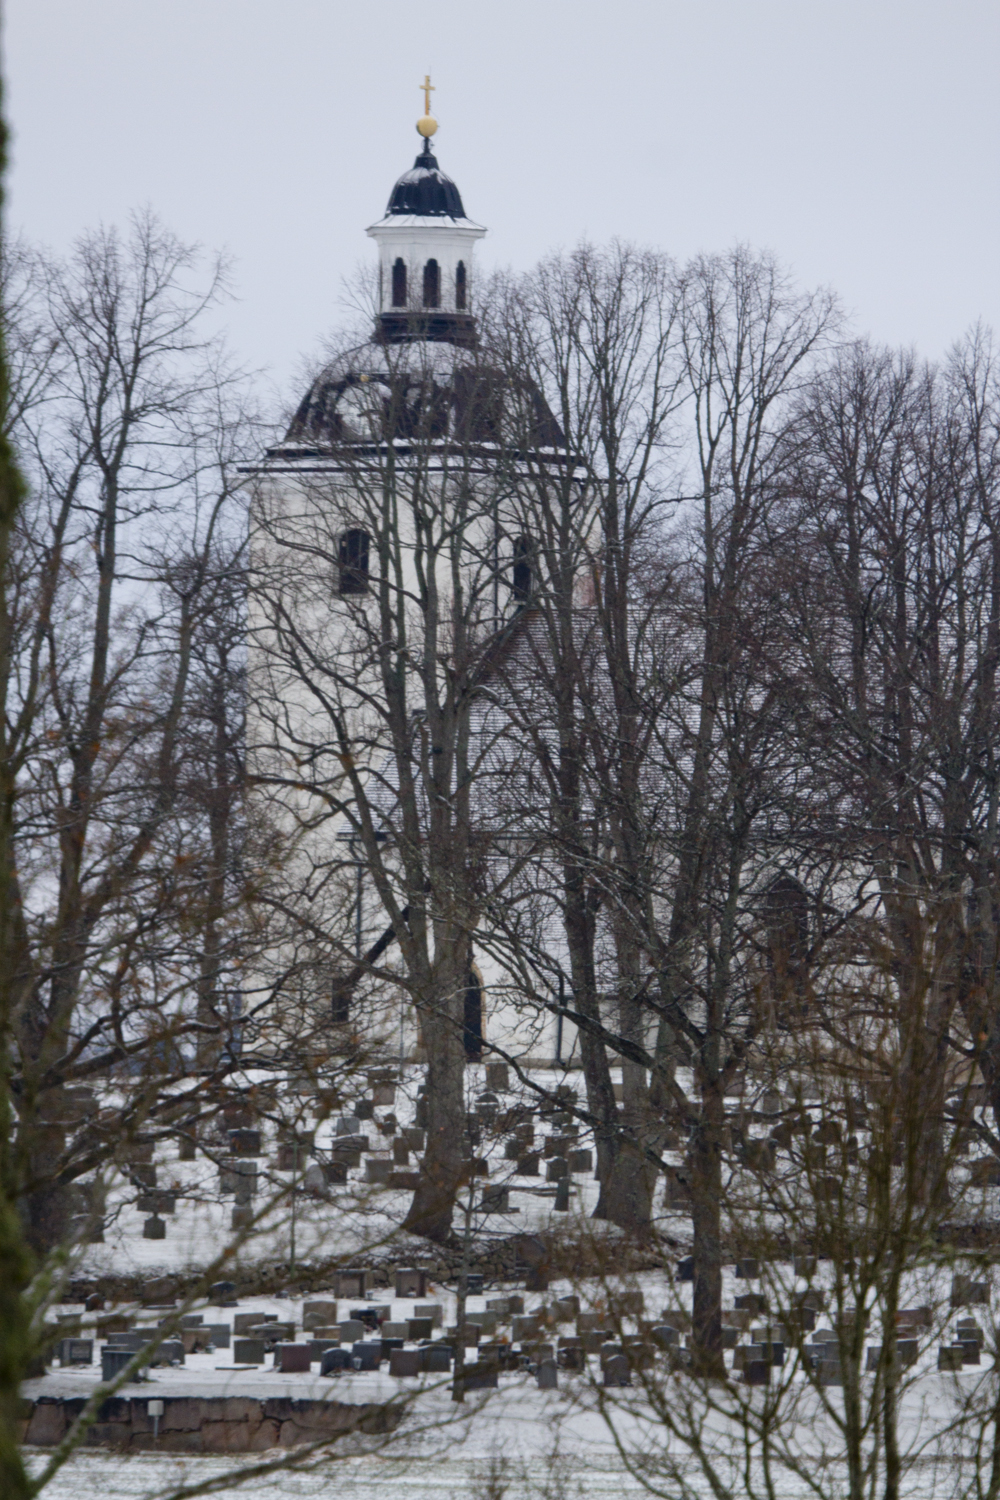
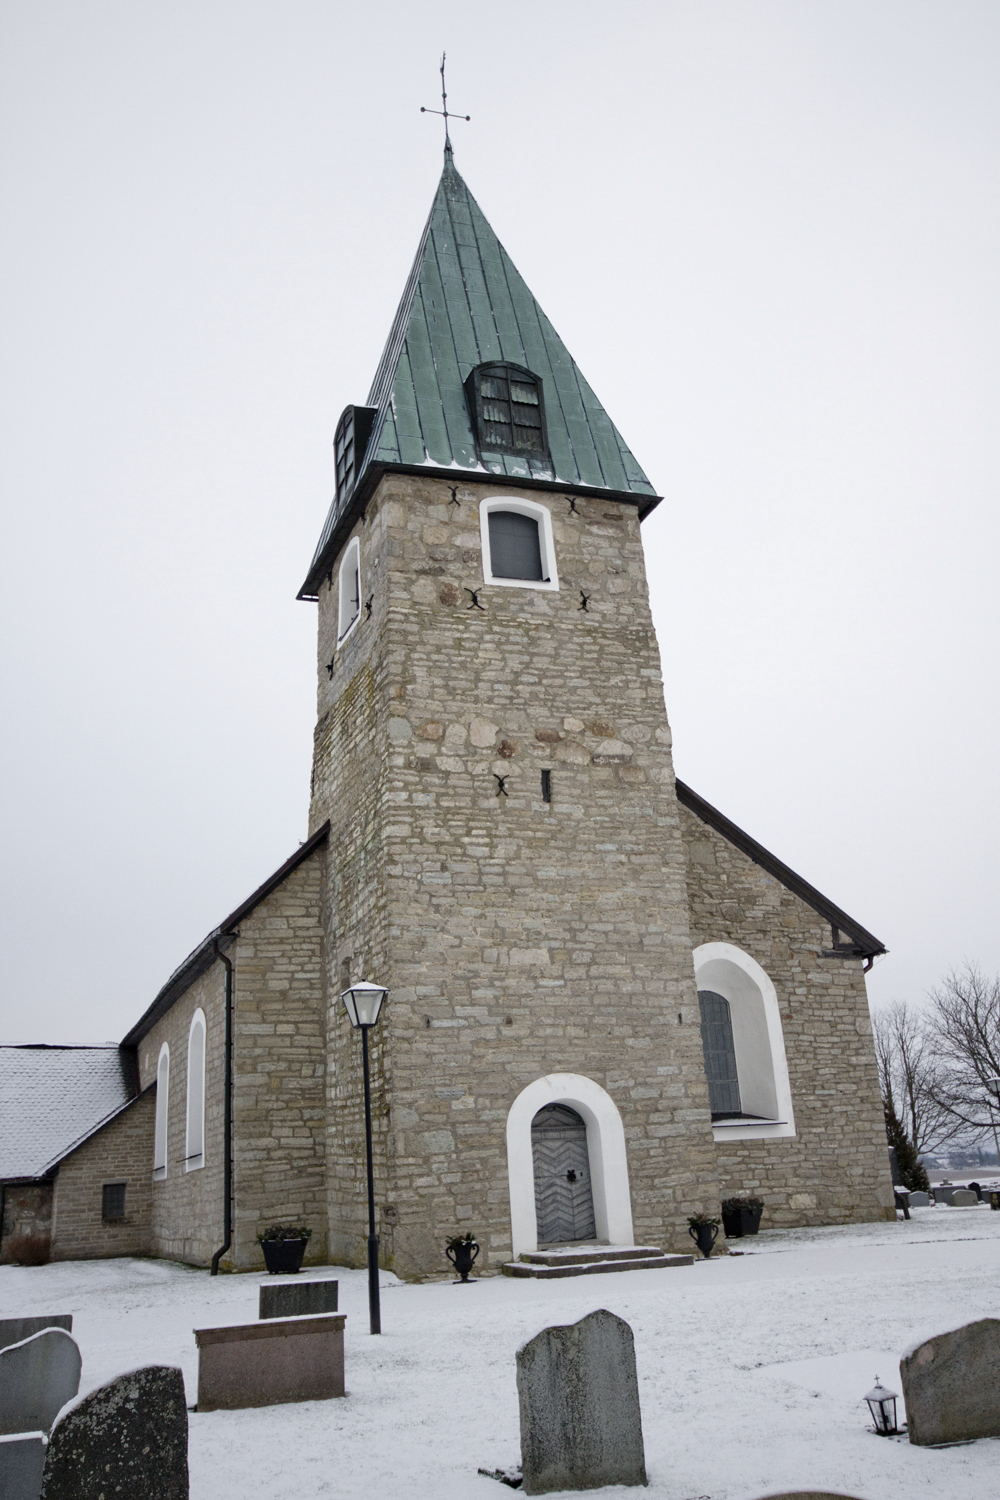
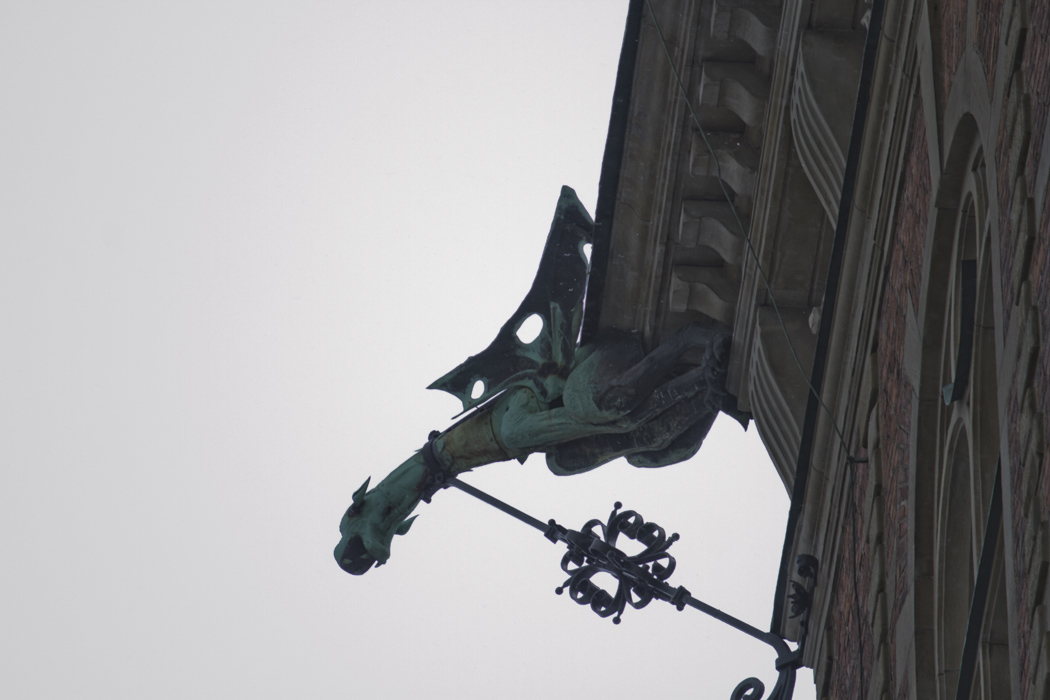
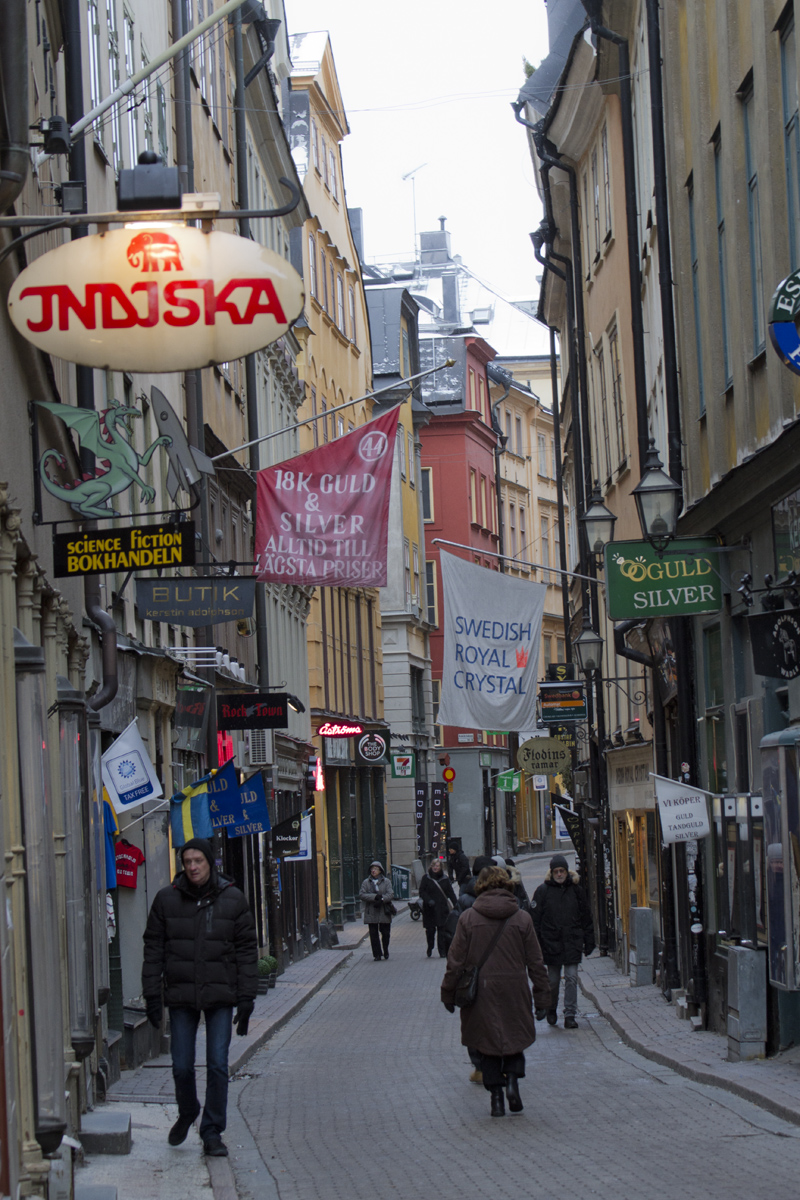
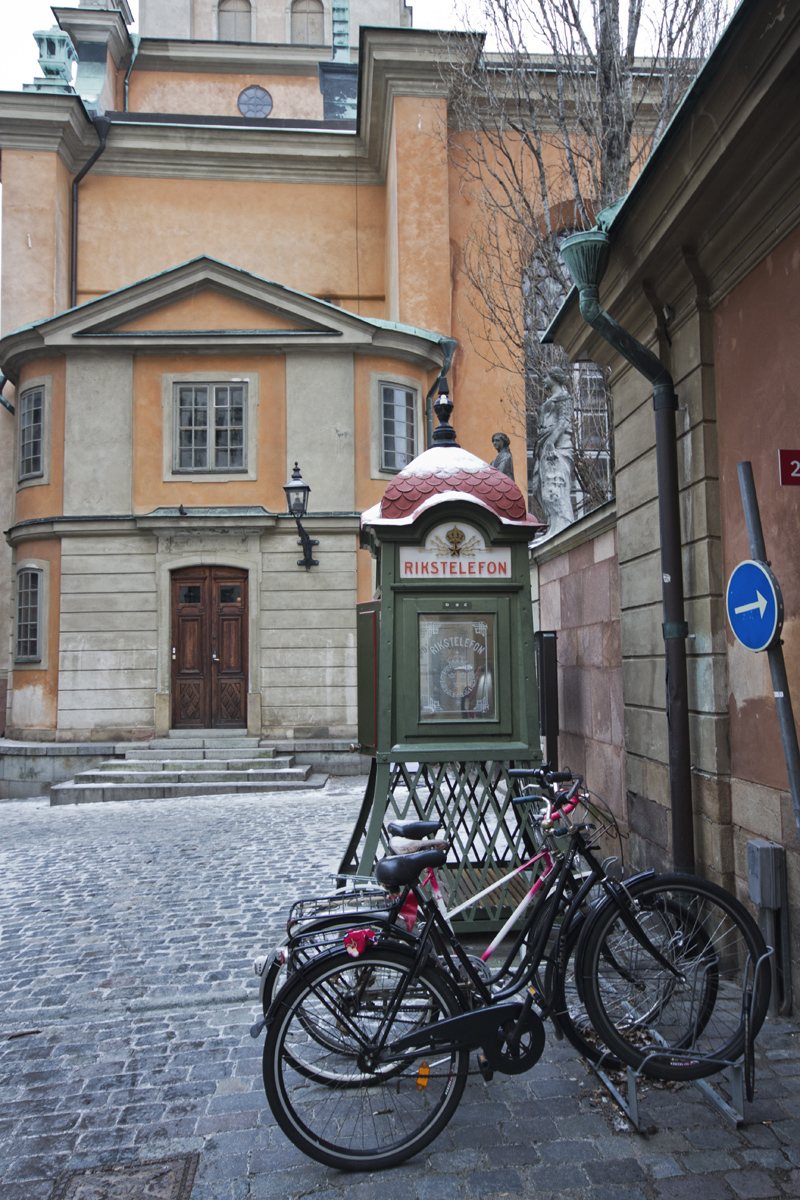
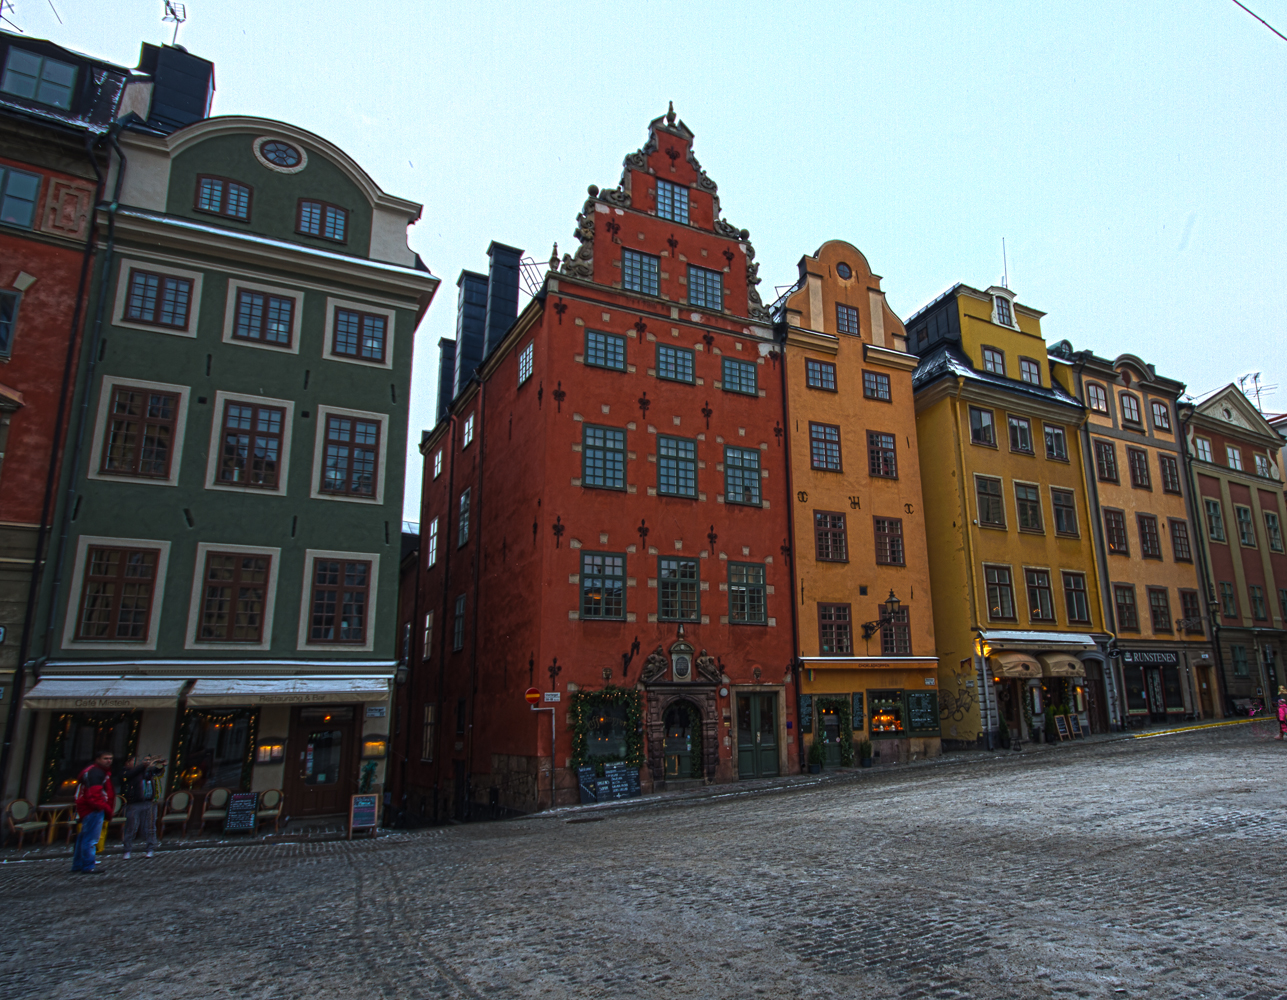
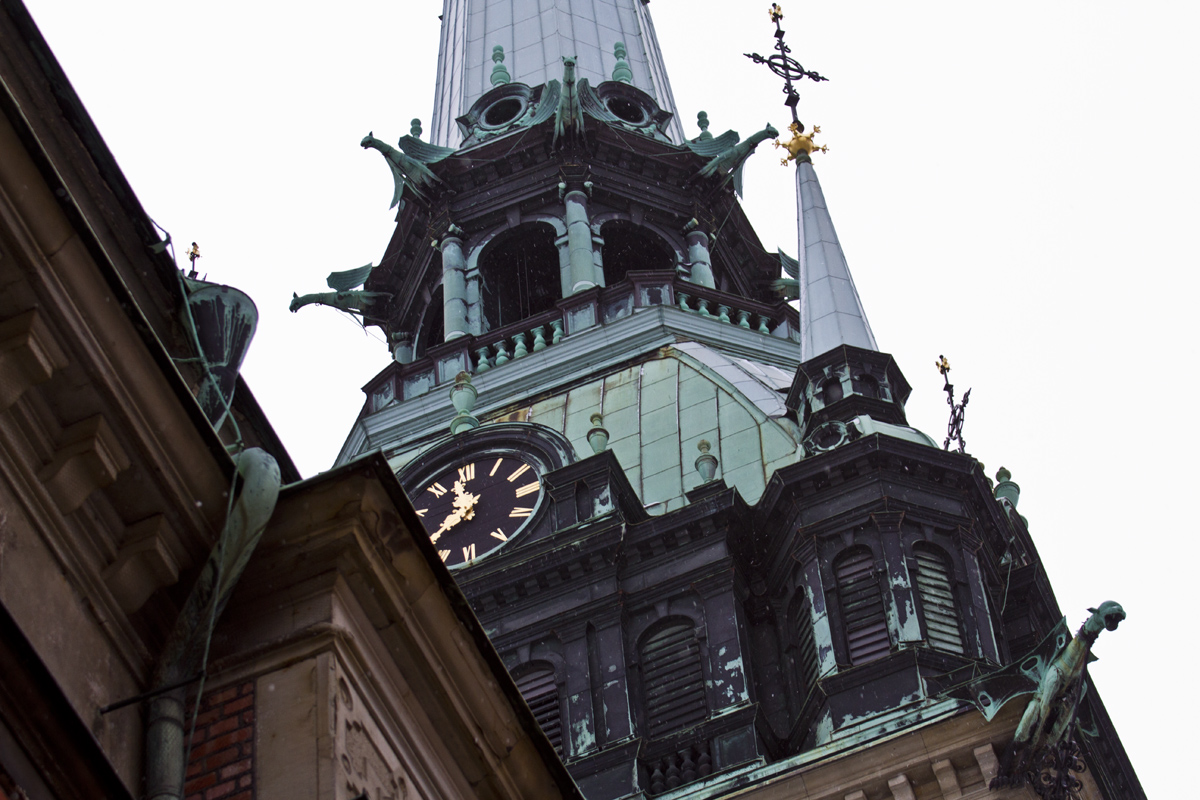
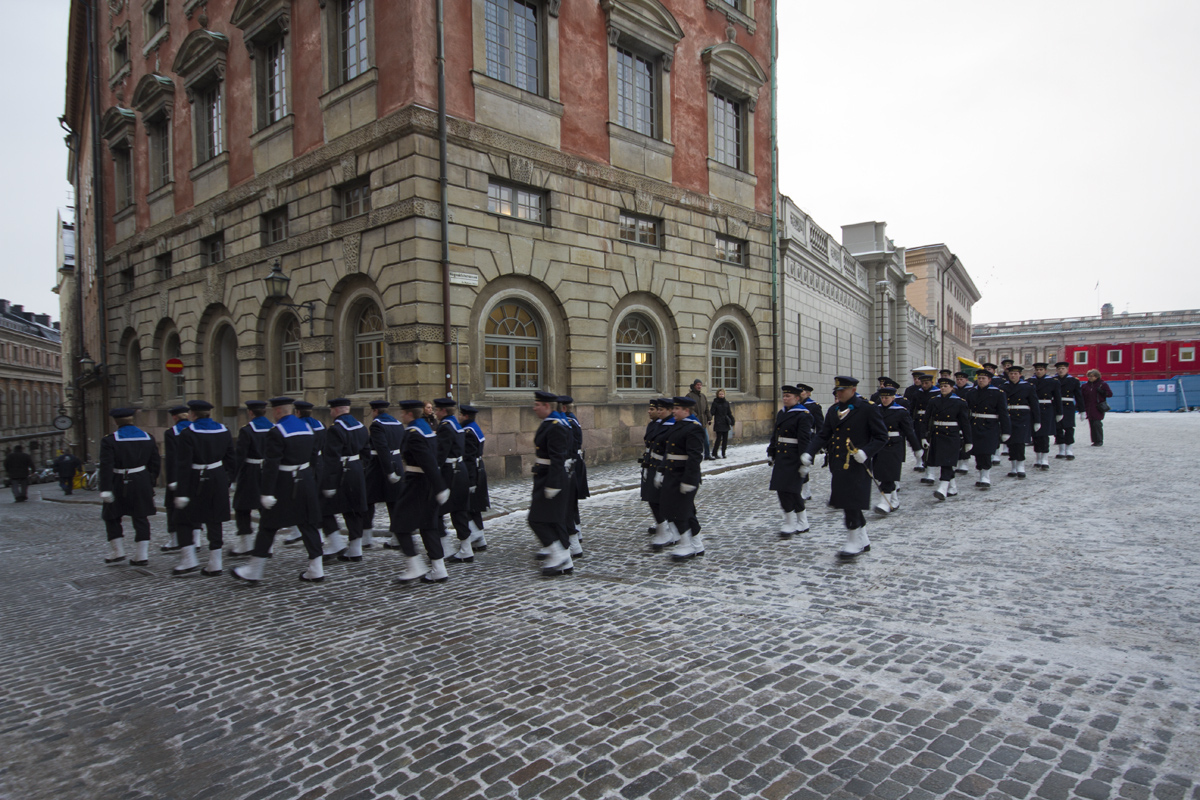
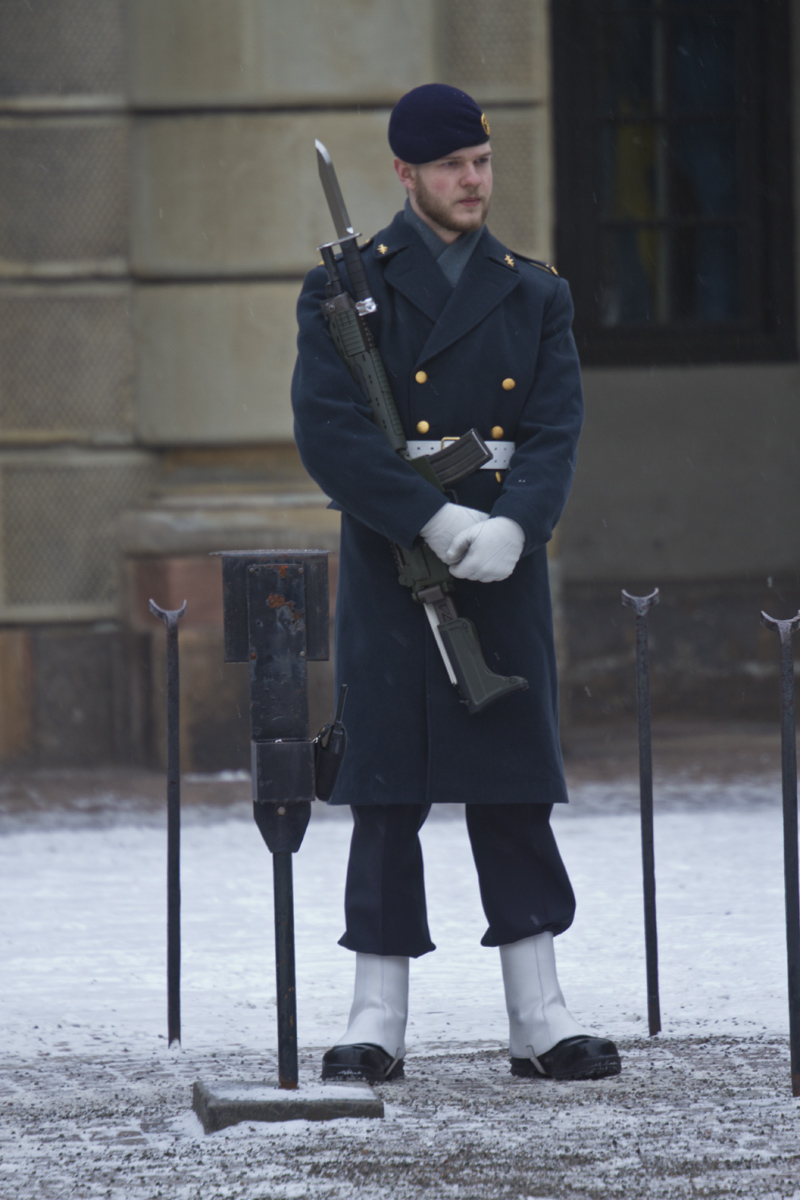
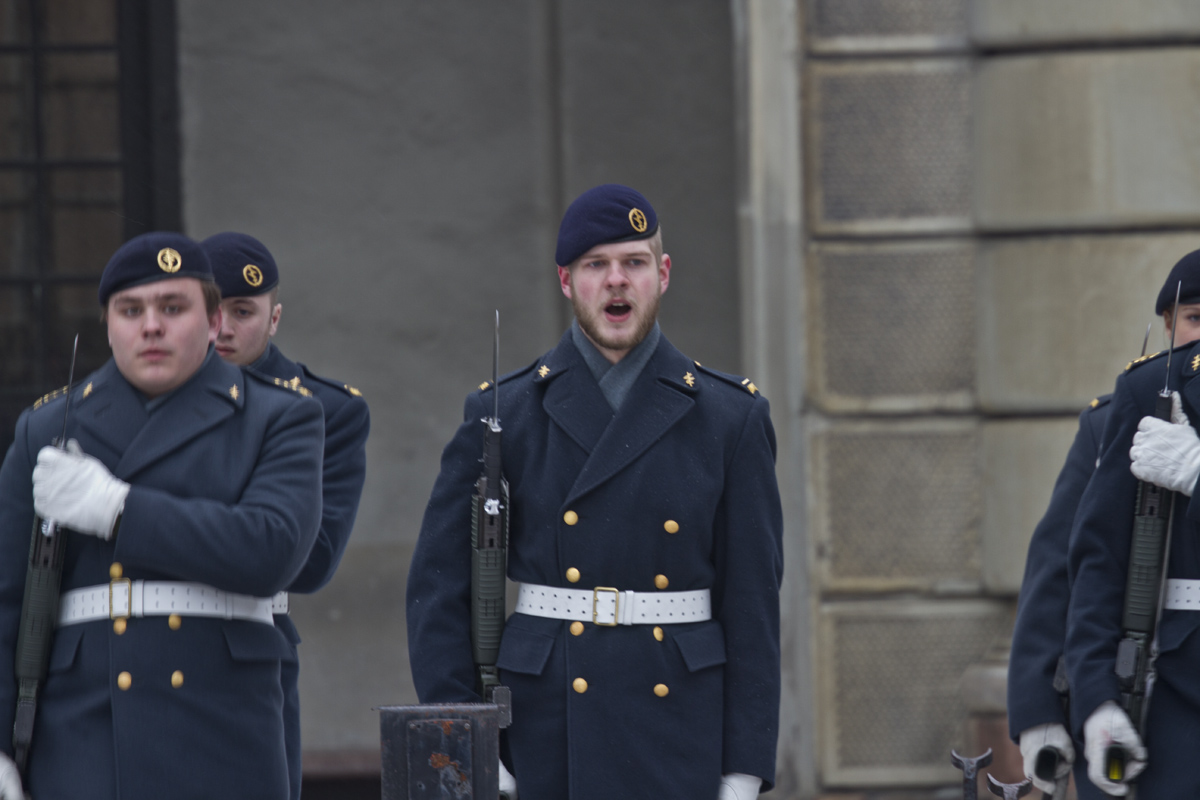
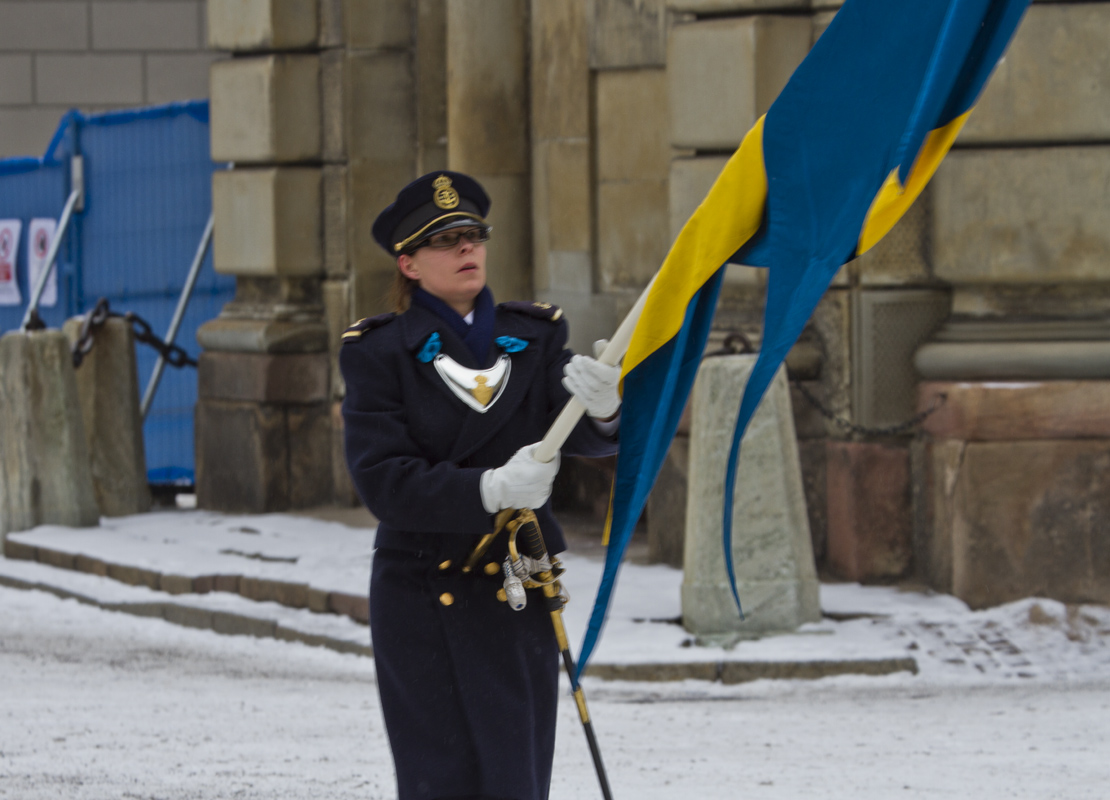
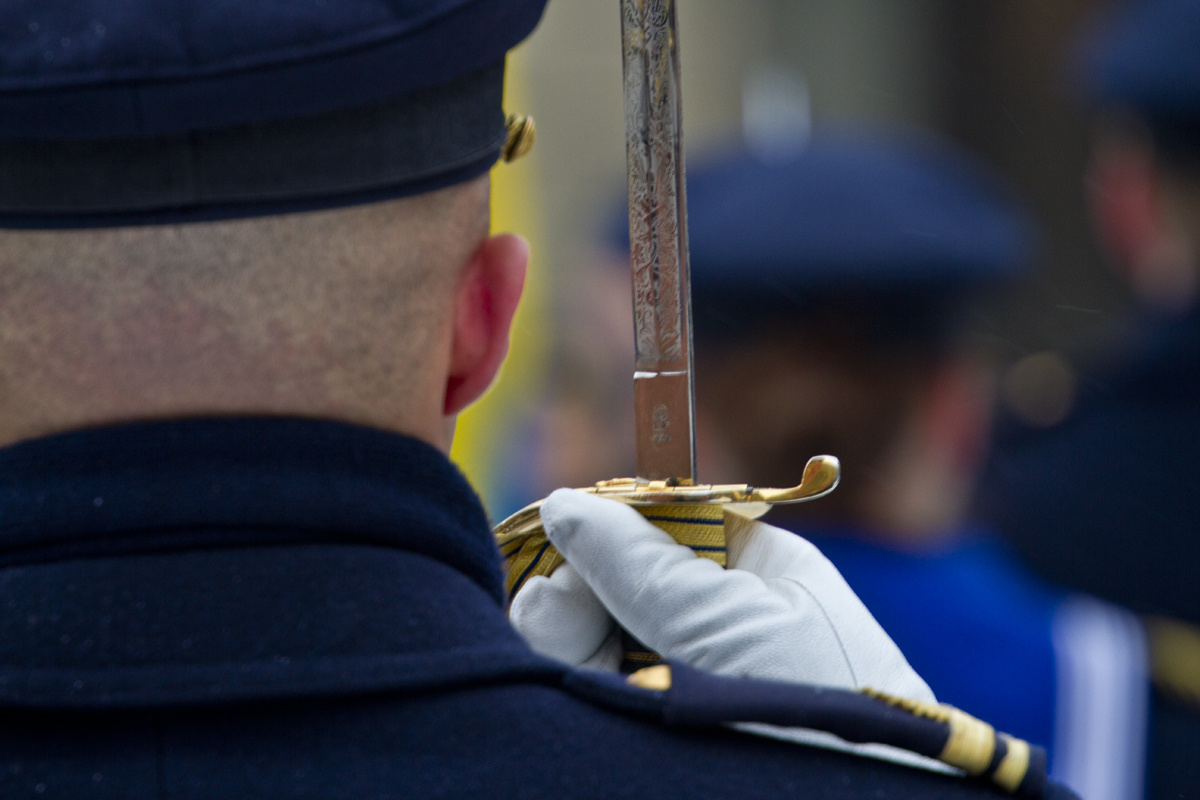
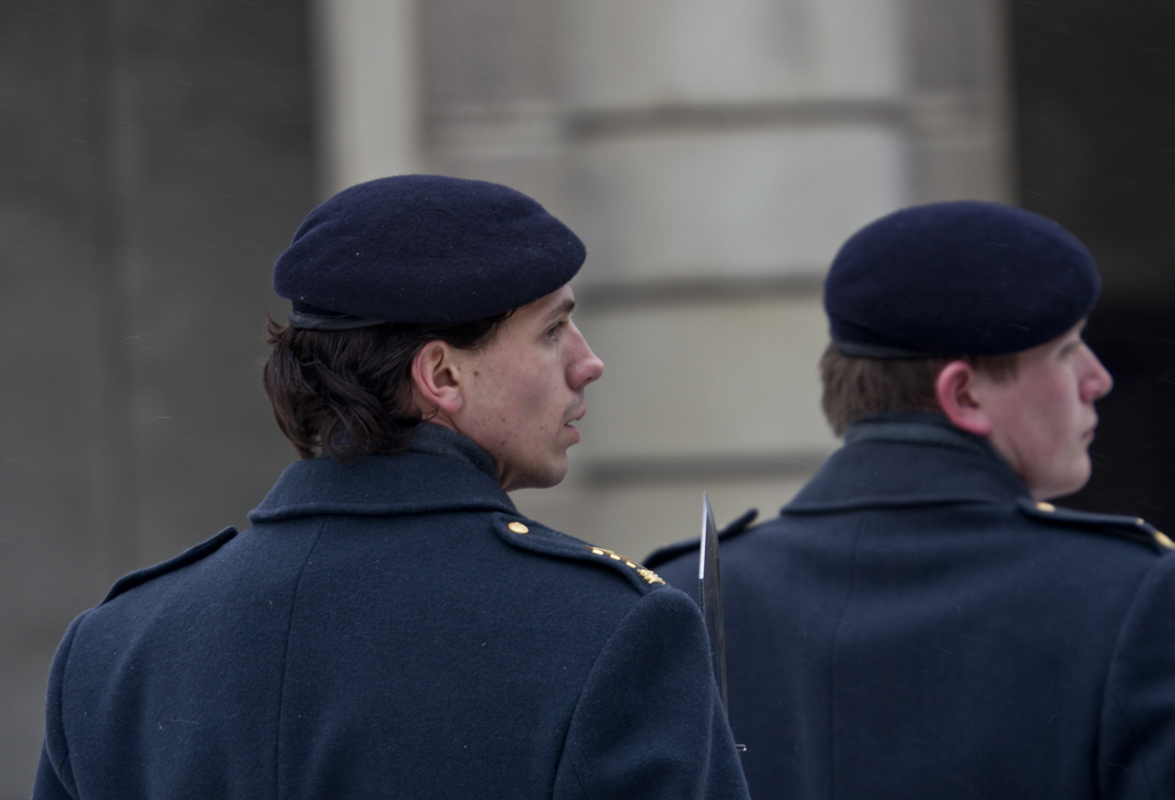
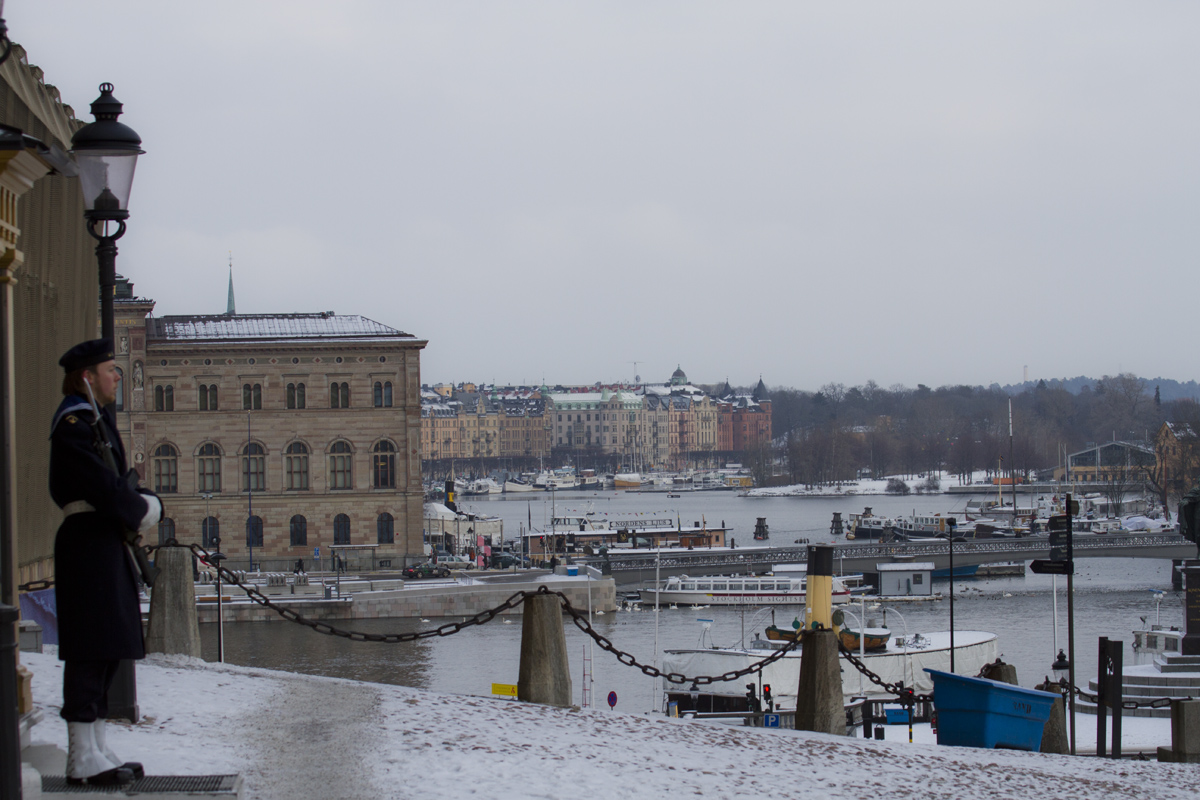
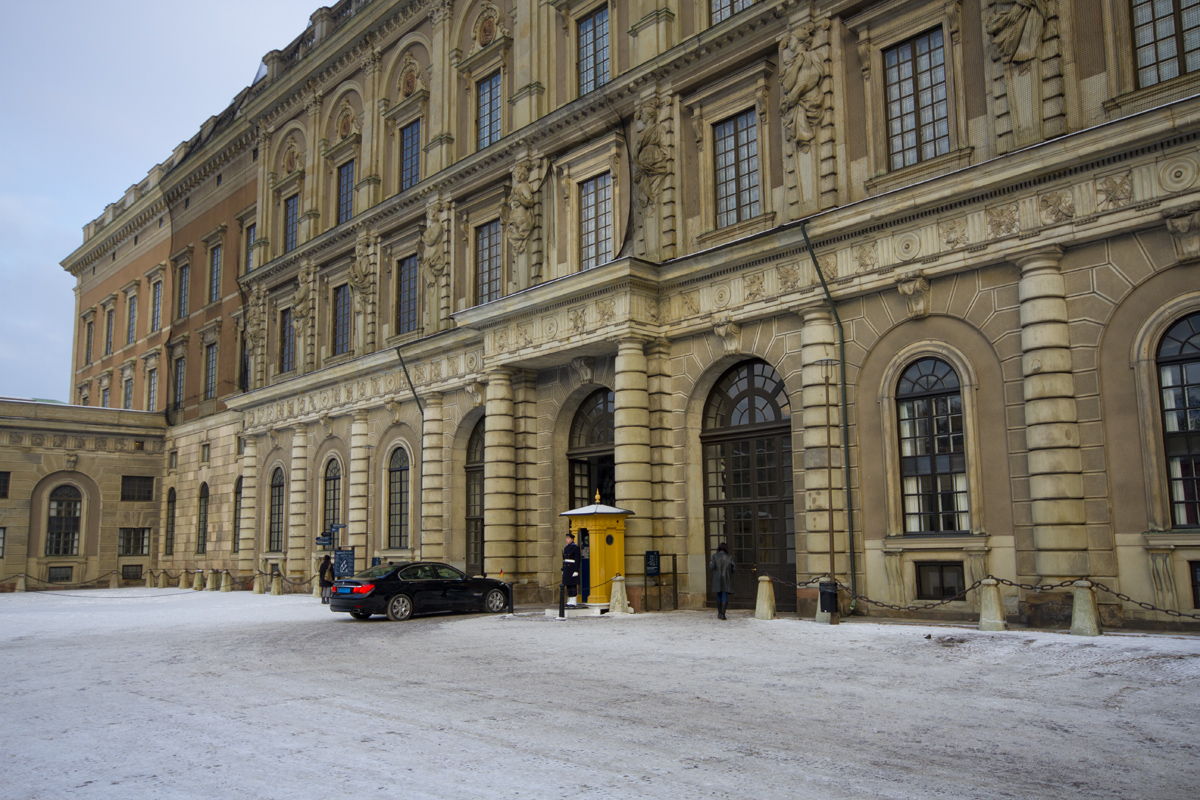
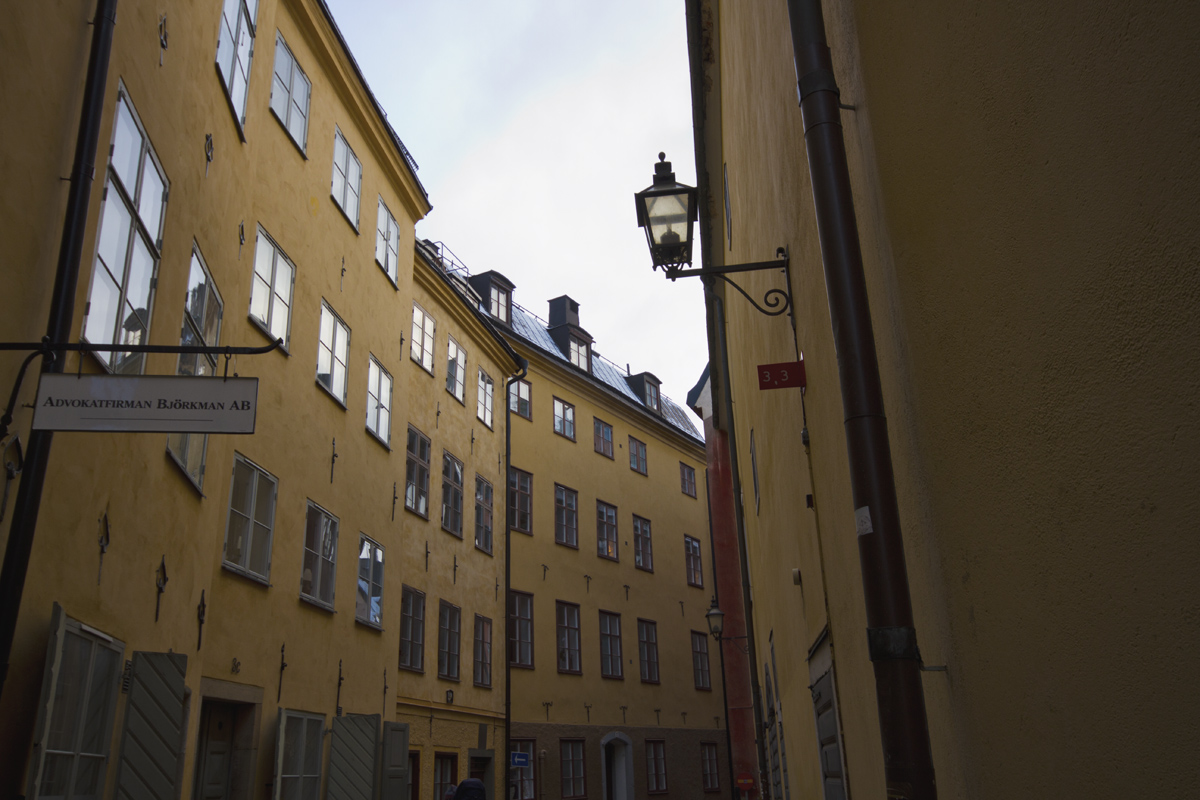
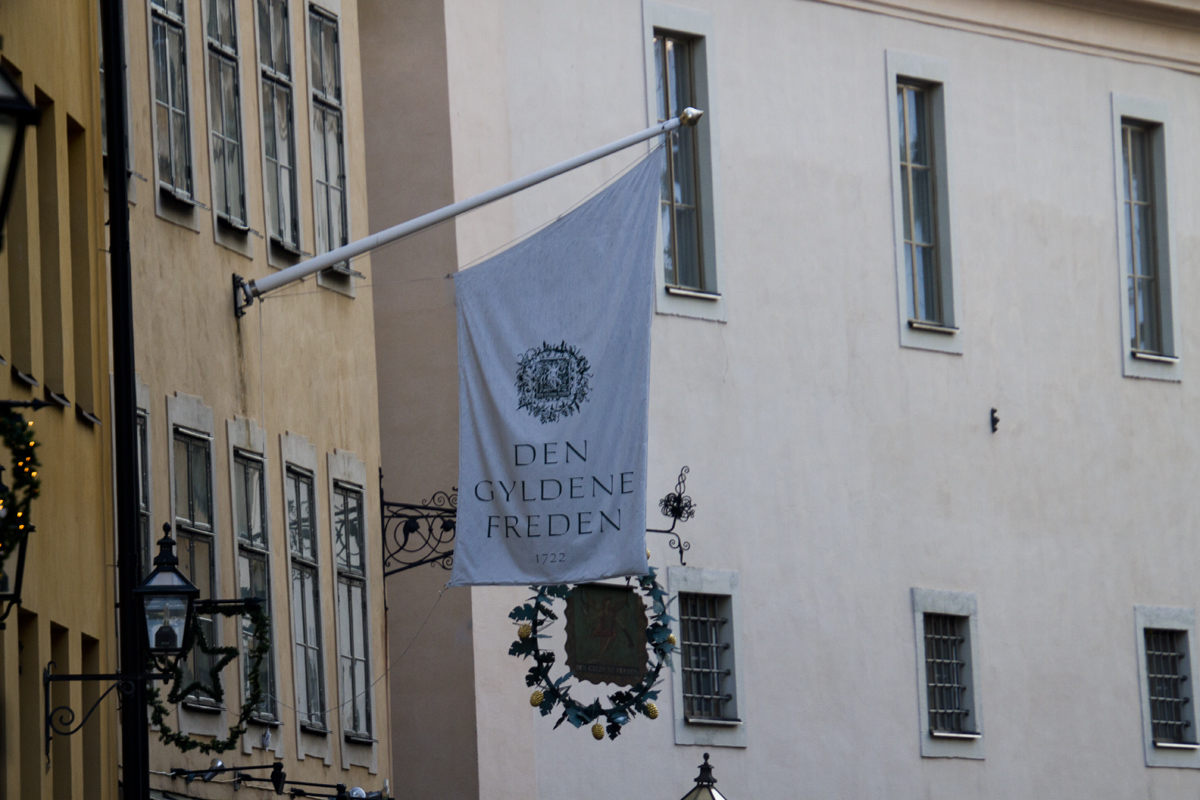
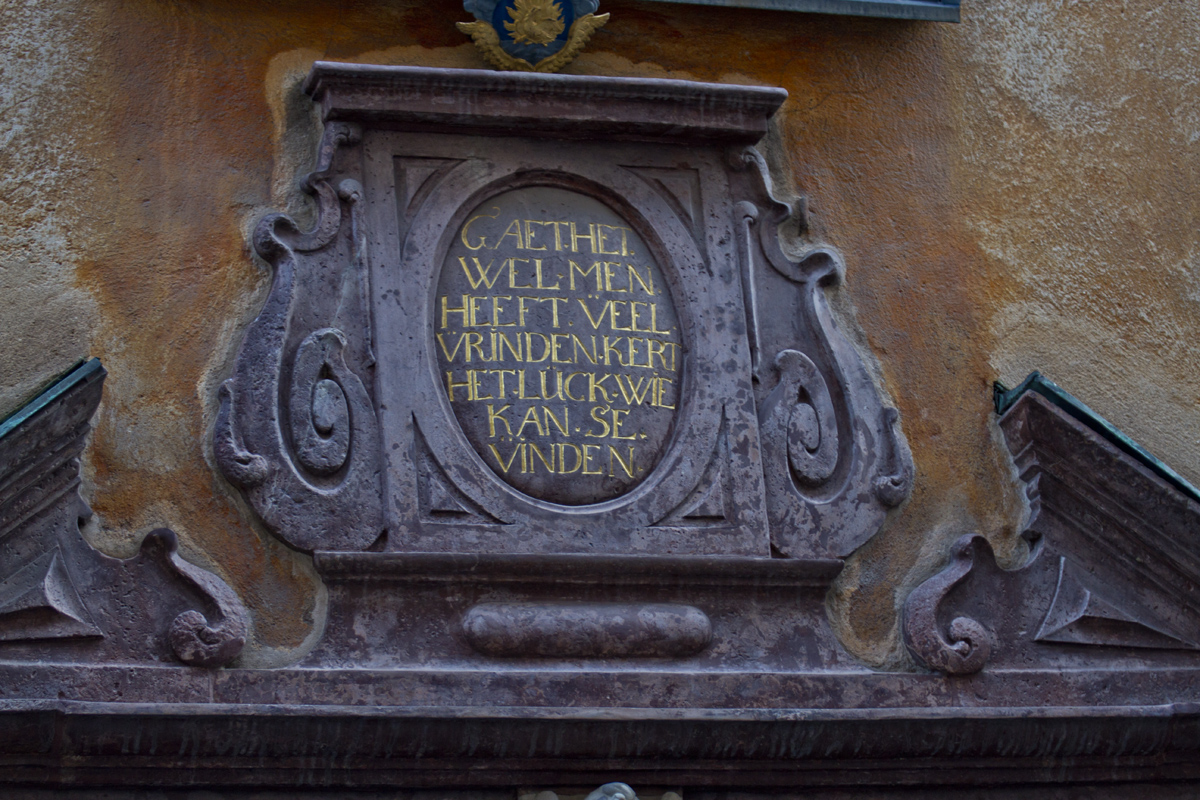
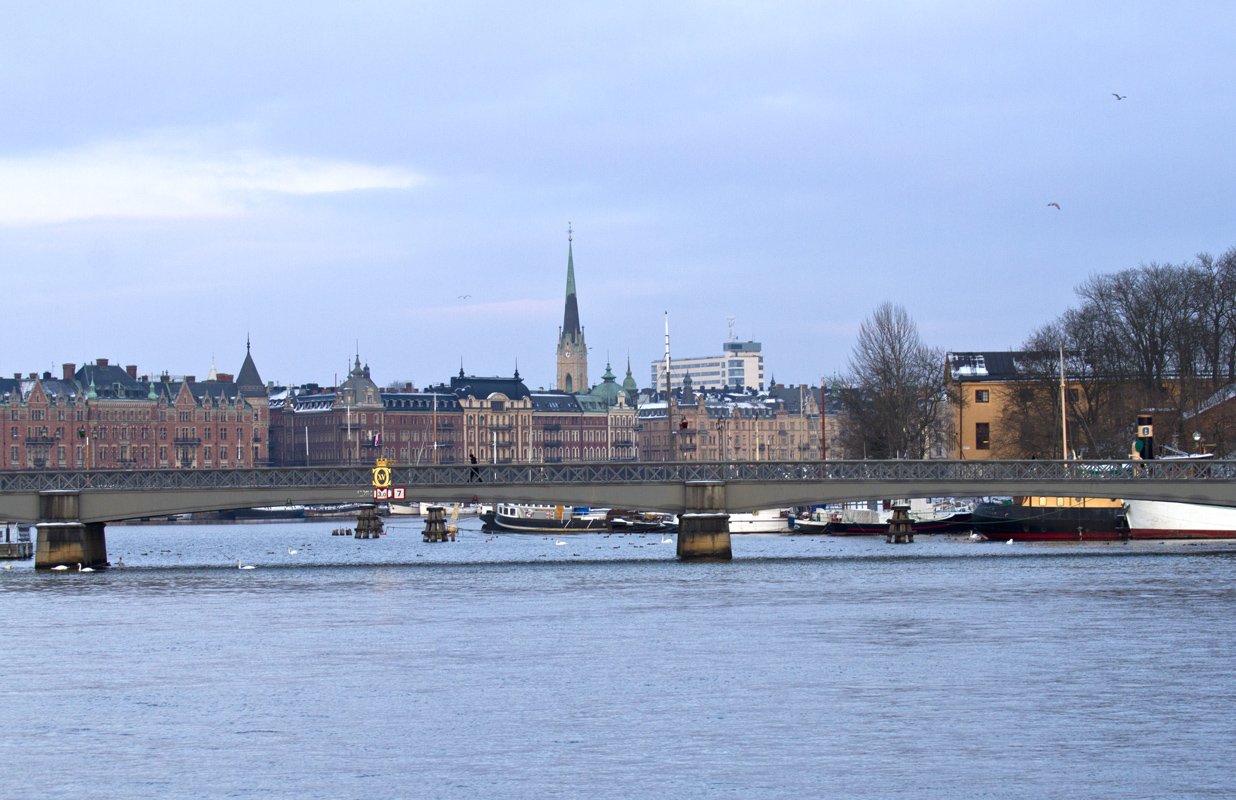
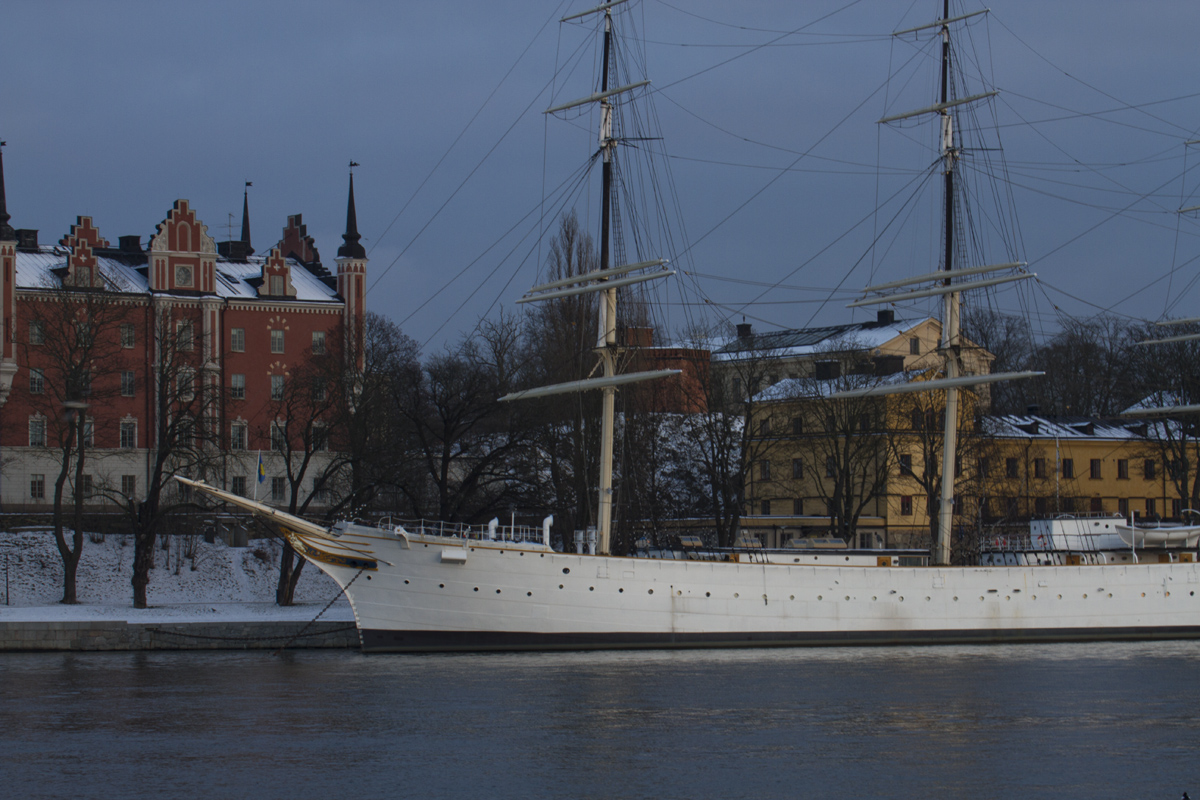
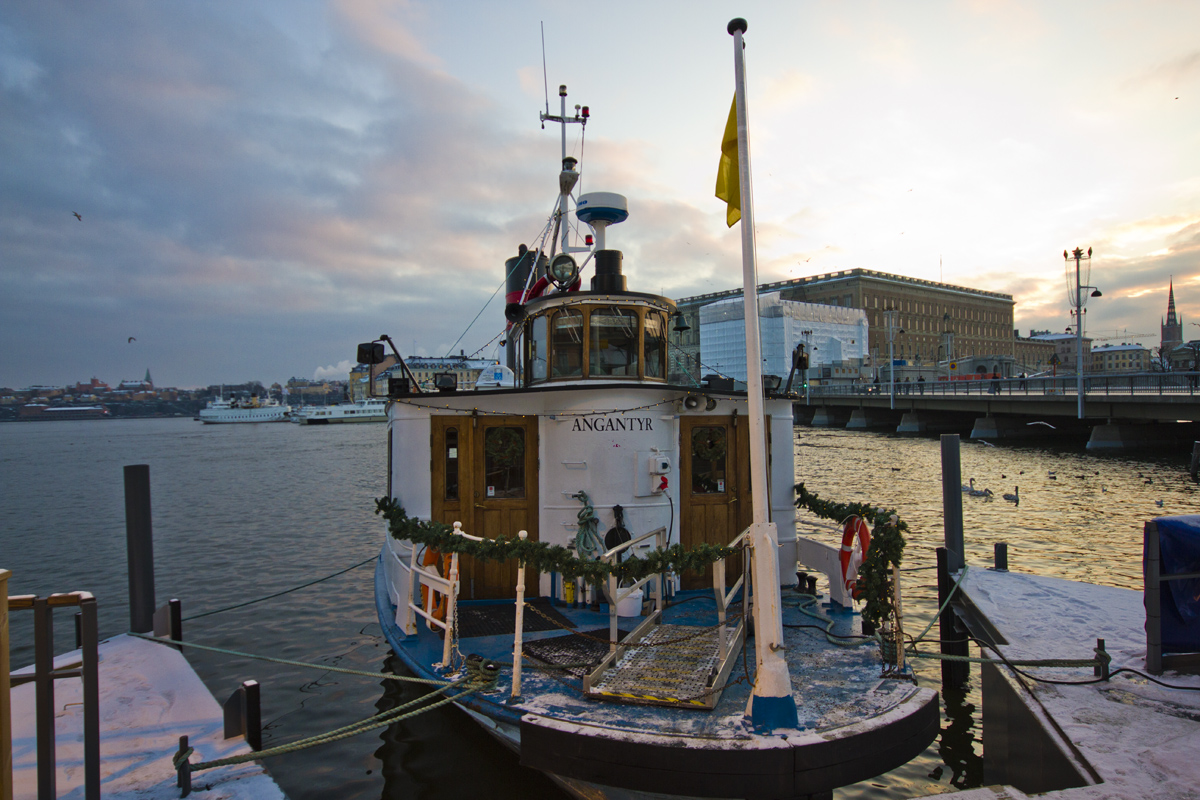
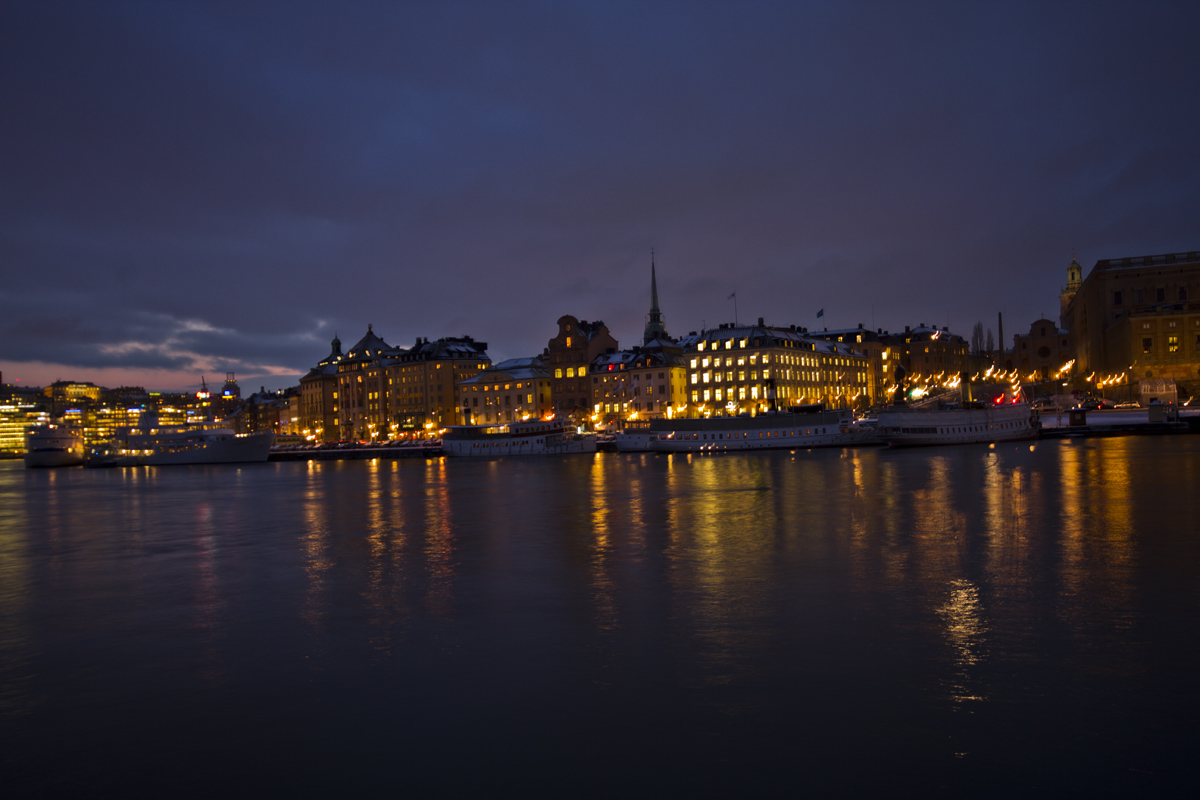
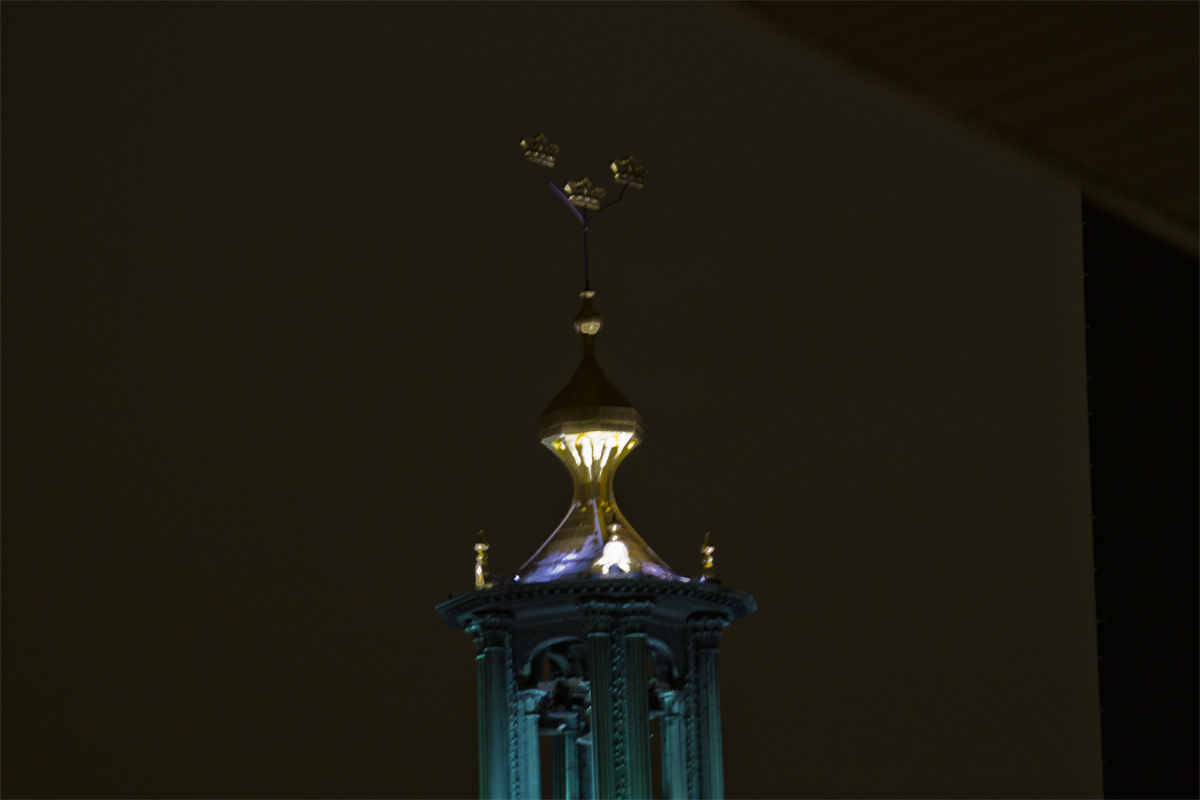
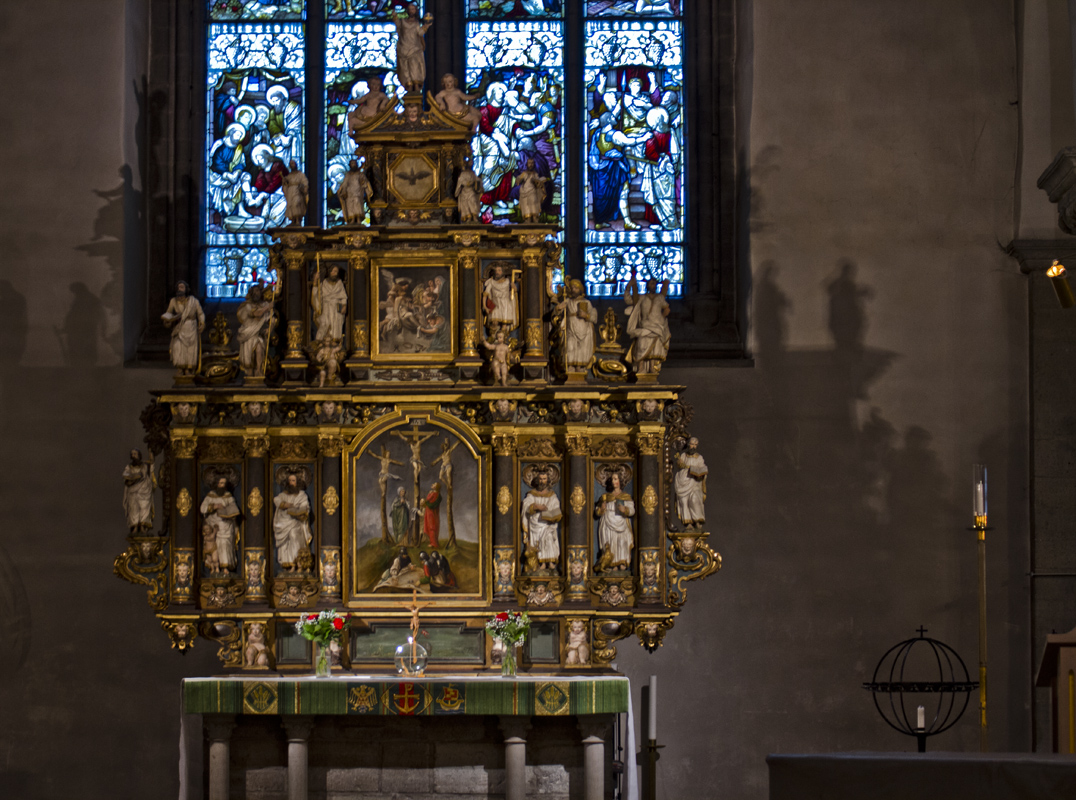
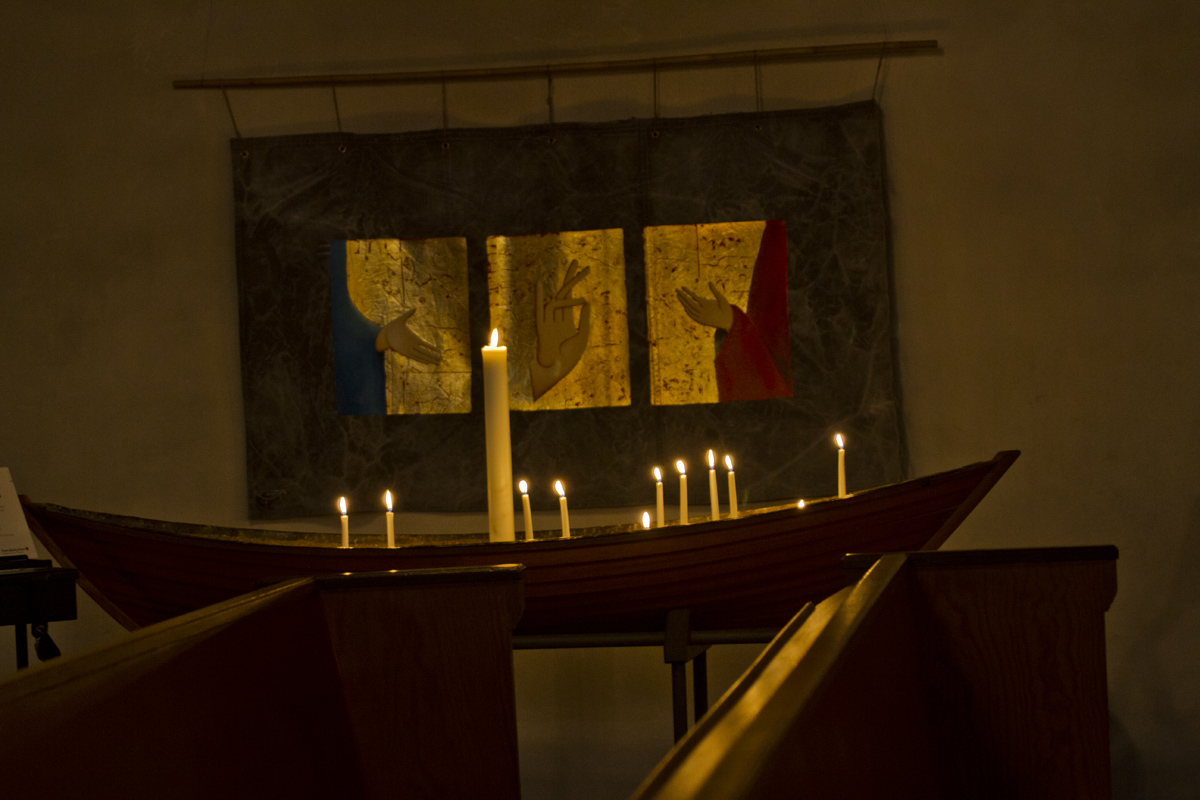
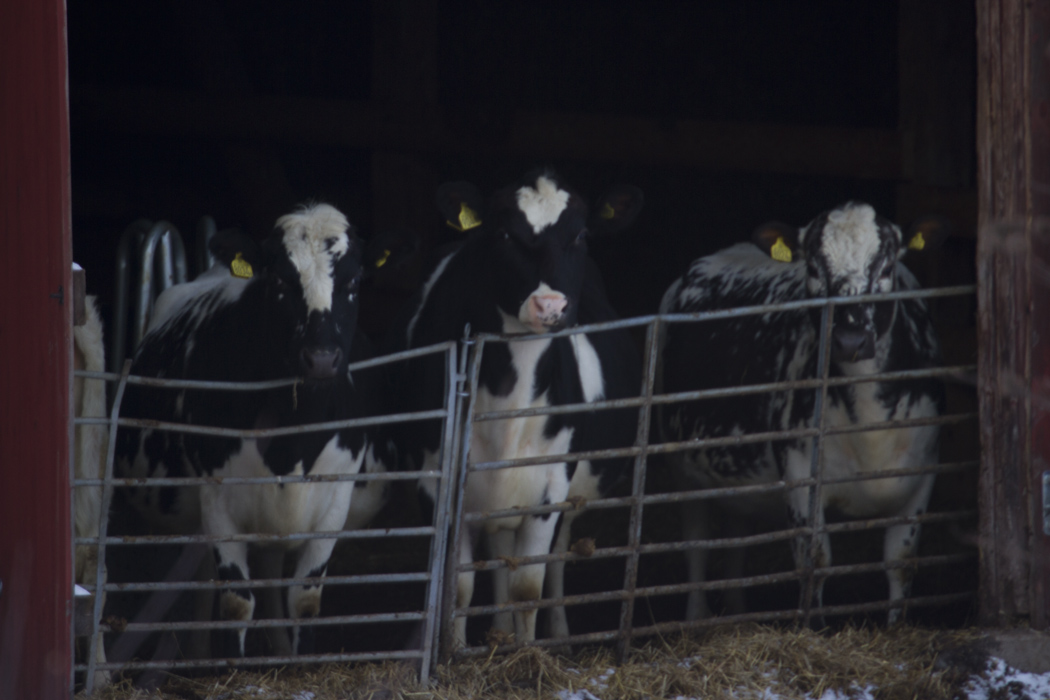
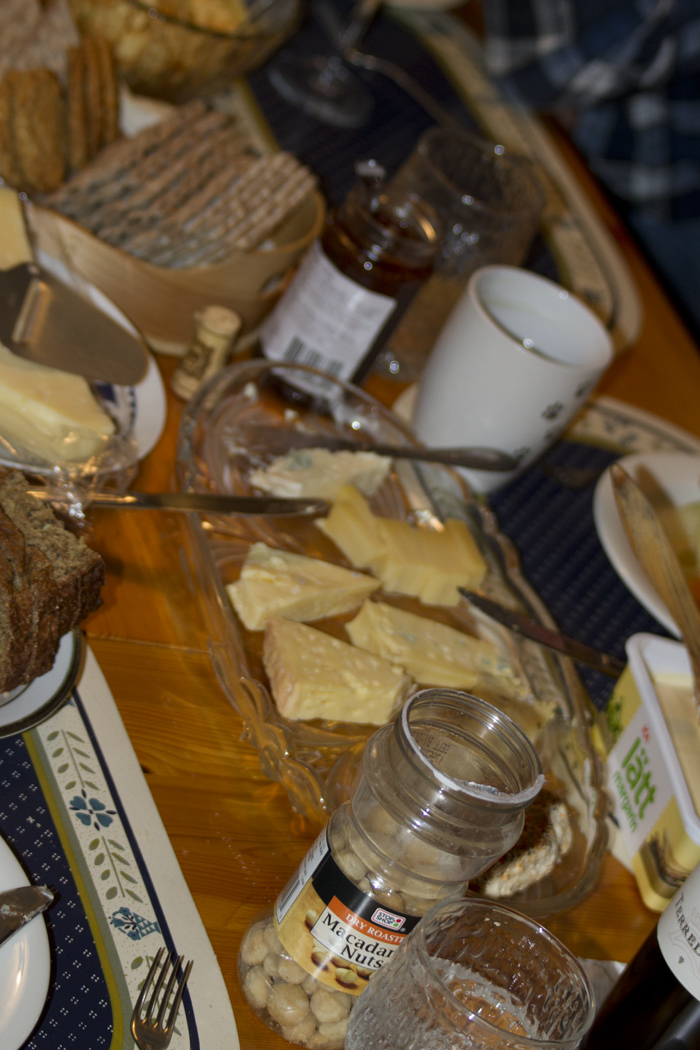
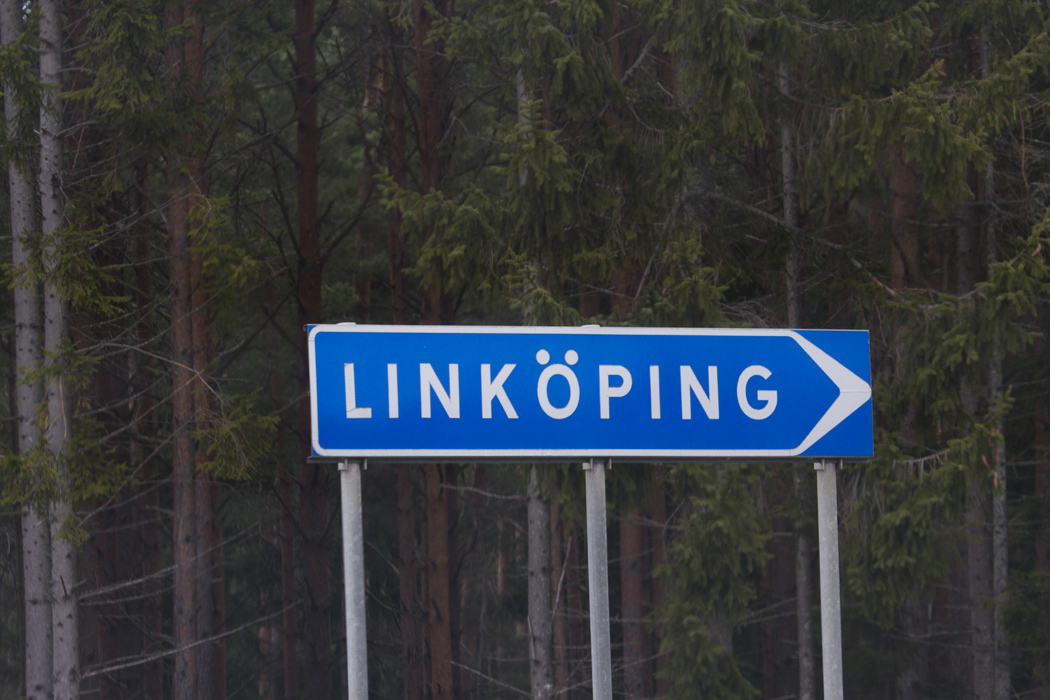
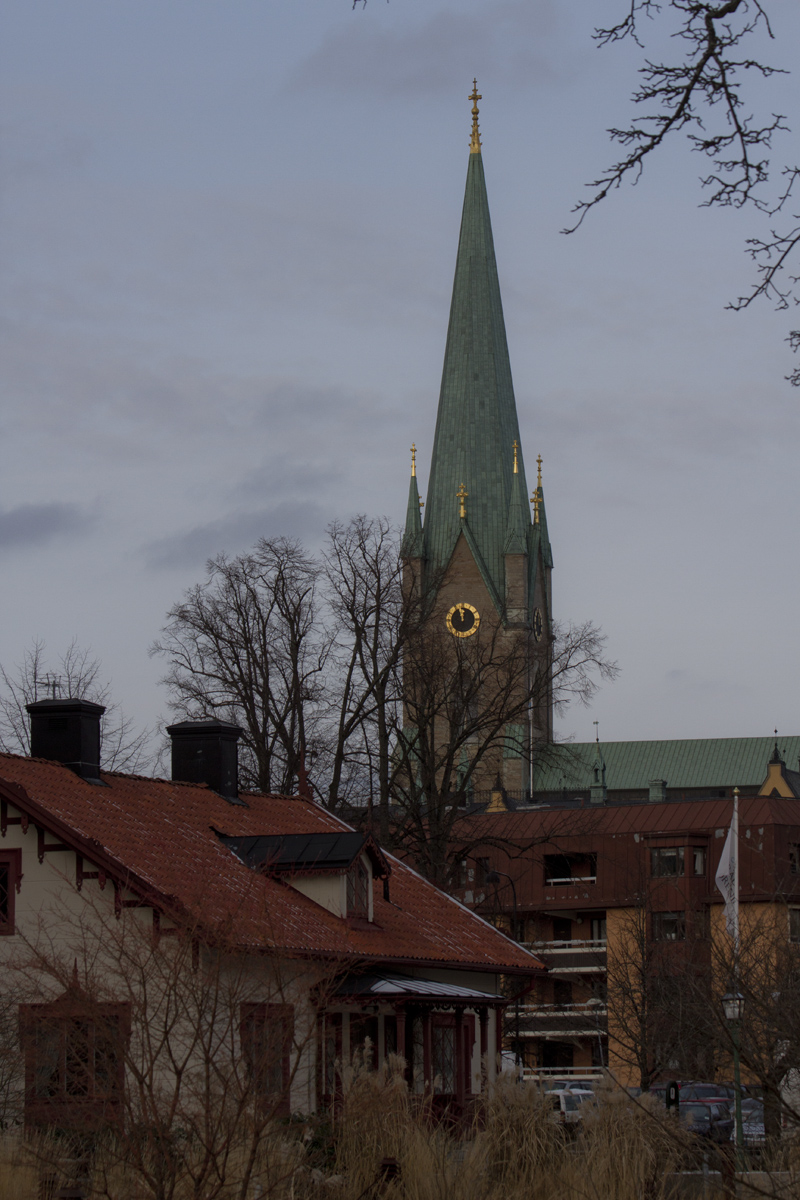
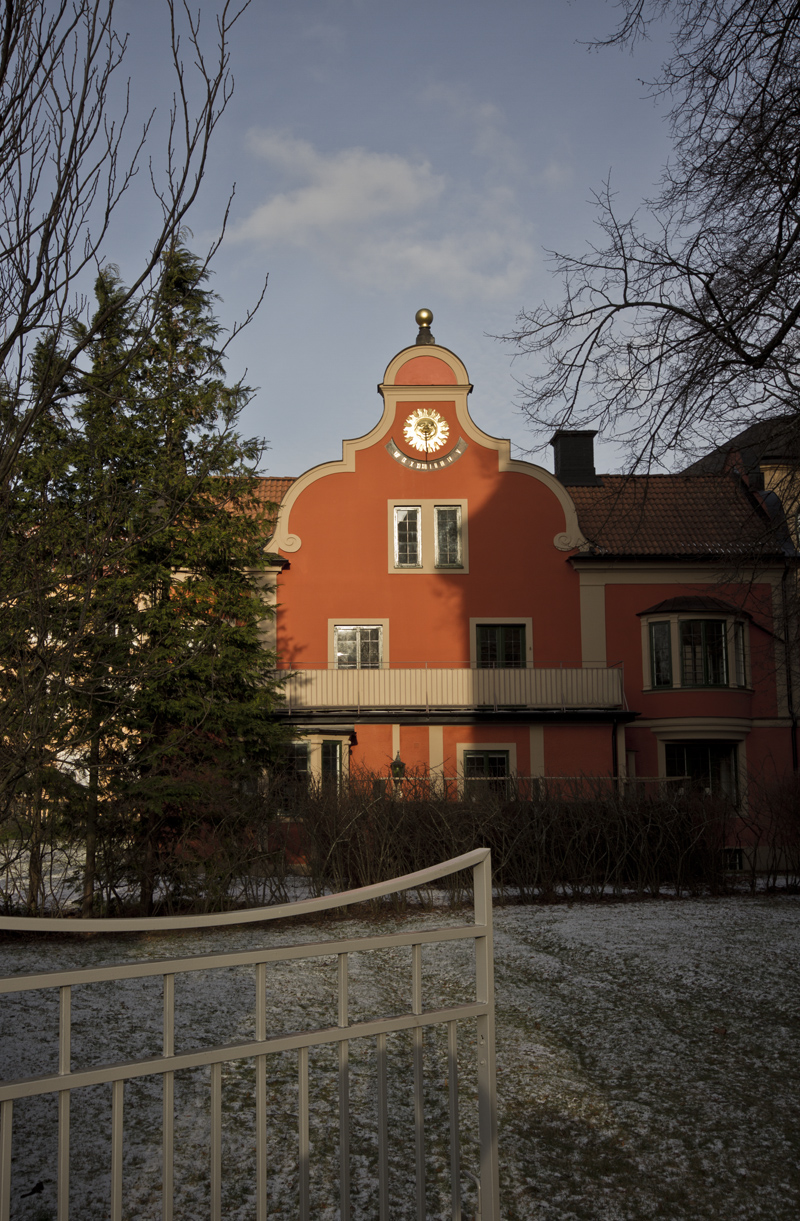
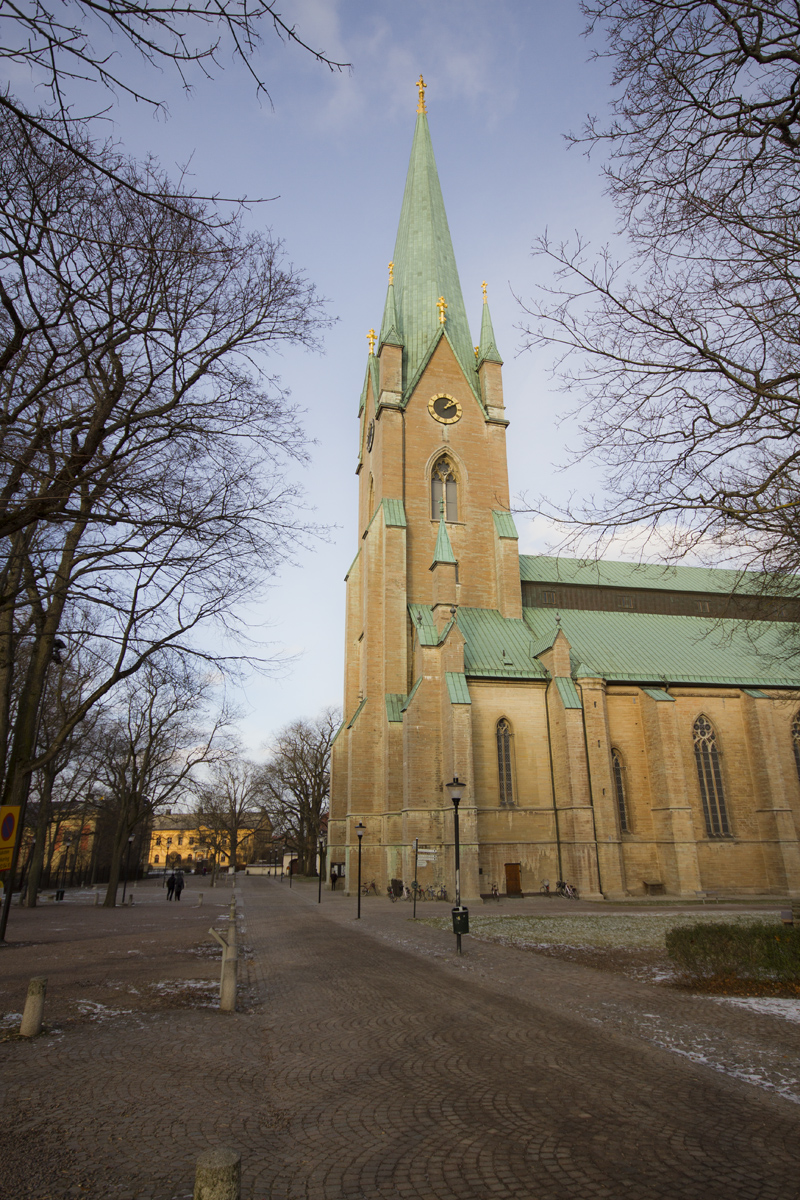
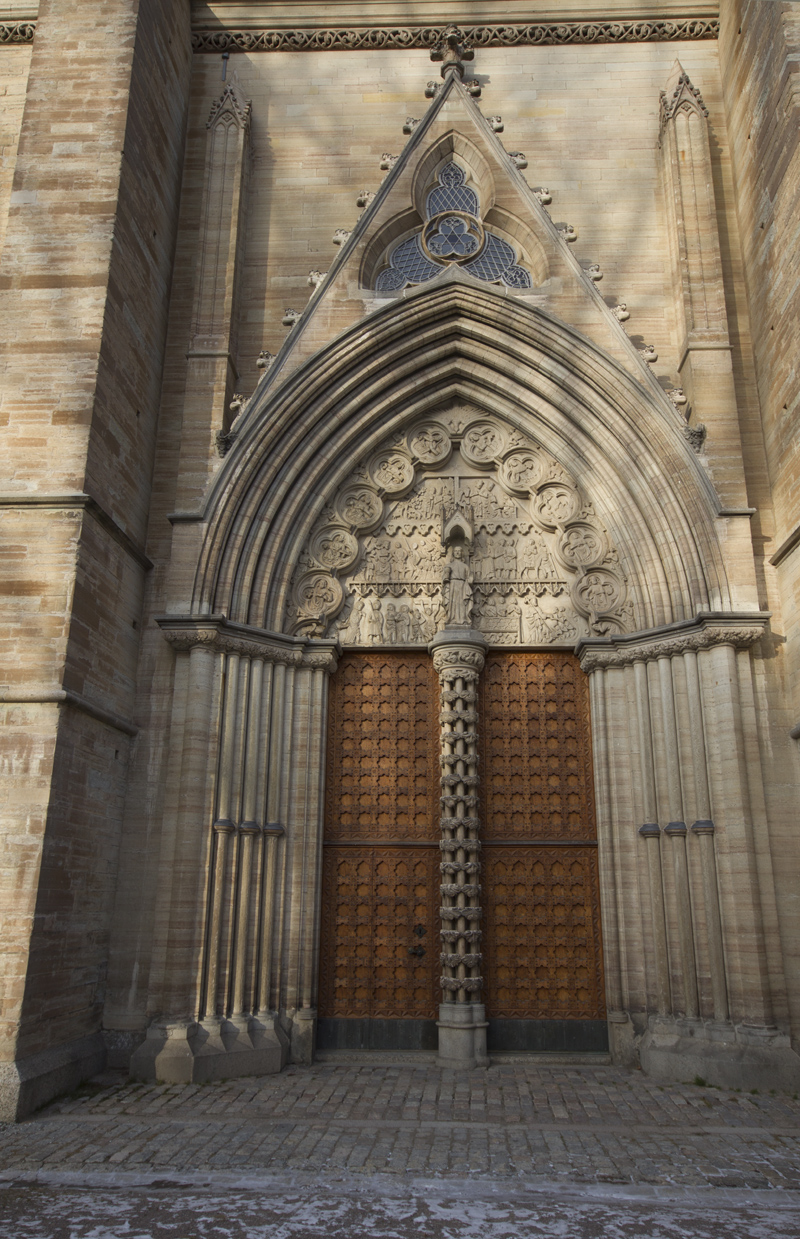
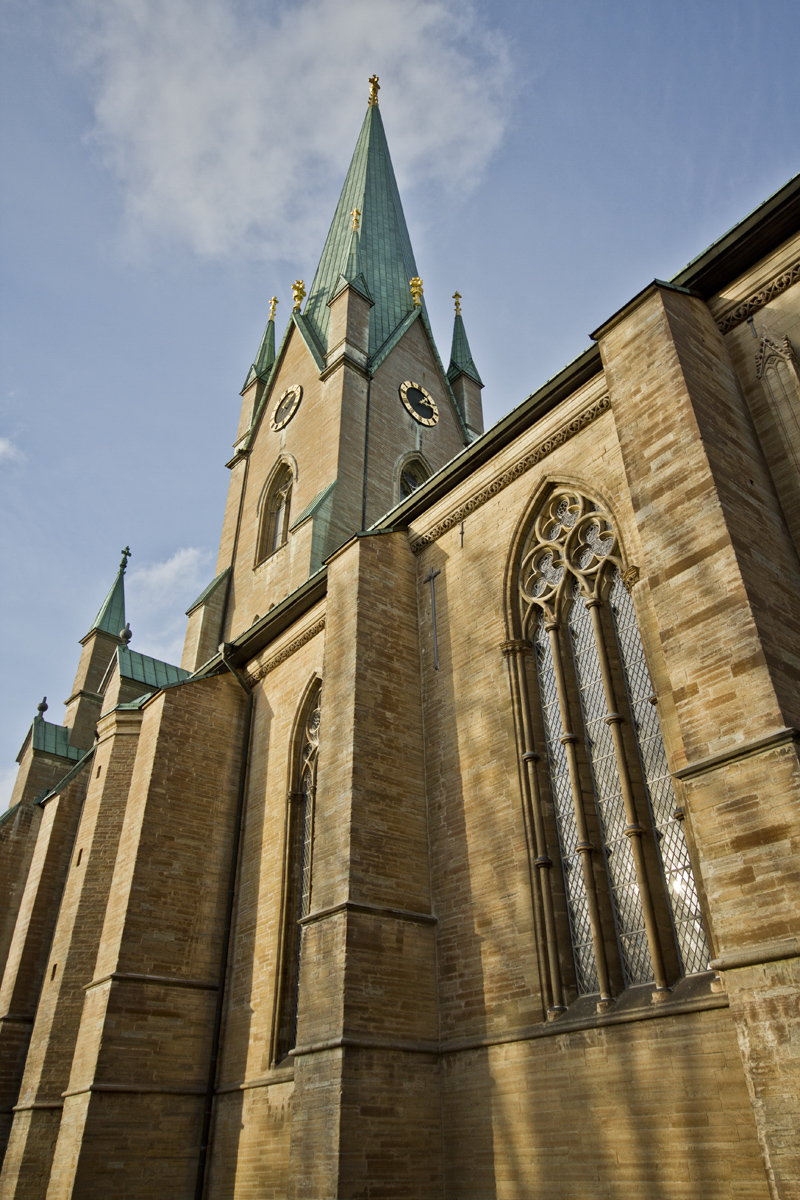
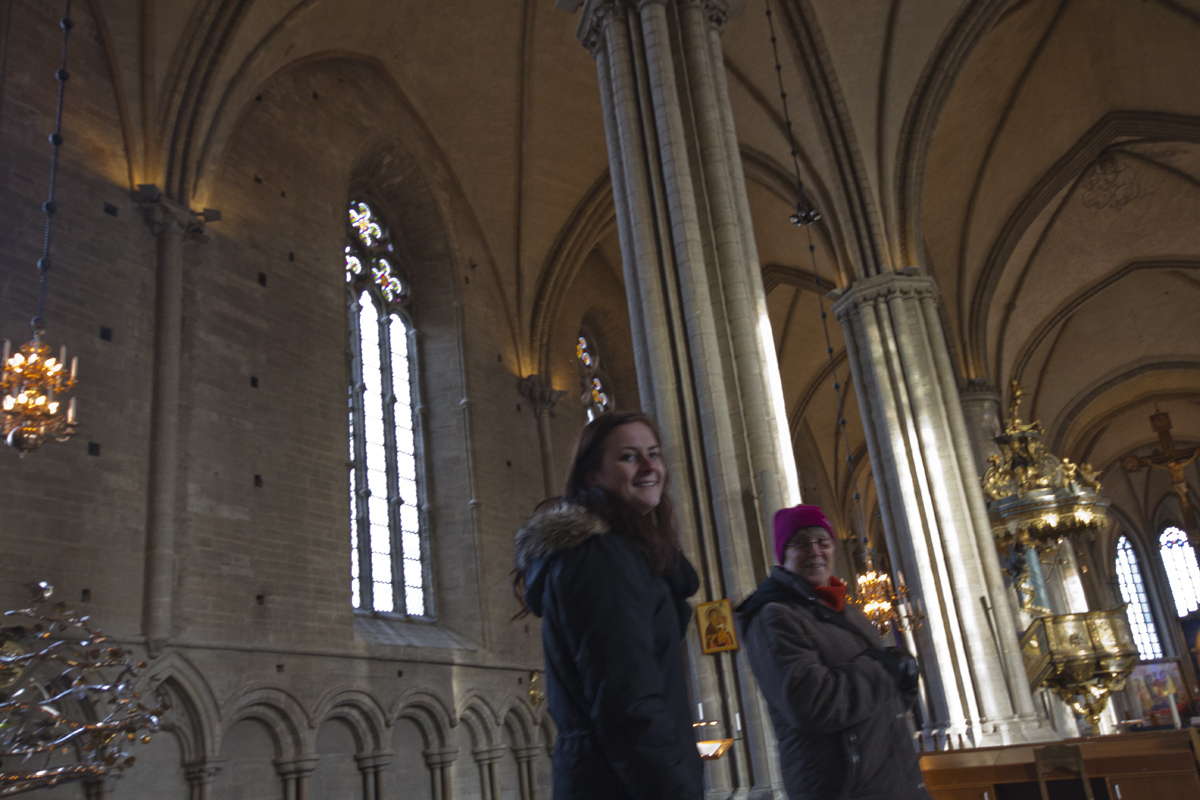
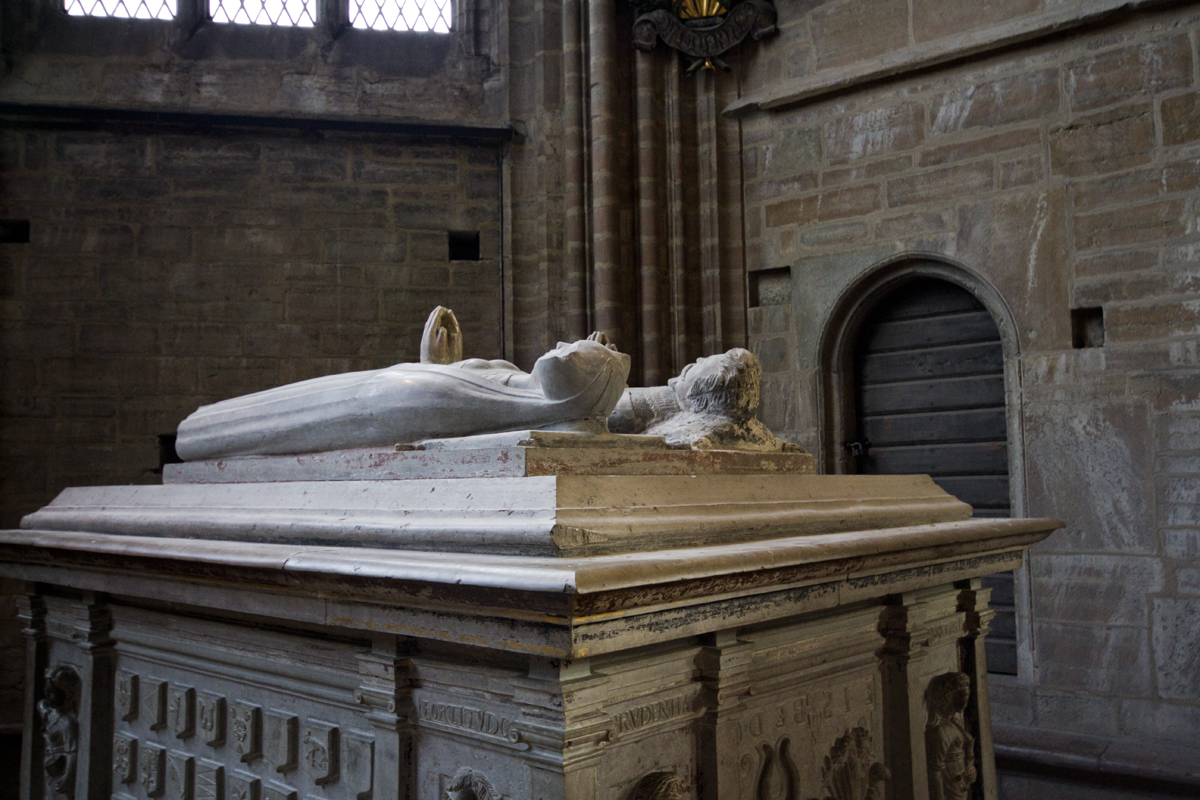
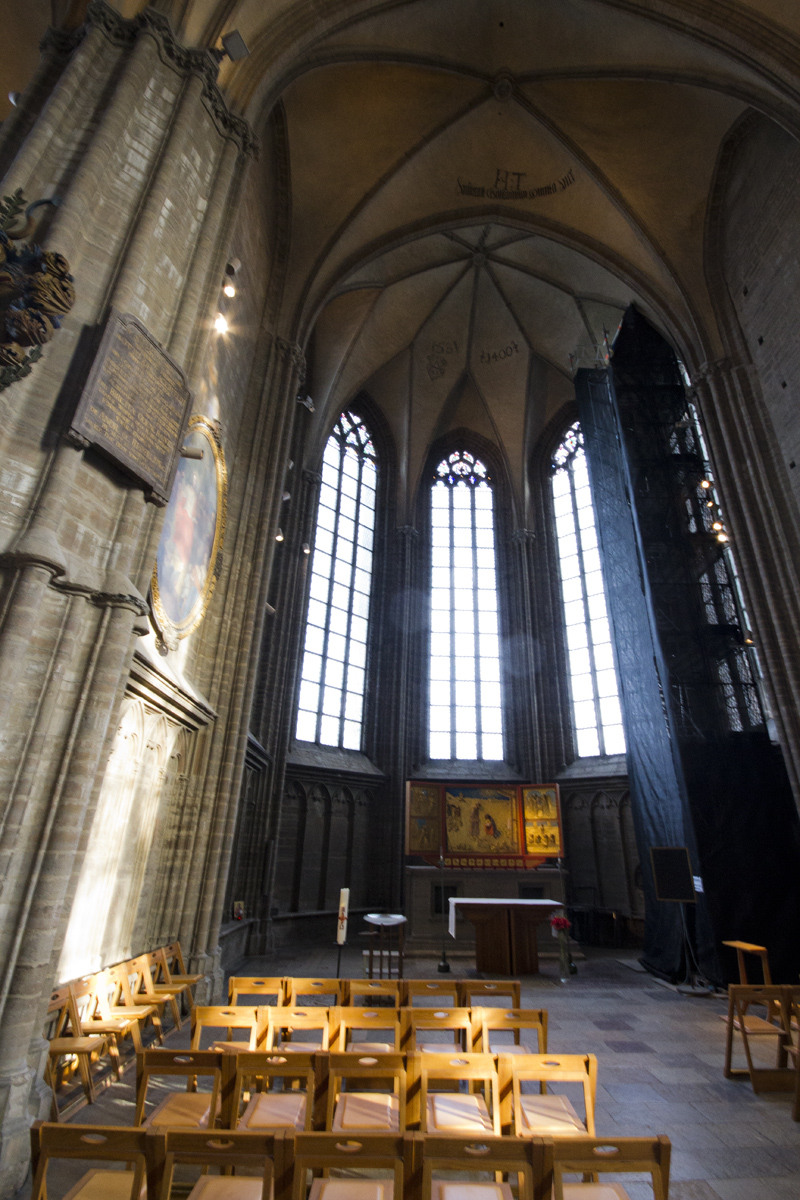
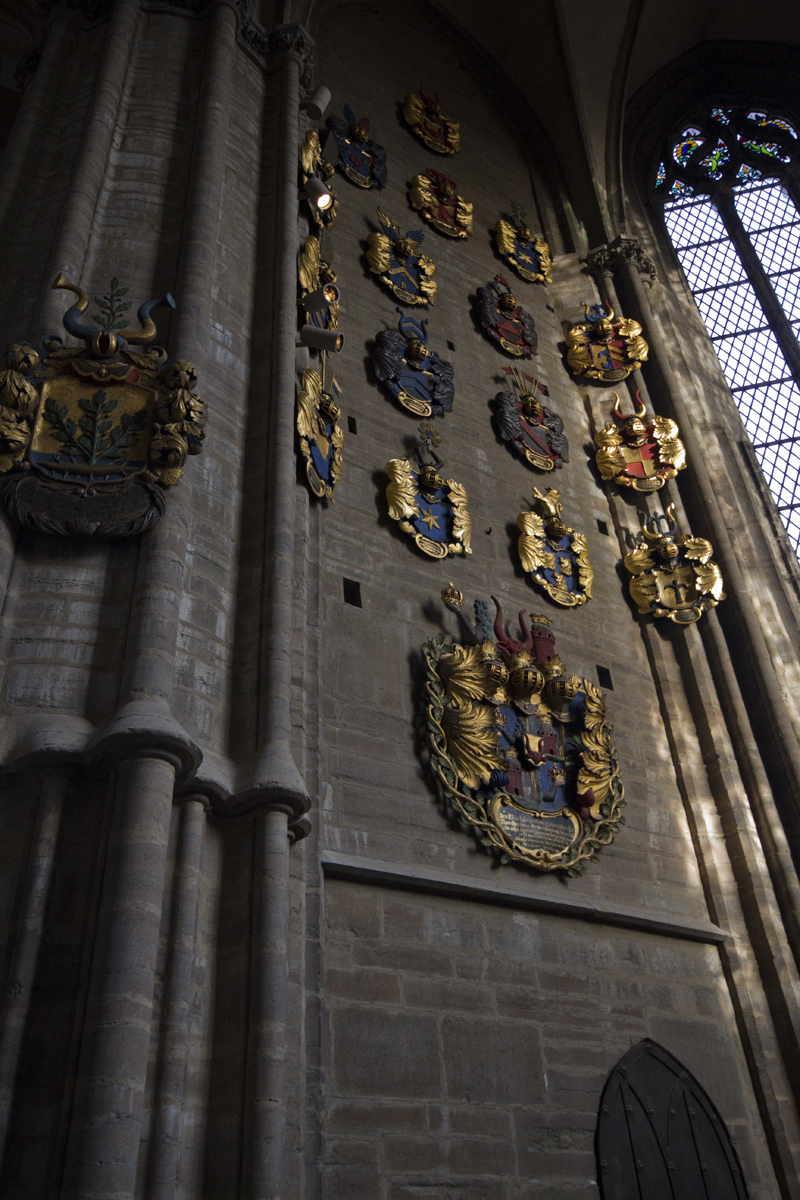
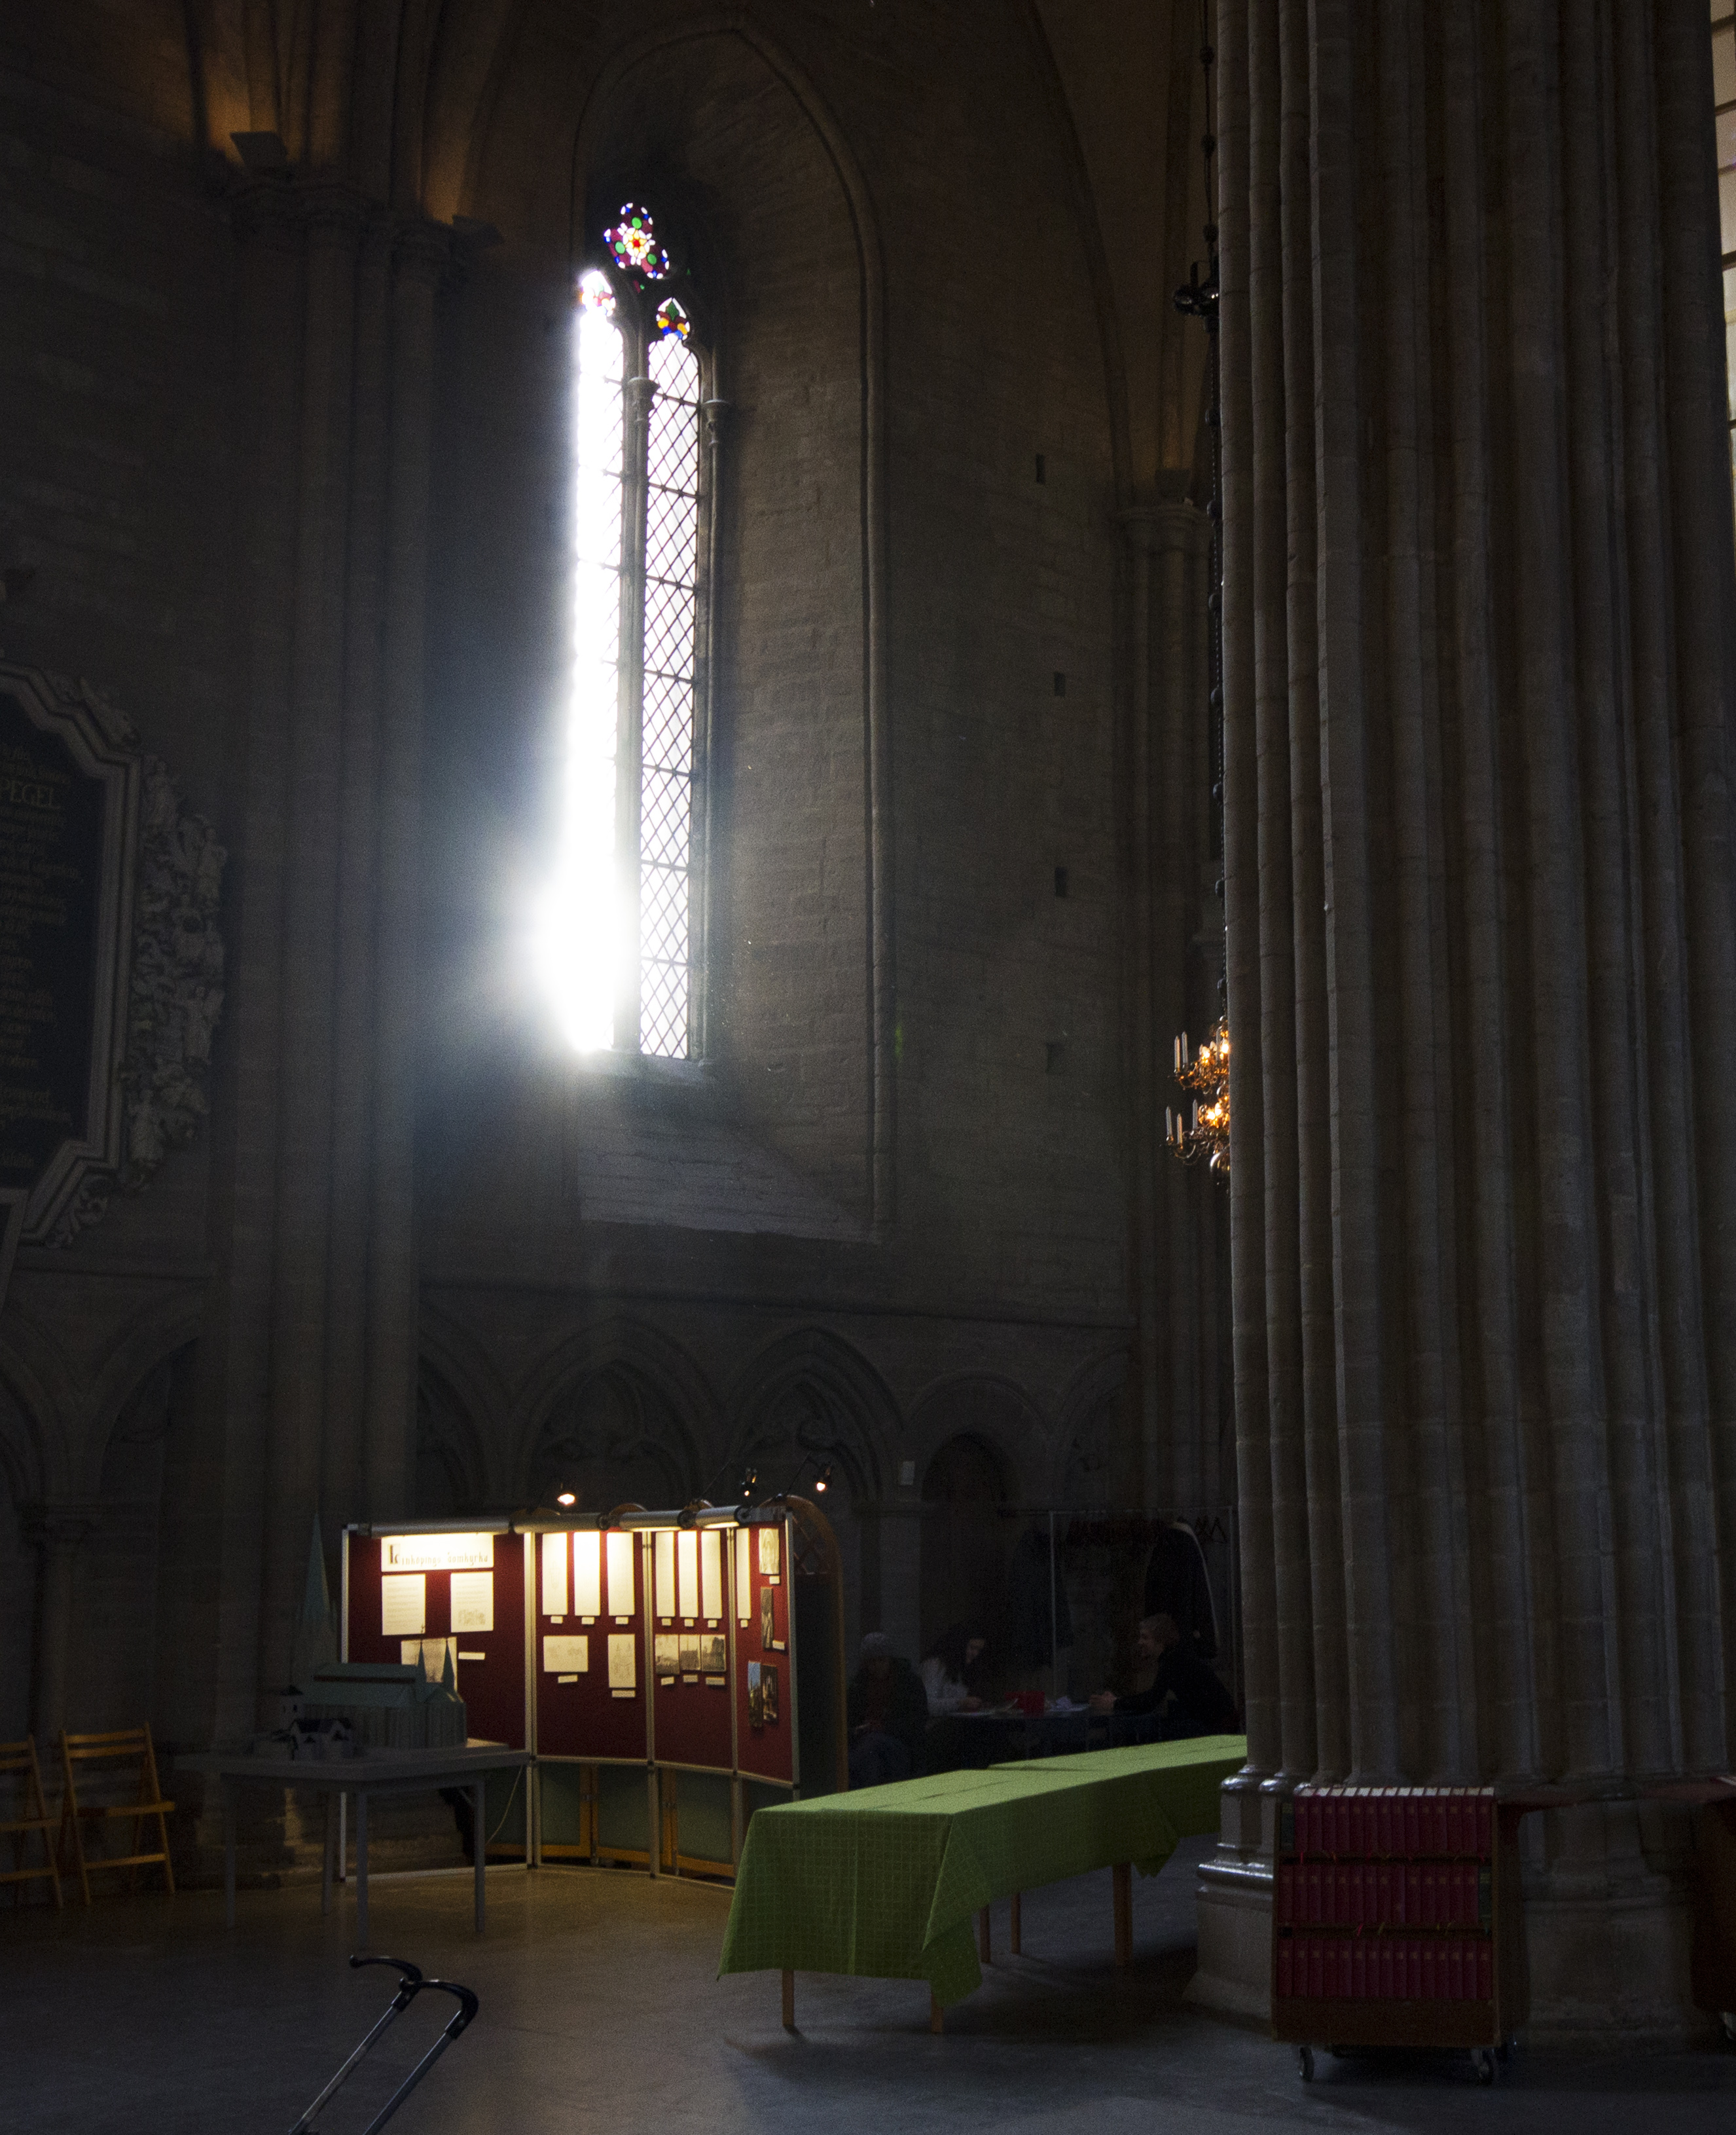
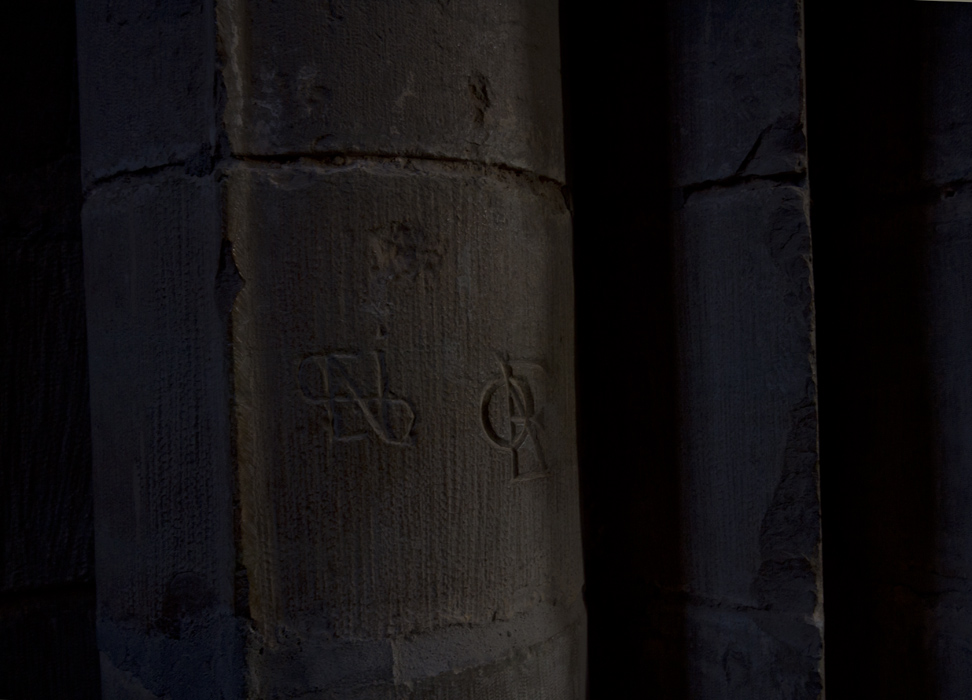
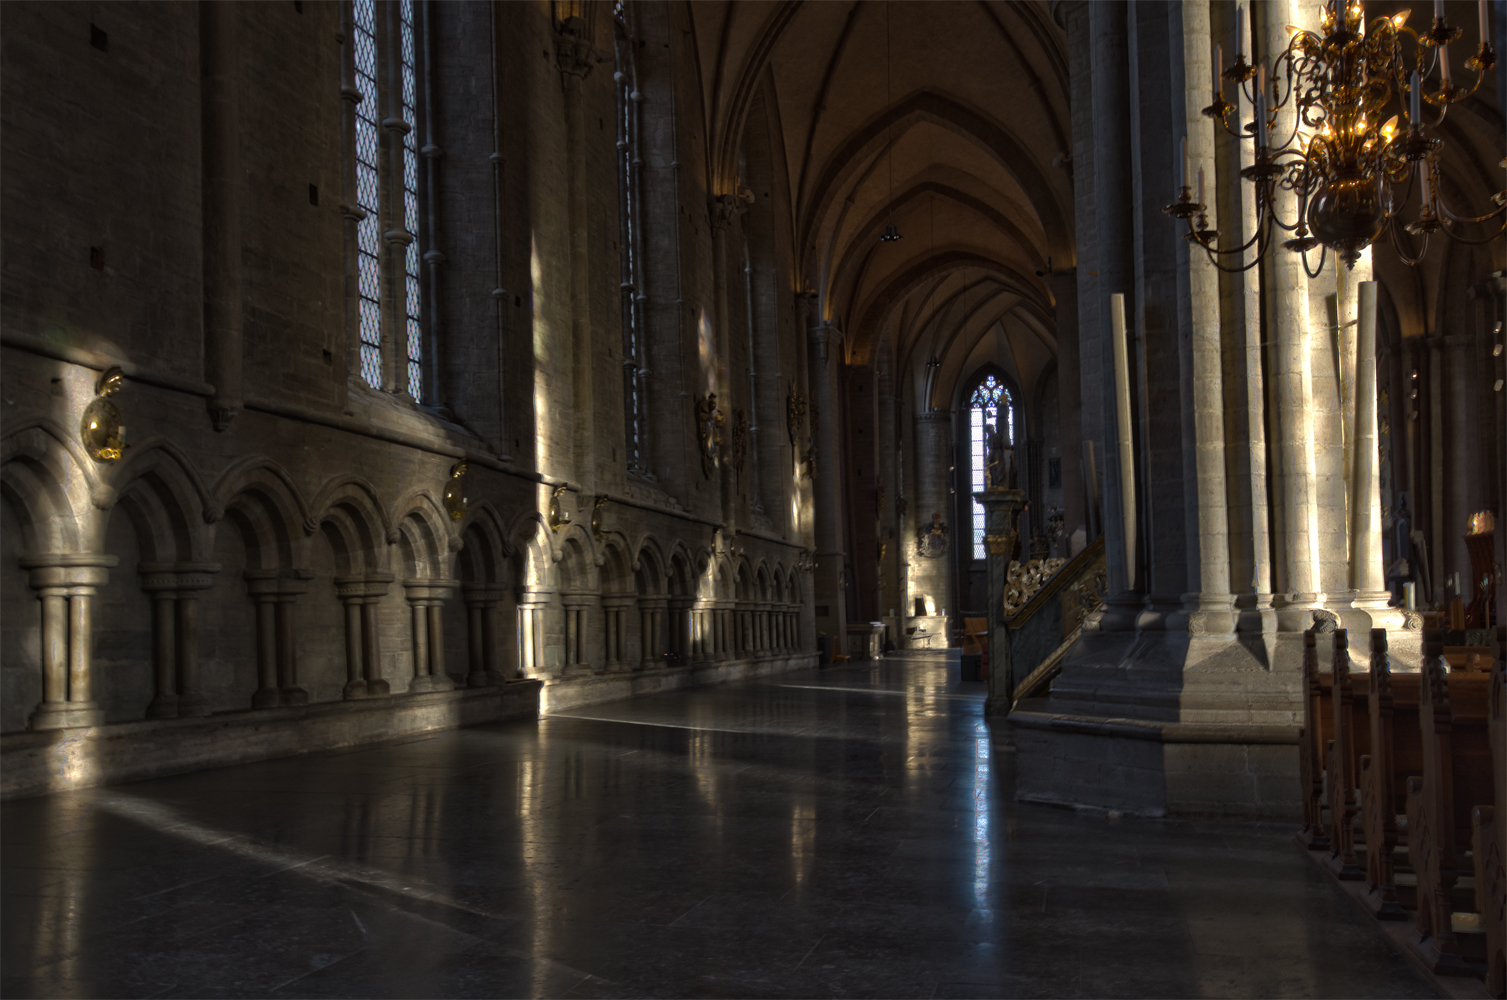
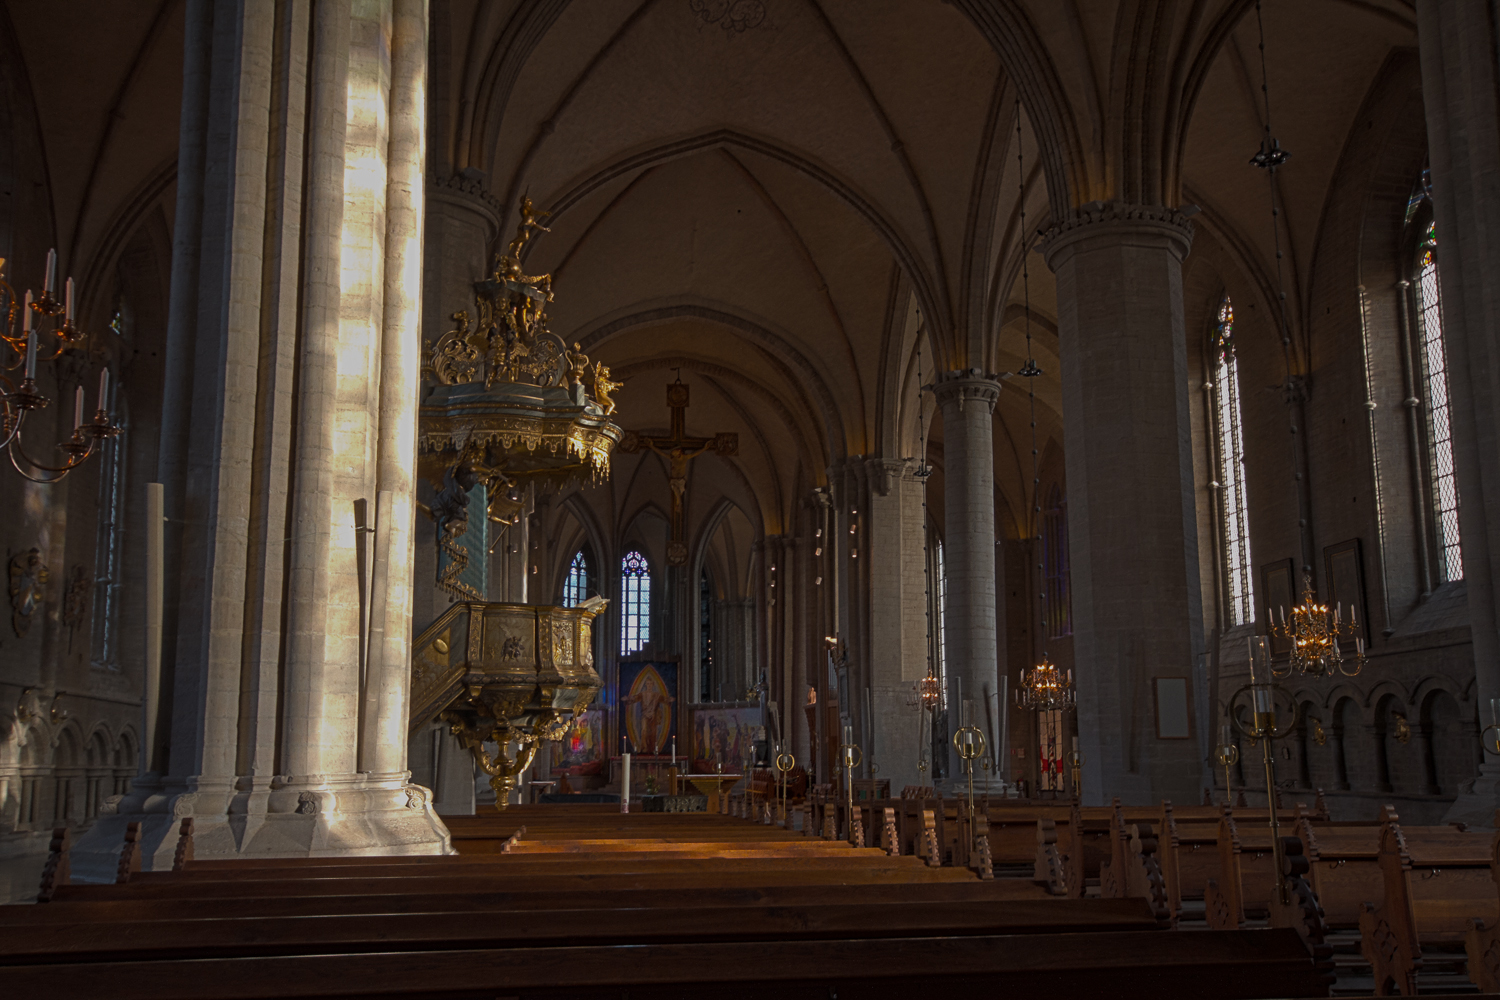
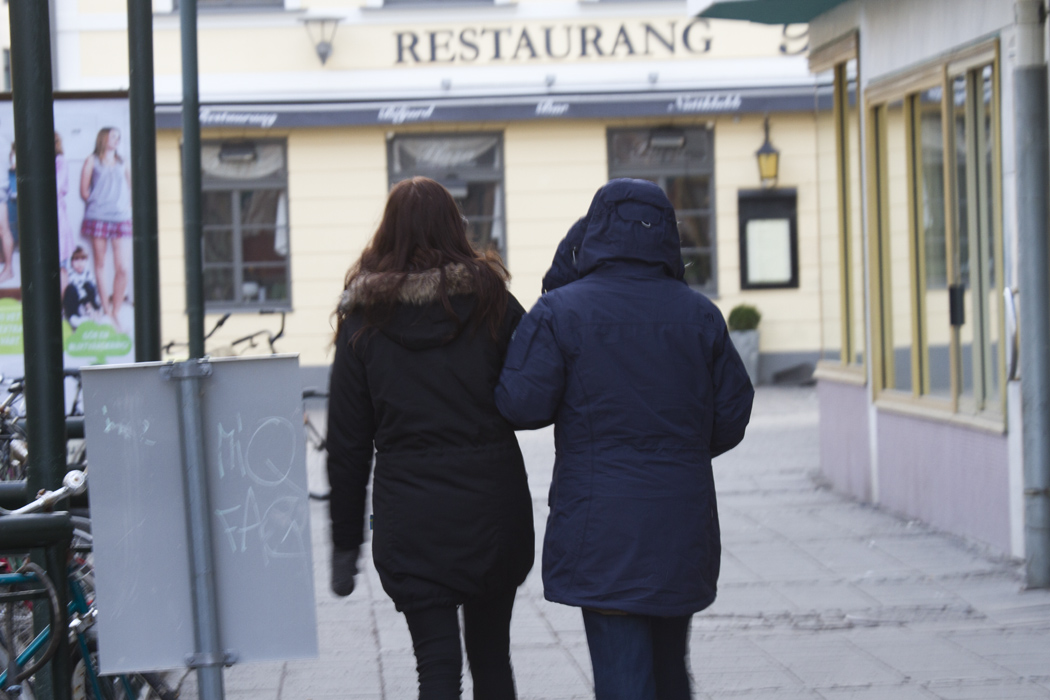
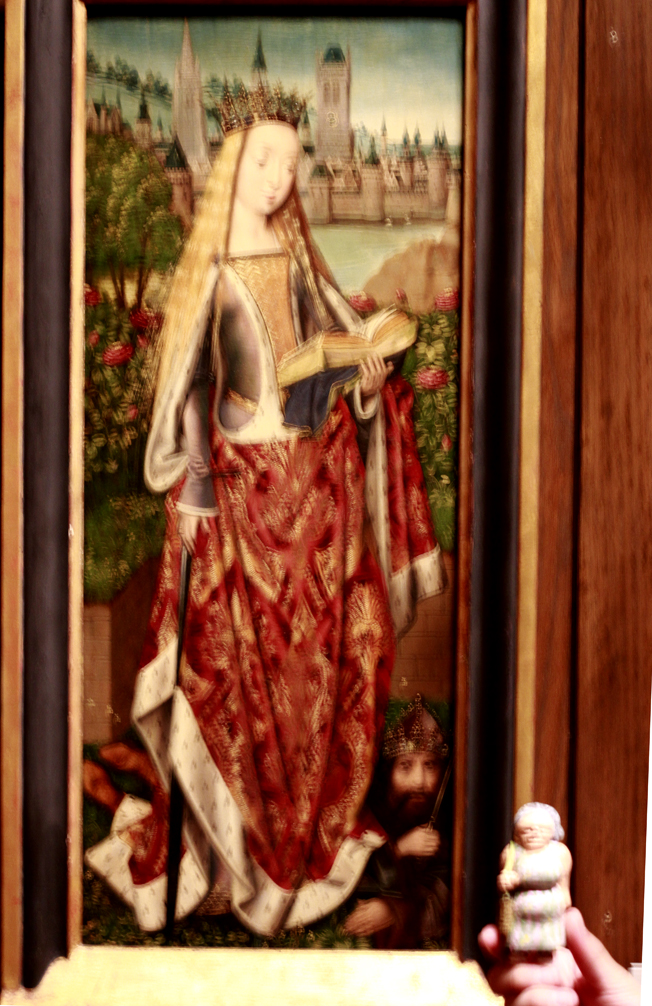
-Arlanda Airport. -The countryside. -Lots of churches. -The changing of the guard at the King’s Palace in Stockhom. -Some cheese I bought at a really great farm. -Some beautiful shots of Gamlastan (the old city) in Stockholm. -The Linkoping Cathedral inside and out. Painting continues at a glacial pace. The little city in the background is– for the most part– complete. Happy with results, though things could be tighter and color matching to the original is a real challenge. I should have included a color card along with the reference shots I took at the museum.
We are working hard on lots of new ideas. One of them involves a line of soaps which require appropriate packaging (more on that later). An old fashioned engraving effect seemed to be appropriate for this item, so I decided to try an actual intaglio print as opposed to faking it in photoshop. It has been a while since I did any printing, so I had to dig up all the materials and get everything organized in order to succeed. The following is a little step-by-step of the process. I began by cutting a zinc printer’s plate to size, polishing it up and beveling the edges. This step is always really tedious, but attention to detail is really important.
As soon as everything is all nice and smooth a wire is soldered the back of the piece. This is where the current will be hooked up when the plate is electrolytically etched. A super-neat job is not necessary here, just a way to make contact. Next the design is printed onto slippery label-backing paper with a laser printer. Once the graphic is transferred onto the plate, the plastic toner will protect the desired areas from the etching action. The toner is pressed onto the plate for two or three minutes with an iron on the highest setting. I have read that magazine paper works well for this, but I have not tried it. I tried glossy photo paper but it was next to impossible to remove without damaging the toner layer. Label backing paper worked well. The trick was to quench the plate under cold running water so the toner would not readhere to the paper as it cooled. It took about five tries to get it right. Next time I will attempt magazine paper.  Transferring the design onto the plate The sides of the plate are then masked with etcher’s retouch varnish. Nail polish works well too, but it stinks more, takes longer to dry and is more difficult to remove.  Successful Transfer Transfer Complete. Next comes the fun part. A plain zinc plate (the anode) is soldered onto a terminal exactly like the one to be etched (the cathode). The metal is scrubbed clean and hooked up to the positive terminal of a little 4.5V transformer. The plate with the transferred design is hooked up to the negative. (There is a great how-to on electrolytic etching here.)  The electrodes are in position. The bath in which the etching of the metal will take place is made up of water and copper sulfate. This used to be called blue vitriol because it is one of the byproducts of etching copper in sulfuric acid (vitriol). It is one of the most beautiful shades of blue imaginable!
The etching begins immediately once the plate is in the bath. I takes a few minutes to achieve the correct depth. The etching bite with this method is very gentle and controlled as compared to heated nitric acid on copper which, in my experience, is just horrible.  Zinc plate being etched. Once the etching is complete the wire is removed and the plate is washed clean:
 Success! Now the actual printing can begin. First the required number of printing paper sheets are cut to size and soaked for some time in water. Then the plate is rubbed all over with printing ink and carefully wiped clean across the surface. This leaves ink only in the areas which were etched.
 Soaking the Paper.  Inked Plate.  Plate Wiped Clean. Now it is ready to pass through the press. A moist sheet of paper is placed on top of the inked plate and it is rolled through the printing press. This presses the paper into the areas of the metal plate which are still holding ink. Once pressed, the paper is pulled off the plate and hung up to dry.
 Ready to Print.  Hung to Dry. These little prints are going to have to dry for a few days, as the ink is oil based and takes forever to stop smudging. An update will follow soon with the finished bars of soap.
Father goes to Japan: what an update for all fans of the tourist family! Escorting him through the land of the rising sun is Cha, famous rock star who graciously agreed to put up with all his eccentricities and demands. Life is hard when you are on tour, after all. All those late nights, hotels, restaurants, adoring groupies… I expect he will be worn out by the time he gets back home. The band are a great bunch of people, though, so I know he is in good hands.
A couple of days into the trip- and with a good amount of sushi and sake under his belt- it was time to go sightseeing. I heard the temperature and humidity in Japan this week are brutal and walking around is a little rough. When you have amazing sights at every turn like this cool-as-hell pagoda, however, complaining is the last thing on your mind.
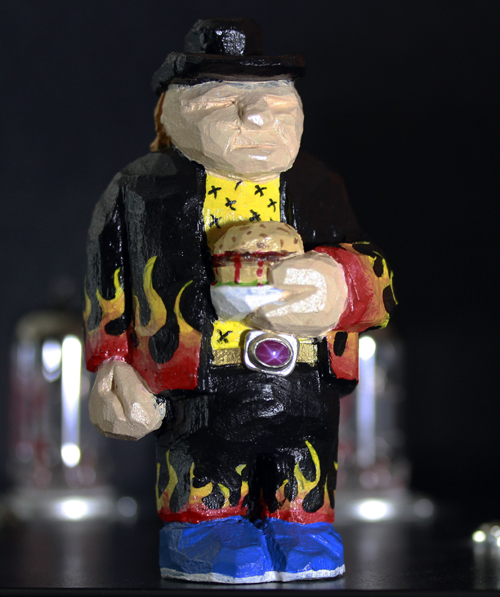
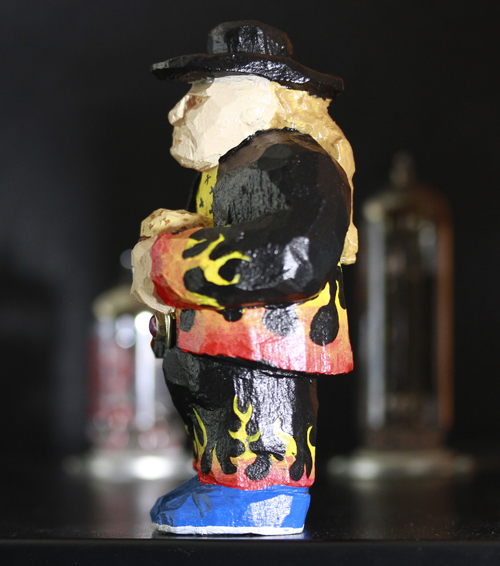
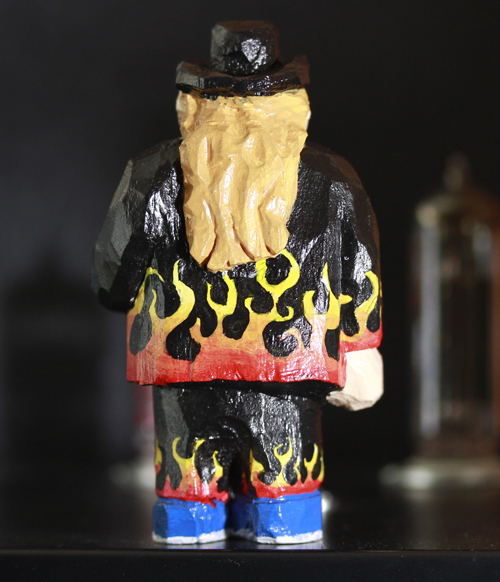
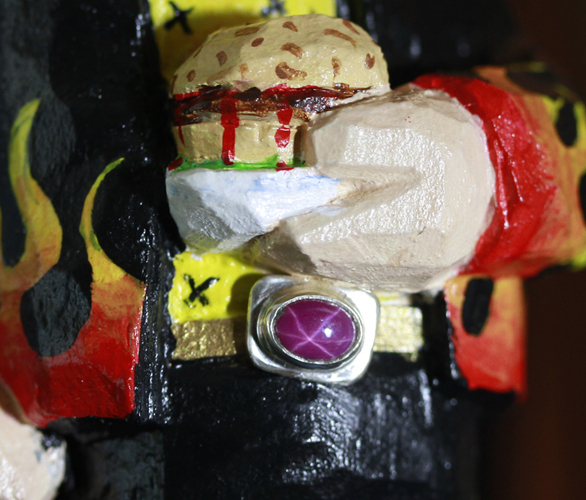
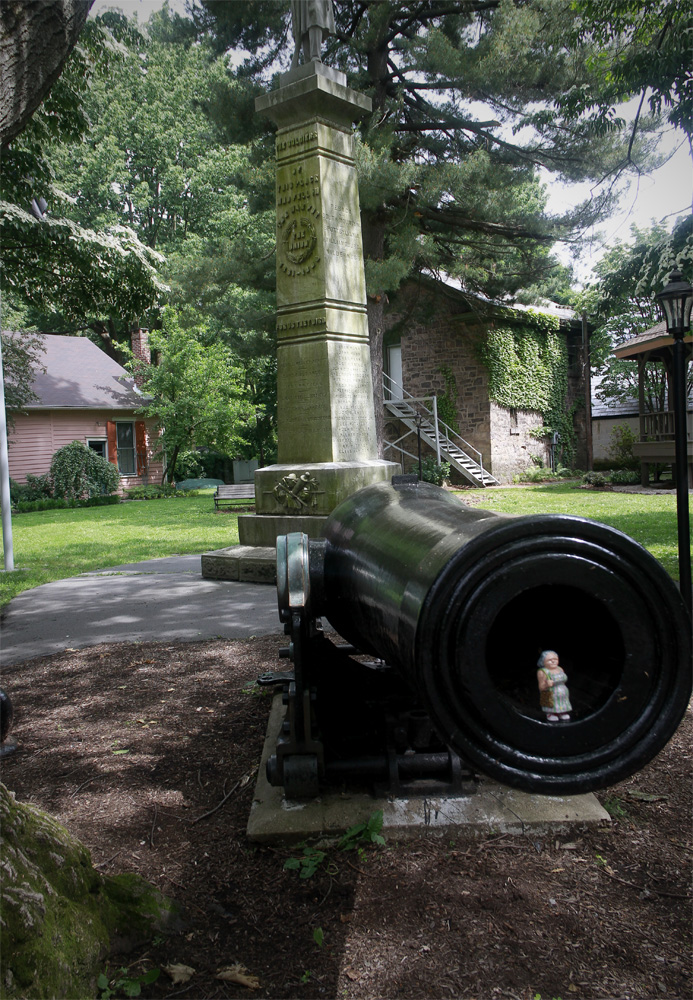
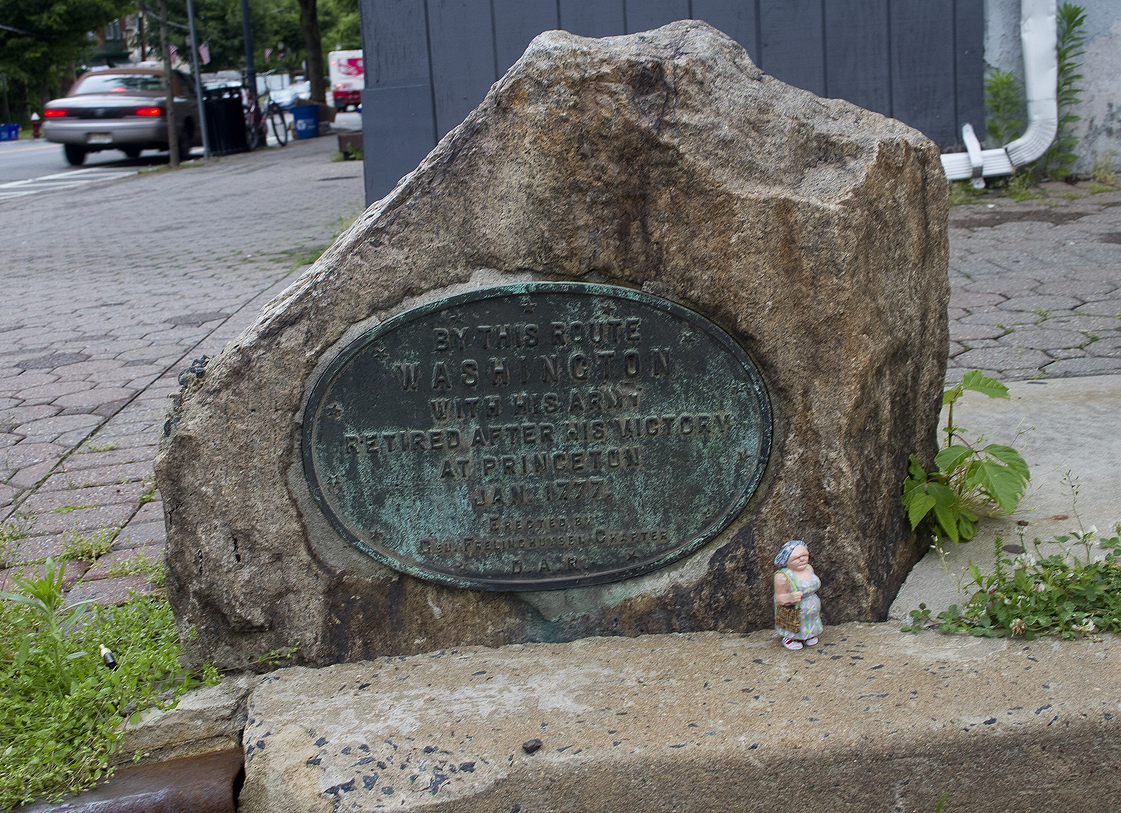
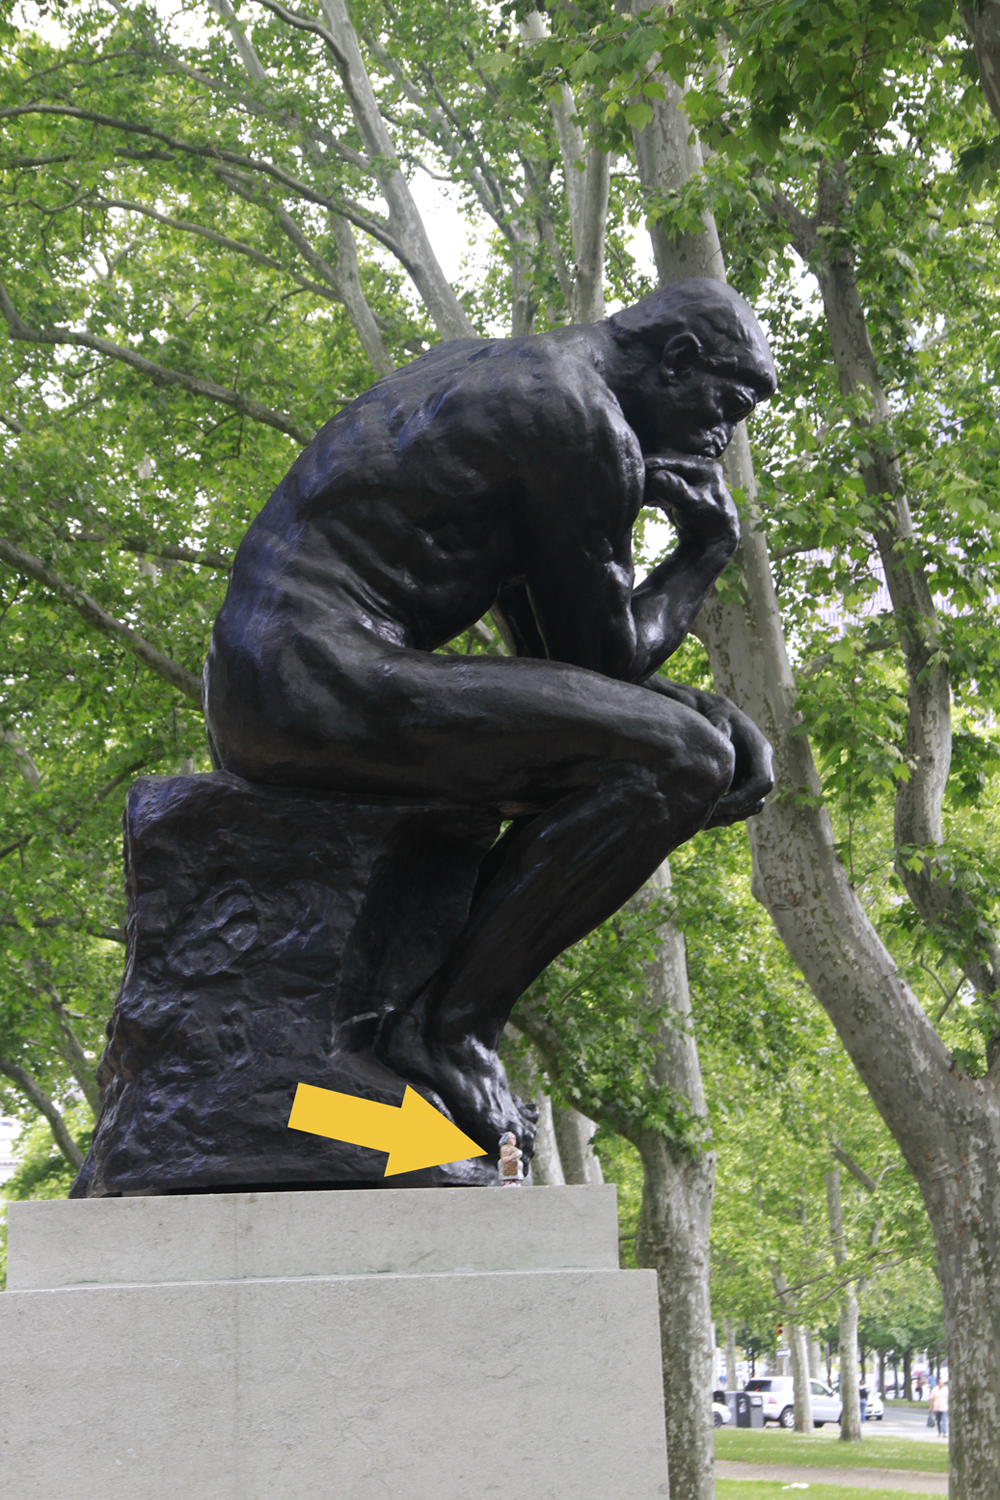
Stay tuned for more developments in the Far East! The Hamburger Man is actually a real person. He is the connoisseur of all things beef and hails from Mexico City. You can monitor his activities at his blog. [I know, it’s in Spanish. If you don’t speak it you can get the gist of things using Google Translate or something similar.] I have added another character to my cast of tourists based on the Hamburger Man even though he is technically not a tourist. From time to time he may make an appearance around these parts. It’s worth paying attention to what he has to say. Like all the others, he was carved out of a solid block of basswood (linden for you brits) and painted with tender loving care and given like a million coats of clear-coat to protect him through his travels. His extra special touch, however, is the belt buckle which I fashioned out of sterling silver and a lab-grown star ruby which represents the lovely red juices which run from the perfect hamburger. Enough said. Let’s eat. Below are a few locations photographed within the last couple of weeks. In Philadelphia some onlookers were perplexed by me taking a picture of a little figurine by Rodin’s thinker. They waited rather impatiently only to strike thinker poses when it was their turn to get their picture taken.
|
|||